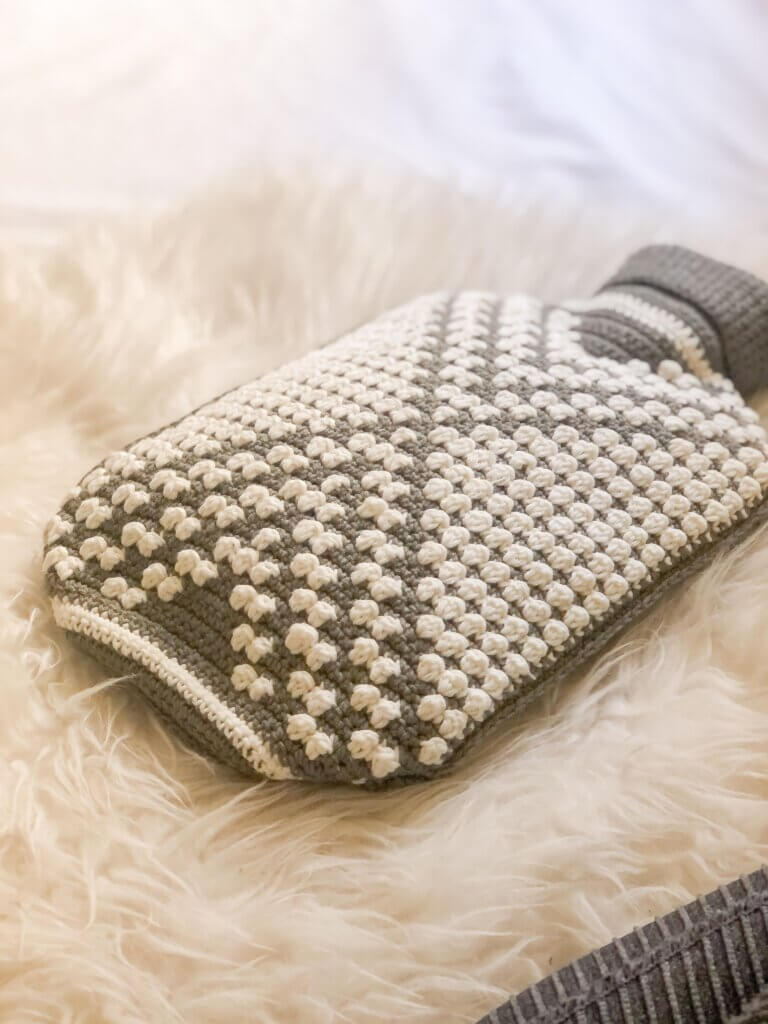
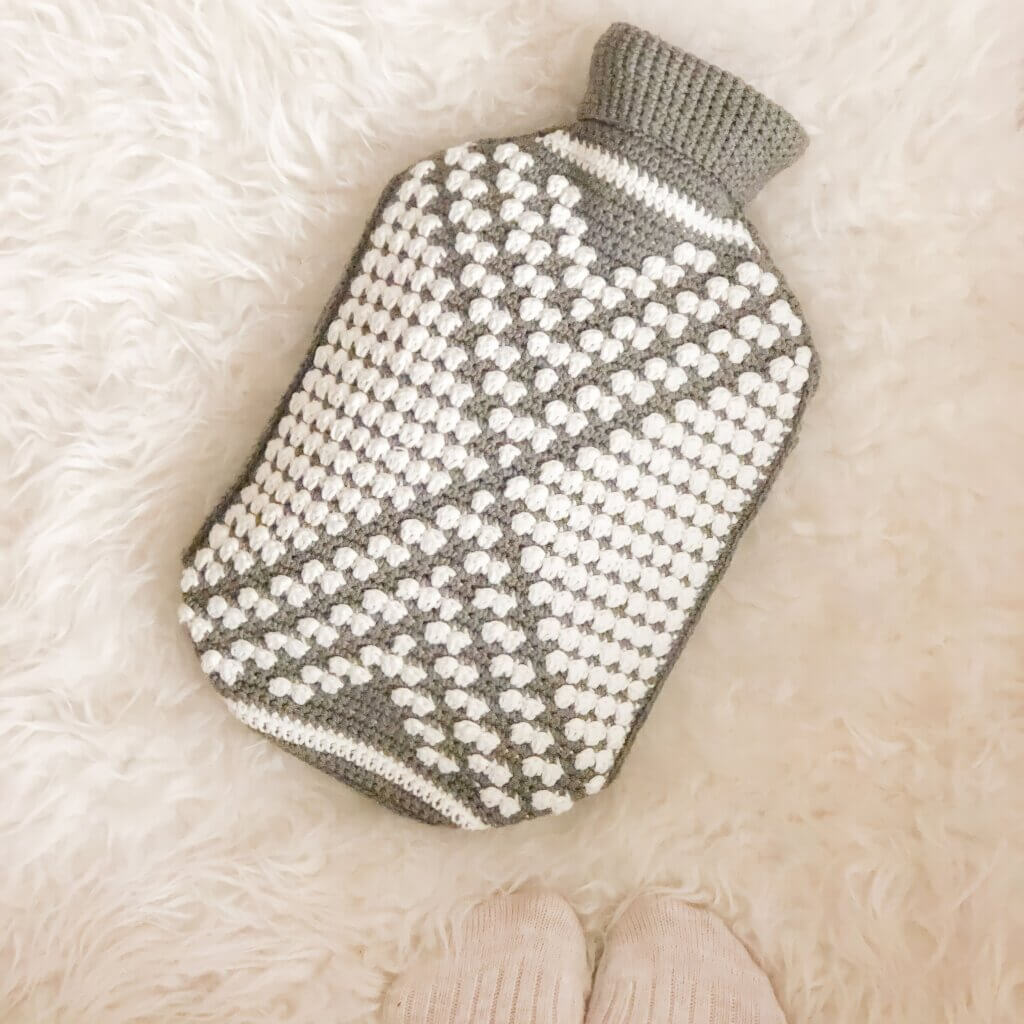
Hey crochet buddies!! I missed you so much it have been a while since the last time I shared a new free pattern with you here! Today I have a very cosy pattern for you! a hot water bottle crochet cover!
The materials you will need for this hot water bottle crochet cover pattern are:
Disclaimer: This blog post may contain affiliate links. I may earn a small commission to fund my coffee drinking habit. If you use these links to make a purchase. You will not be charged extra, and you’ll keep me supplied in caffeine. It’s a win for everyone, really.
- One skein of Alize cotton gold (Code 270) khaki melange
- One skeins of Alize cotton gold (Code 1) cream
- 3.5 mm hook, Stitch markers, Scissors, Measuring tape and yarn needle Here is a set with one of my favorite hooks sets along with stitch markers and needles
- Rubber Hot Water Bottle If you don’t already have one.
Measurements:
- Approx 13″ x 8″ [33 cm x 20 cm]
GAUGE:
Front : 18 sc and 22 rows = 4″ [10 cm].
Skill level: Beginner – Intermediate
Abbreviations and Glossary (US Terms):
- ch – chain
- sc – single crochet
- Mini Bobble Stitch (mini bo): Yarn over, insert your hook into the next stitch. Pull yarn through two loops as if you are doing the first part of a double crochet (DC) (2 loops on the hook). Repeat one more time. So that you have 2 HDC on your hook and 1 initial loop (total 3 loops on the hook); yarn over and pull through all 3 loops.
Notes:
- The pattern is written in US terms.
- Your stitch count throughout the whole pattern will be 43 stitches.
- You may watch This tutorial and apply it throughout the pattern to help you achieve straight edges.
- I will be referring to the khaki color as color A & to the white as color B
- All the rows between the mini bo rows are worked with color A. And they are worked over the white yarn so that you can easily pick it up again when you need it the next row.
- I made this pattern to fit my Approx 13″ x 8″ [33 cm x 20 cm] bottle. but you can adjust the size to make it shorter you might skip from row 1-4 and/or from row 54-57. Also to make it slightly less in width you might skip stitch 1&2 as well as 42&43. All what you have to do to avoid the confusion is to crop the chart bellow accordingly and adjust the back pieces to fit the front one.
Pin it for later!

If you’re crazy about bobble stitches and geometric shapes, you might enjoy hooking up one of these:
- Textured Crochet Pillow – Diamond Bobble Pillow Free Pattern
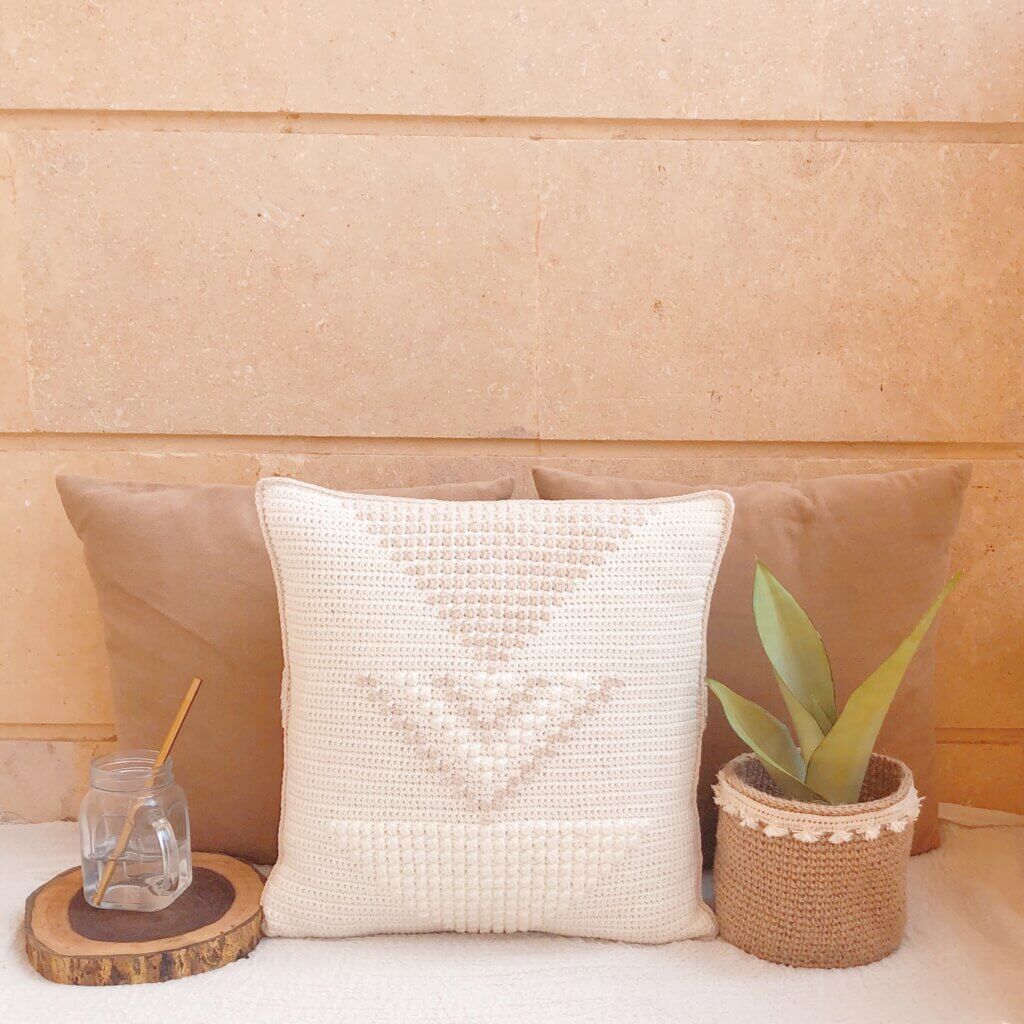
- ARROWMA Pillow- Free Crochet Pillow Case Cover.
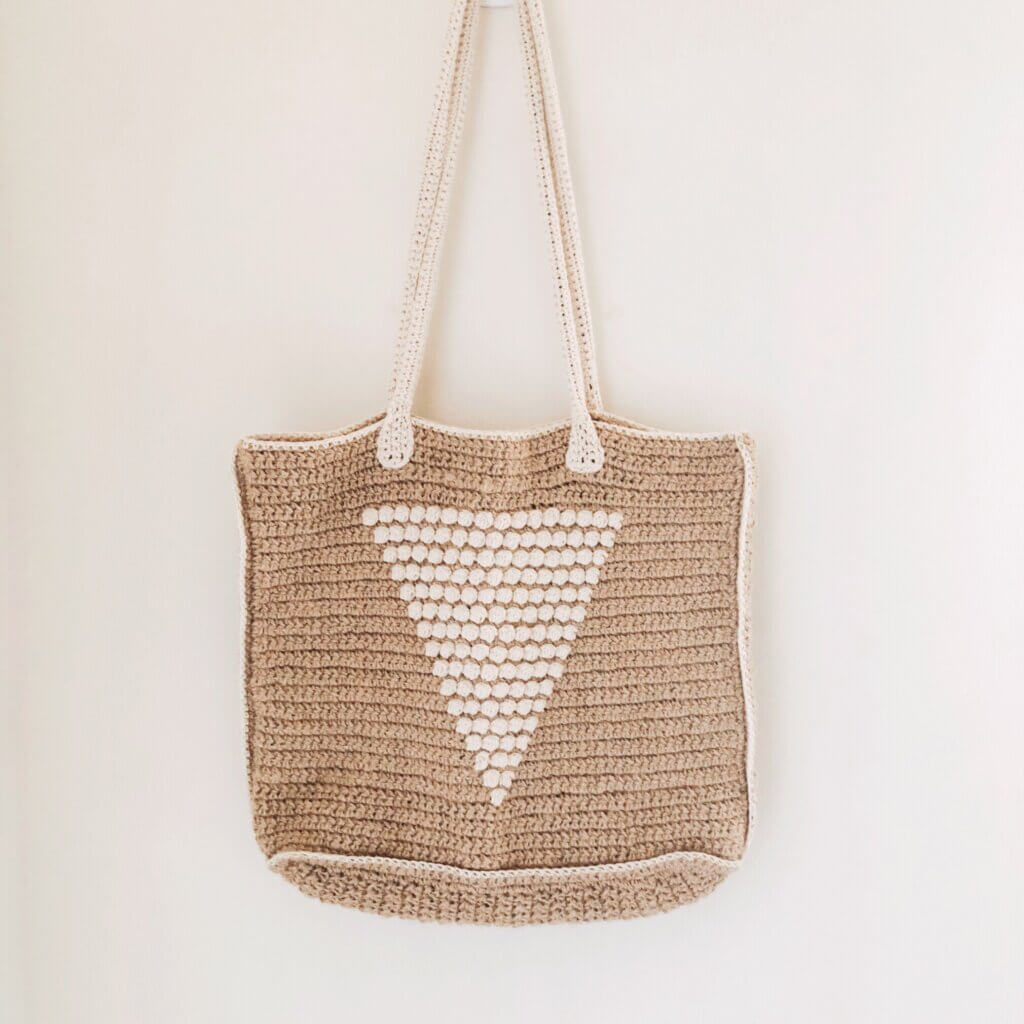
- Straw Crochet Tote Bag – Free Crochet Pattern
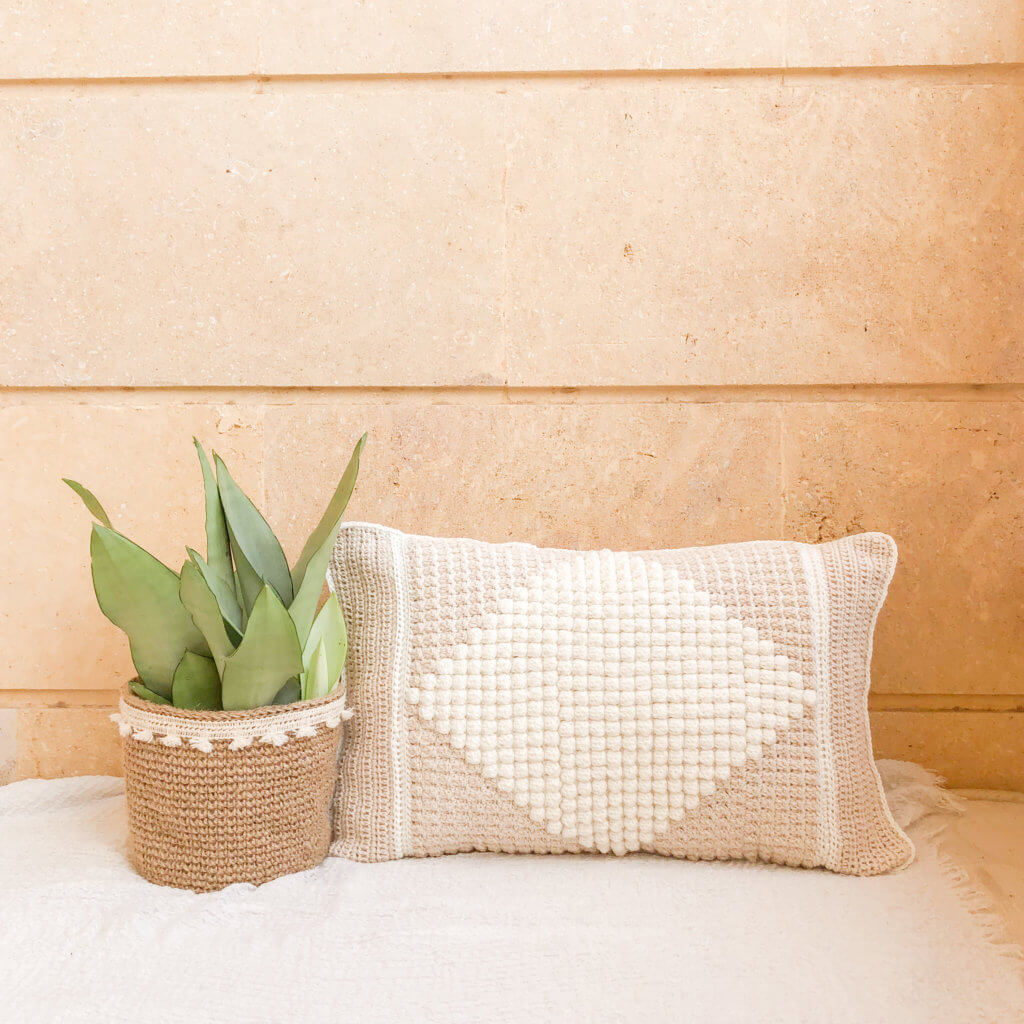
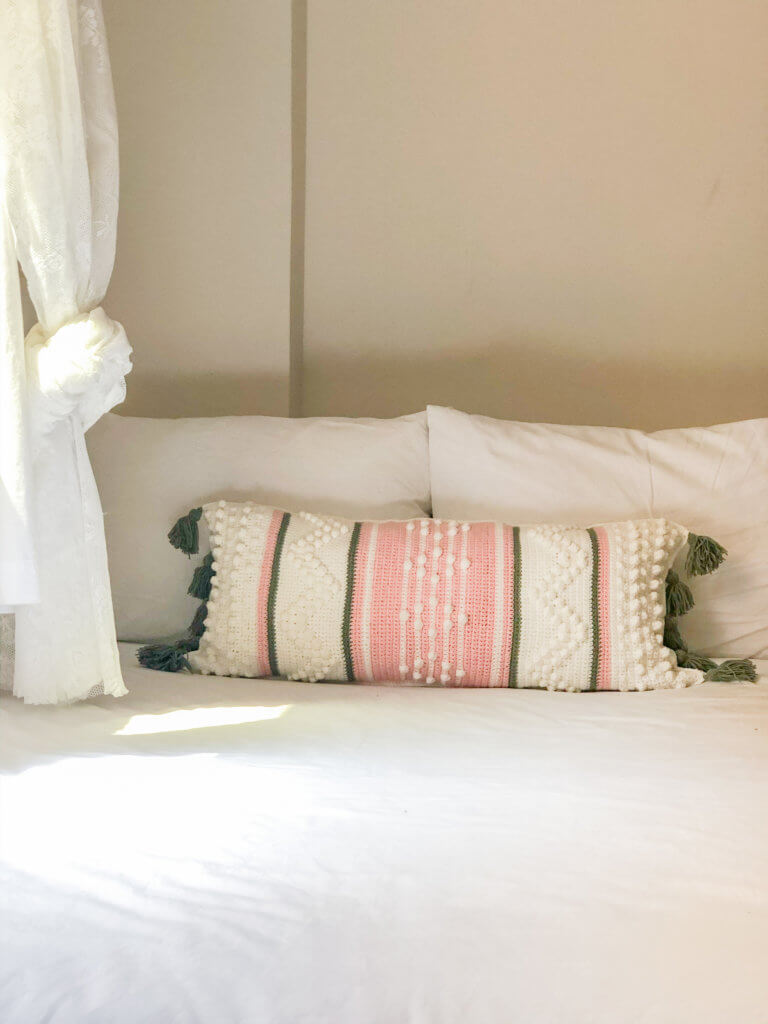
- Anthropologie Inspired long Pillow-Guest Pattern on Bella Coco Crochet Blog!
INSTRUCTIONS:
Front:
To be honest with you as I was writing the pattern for the front piece. I Found it very confusing. Since that you have to switch colors and stitches every couple of stitches. So I decided not to write a the front piece pattern I just included this chart.
So all what you have to do is to:
1- Chain 44
2- Then read the chart key follow the chart. and if you need to adjust the size before starting see the notes section above.
3-Watch the video bellow. Where I explained how to switch colors and stitches within one row.
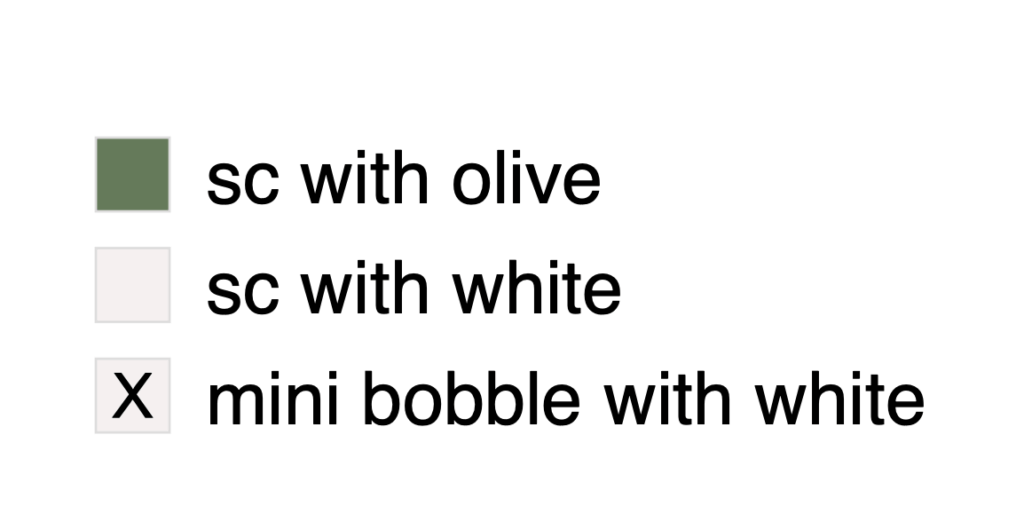
Chart key
Chart
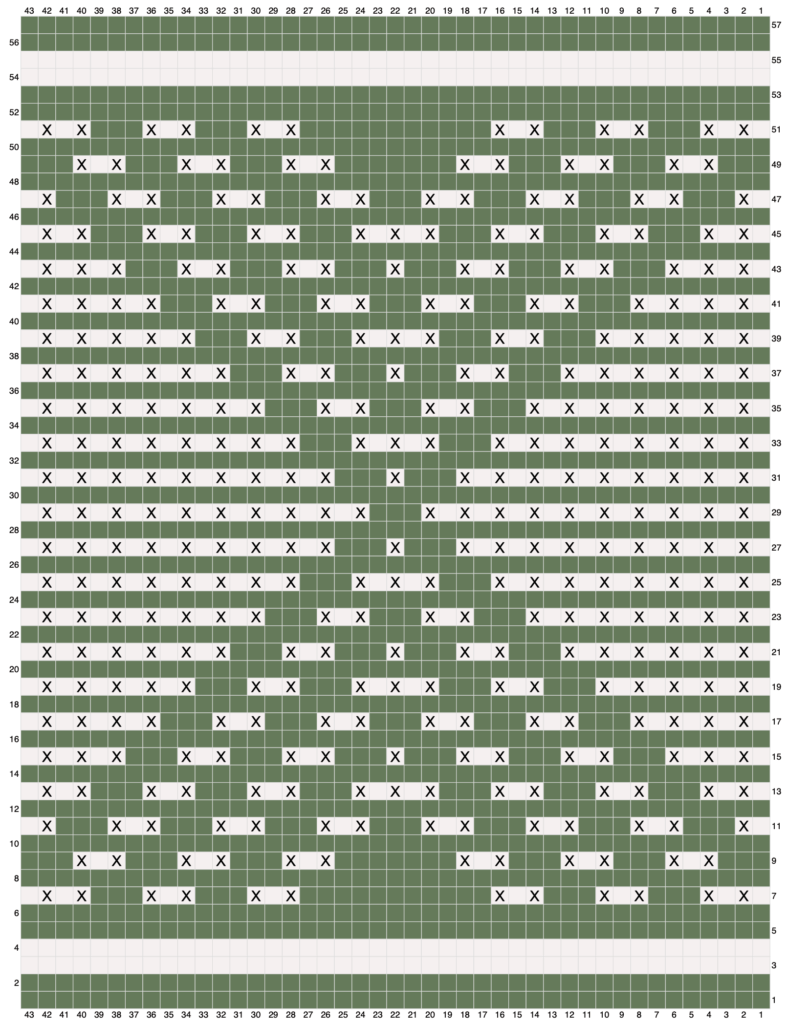
Before finishing the front you will need to make a final sc row along the sides ( crocheting one sc in each row)
Back:
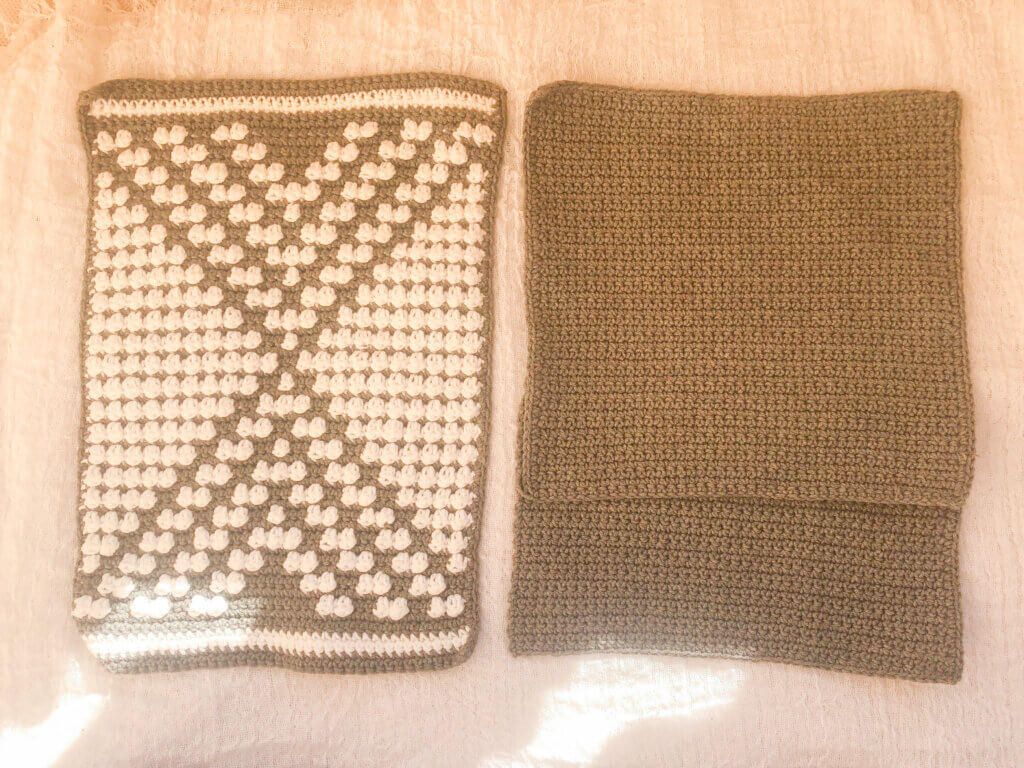
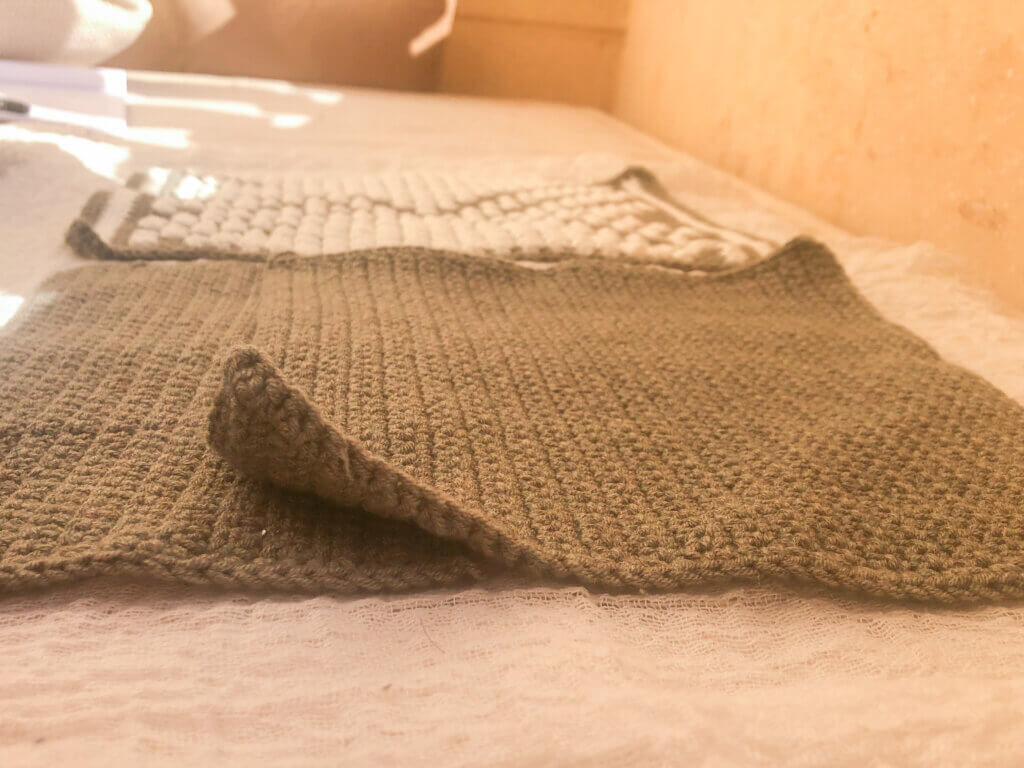
I made an envelope back for this hot water bottle cover pattern. So that you can take it off anytime if you need to wash it or change it.
First piece
Using color A and a 3.5 mm hook, chain 44
Sc in 2nd chain from the hook and across, Ch 1, turn (43)
Row 2-50. Sc across, Ch 1, turn (43)
Finally make a final sc row along the sides of this piece (crocheting one sc in each row)
Second piece:
Using color A and a 3.5 mm hook, chain 44
Sc in 2nd chain from the hook and across, Ch 1, turn (43)
Row 2-30. Sc across, Ch 1, turn (43)
Again make a final sc row along the sides of this piece (crocheting one sc in each row)
Assembly, finishing & Seaming:
Before assembling the front and back together, put the back pieces, then align your bottle on it then put the front piece on it. Make sure that they are all perfectly aligned.
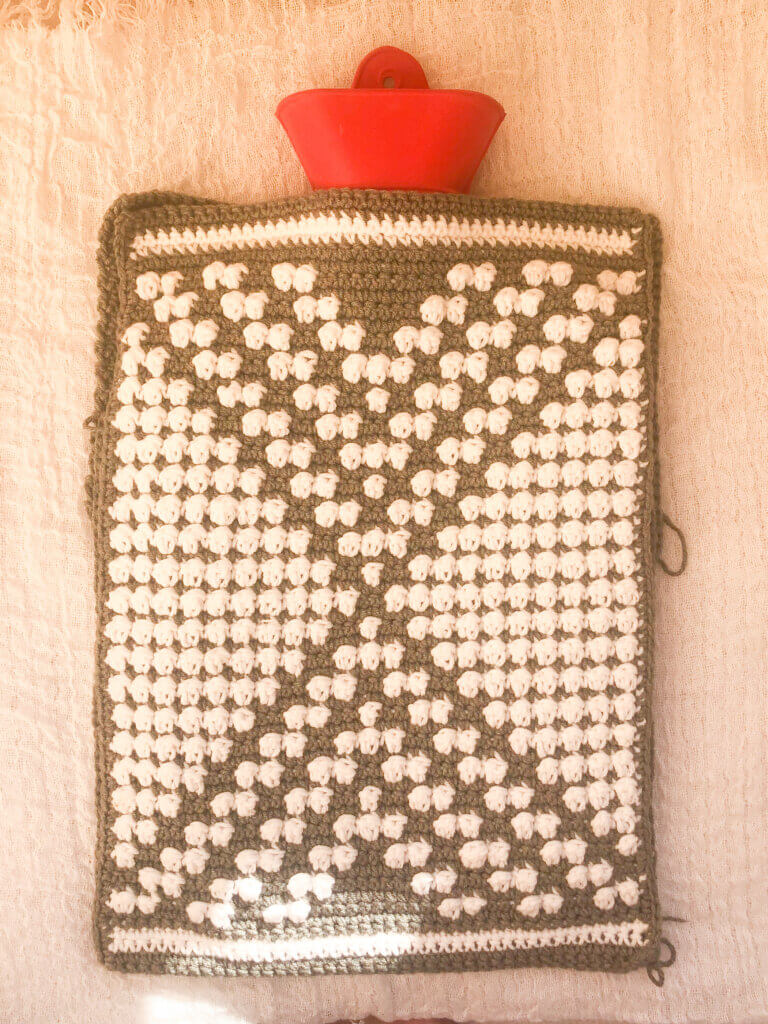
Now put stitch markers to mark the stitches that you are going to leave when you are joining the back and front. So that later you can crochet the last part of this pattern to cover the upper part of the bottle.
I marked the 21 stitches in the middle. In other words I left 11 stitches from each side.
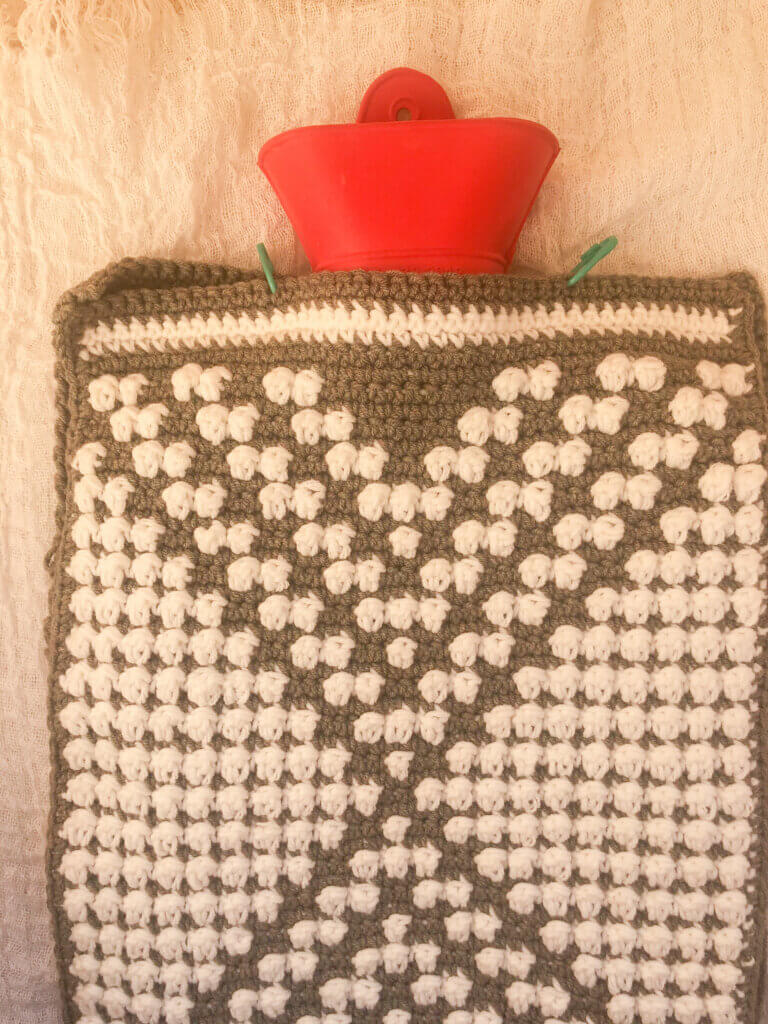
Now you can remove the bottle then align the two back panel against the front again
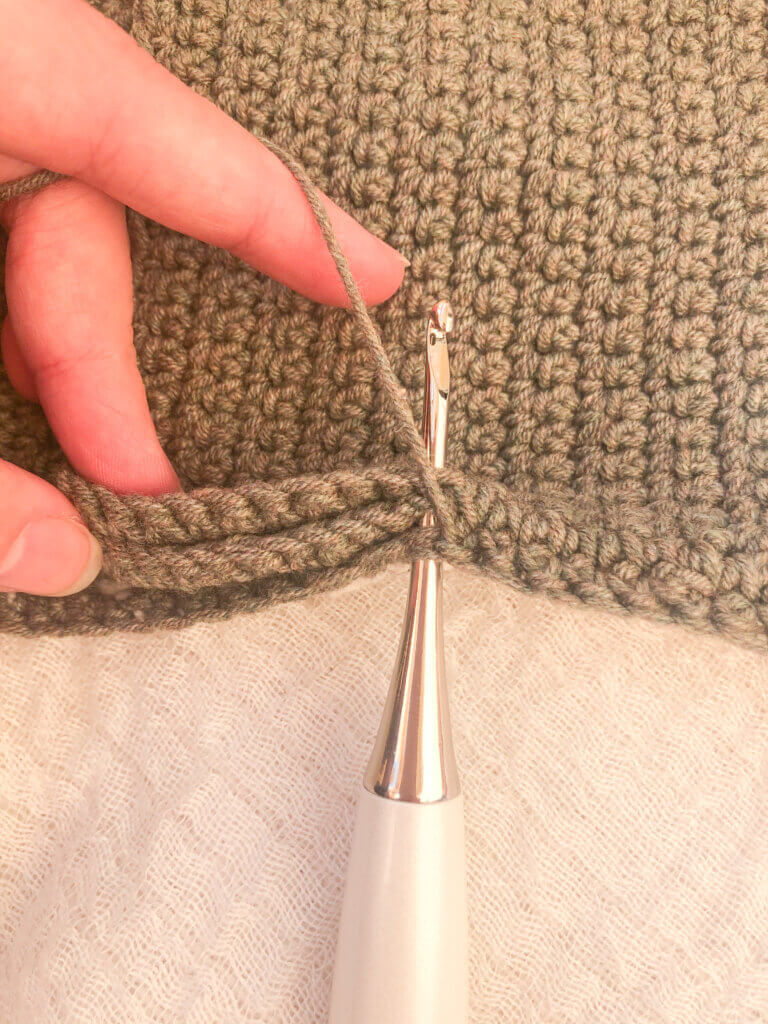
Holding the front and back panels all together with right sides facing out, Single crochet the back and front together. (as you see in this video).
When you reach the point where you have the two overlapping back pieces. Make sure to insert your hook into the three layers as you see in the picture bellow
Now to make rounded corners to perfectly fit the bottle shape. I measured 5 cm from each corner as you see in the picture bellow. Then I Sewed along the dashed lines you see in the picture. I used a yarn needle and matching yarn.
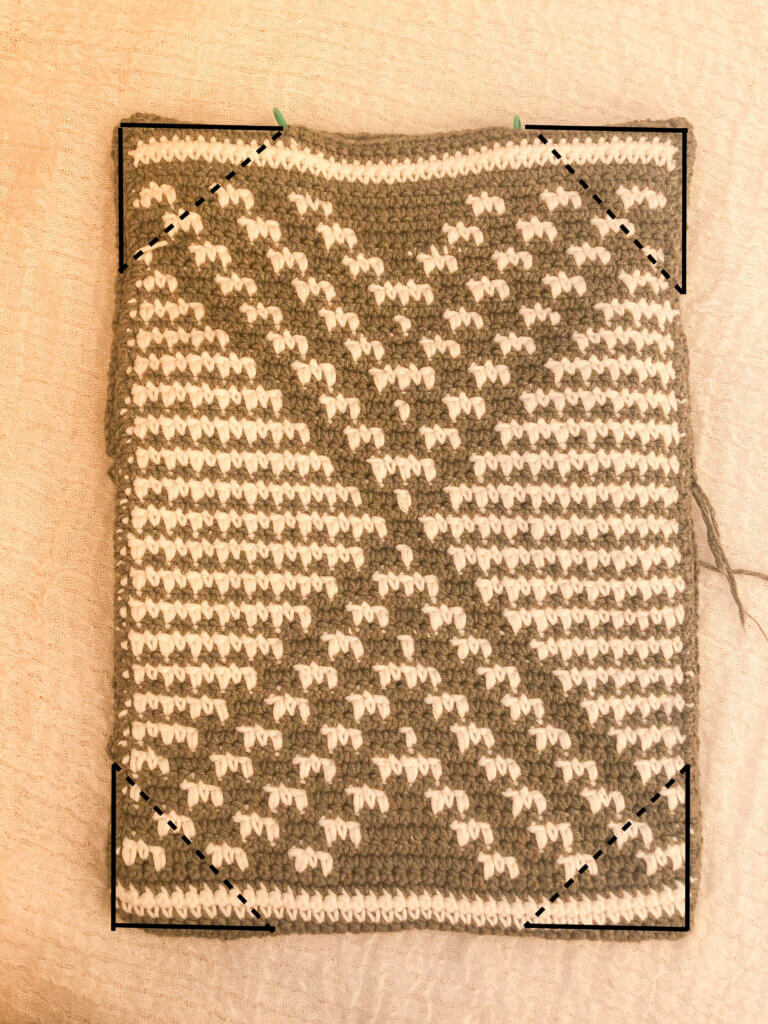
Finally remove your stitch markers. Attach Color A yarn and work 22 SC rounds or as much as you want to cover the upper part of your bottle. I made 22 rounds because I wanted to fold my it into half as if it is a high cole sweater.
I hope you liked this crochet hot water bottle cover pattern. If you made one, share it with me on Instagram. I would love to see how you adapted it and what variations you made!
Take care and happy crocheting.


Hello Nihal,
I really like your designs and also the colours! Very different from other designs I’ve come across on the net. Thank you for the inspiration! Sukran Gazilan 🙂 Greetings from NL.
Hiii!! thank you so much! you made my day!! am so happy you find my designs unique and my content useful.
Hi I am from South Africa.. Love your style on crocheting.