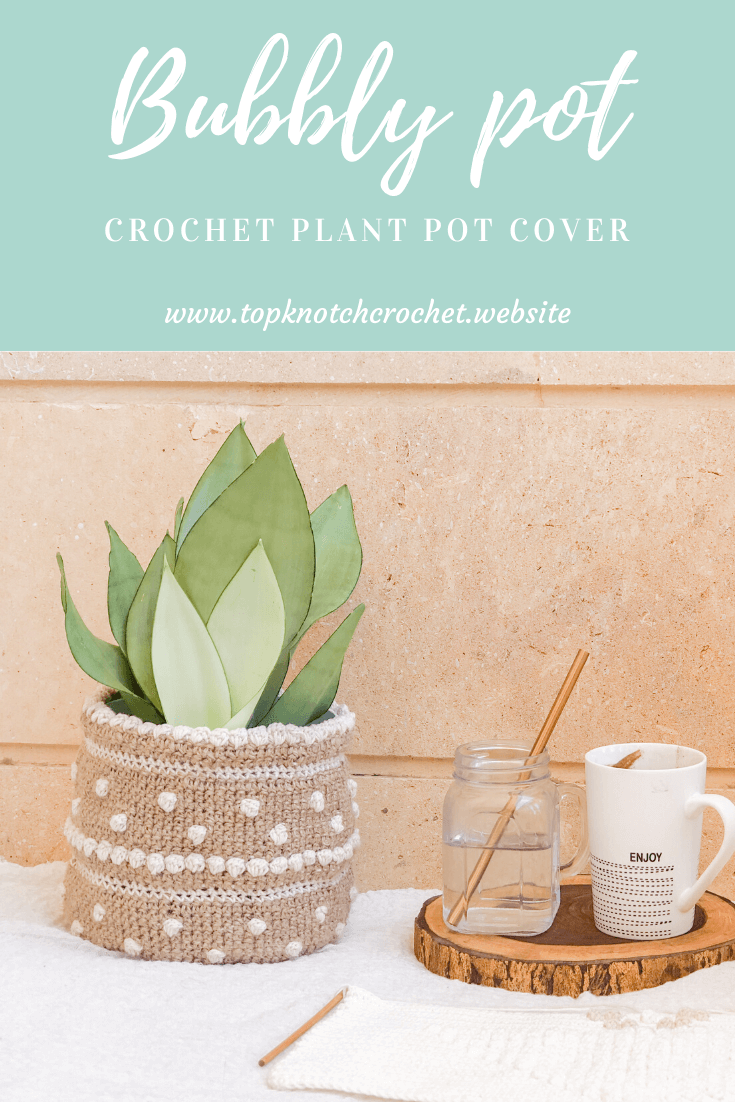
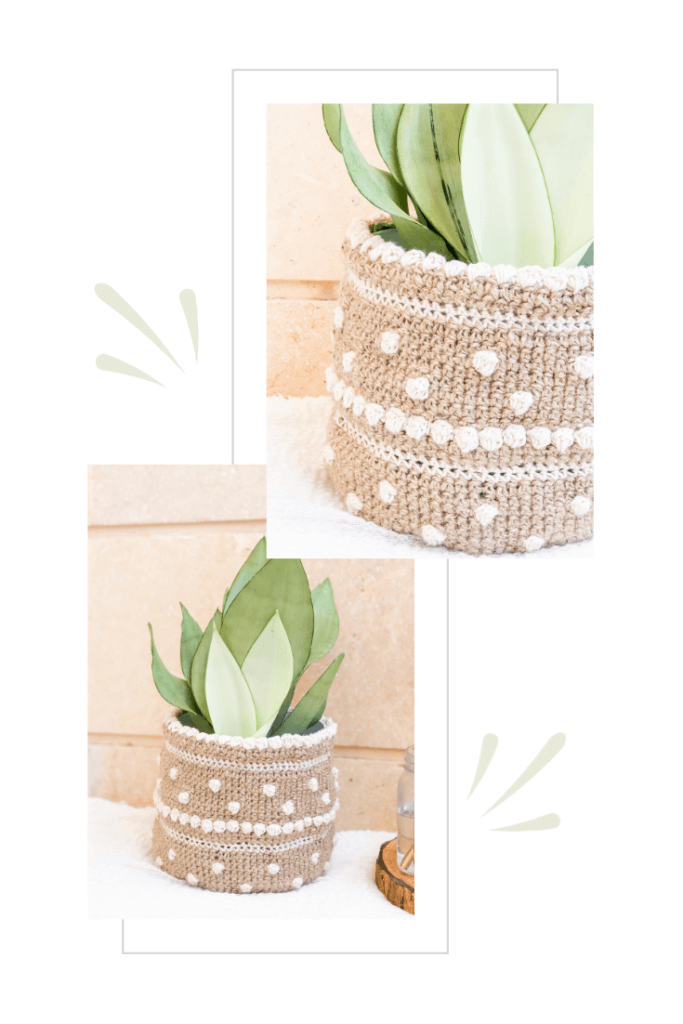
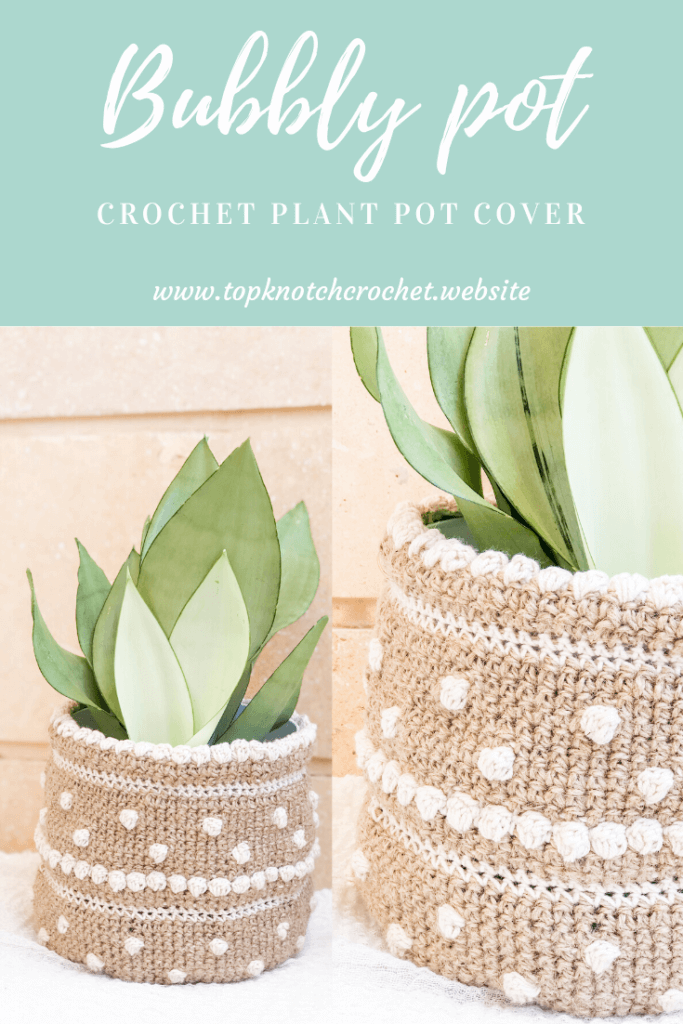
Heyy Crochet Buddies! Am so excited to be sharing this crochet plant pot cover with you! If you have been following me on Instagram, you may know that I bought a couple of indoor plants a while ago while I was doing my room makeover (If you didn’t know about it go check the before and afters as well as all the free crochet patterns included). After getting those plants I really got interested in indoor plants, plant care and propagation, so I decided to create more patterns for plant pot covers and here is the first one!
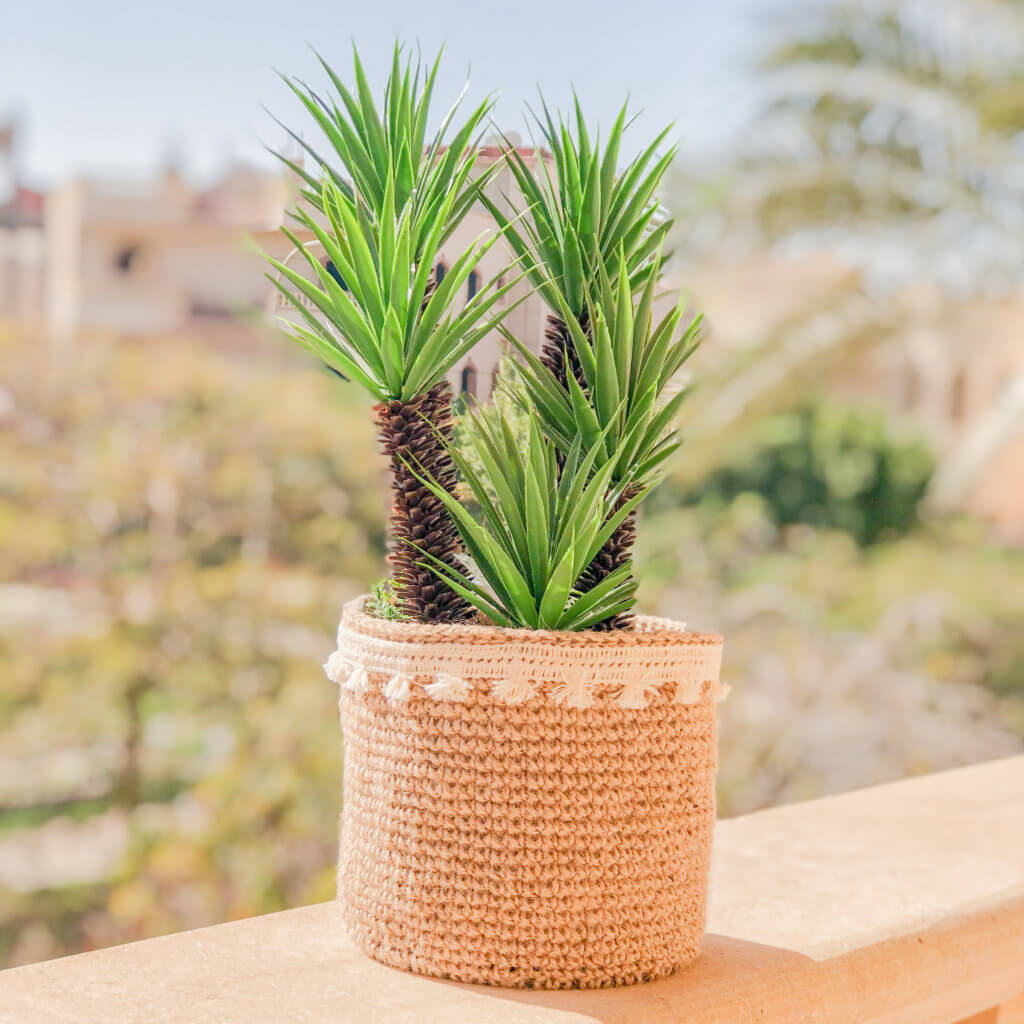
If you didn’t see the previous plant pot cover pattern you can check it here
The materials you will need for this Plant Pot Cover are:
Disclaimer: This blog post may contain affiliate links. I may earn a small commission to fund my coffee drinking habit if you use these links to make a purchase. You will not be charged extra, and you’ll keep me supplied in caffeine. It’s a win for everyone, really.
- Yarn: 1 roll of natural twine yarn (however this can change if you want to make a bigger or smaller size )
I bought mine from my local crafts store. However, I Linked a few options that are very similar to the one I used KINGLAKE 300 Feet Natural Jute Twine , Katzco Heavy Duty All Natural Jute Twine, TIAMALL 300 Feet Natural Jute Twine, Natural Jute Twine 2 Pack - One skein of Alize cotton gold (Code 67) candlelight. Or any sport weight (2) cotton acrylic blend yarn of your choice.
- Hook: 3.5 mm, Stitch markers, Scissors, Measuring tape. Here is a set with one of my favorite hooks sets along with stitch markers and needles
Sizes:
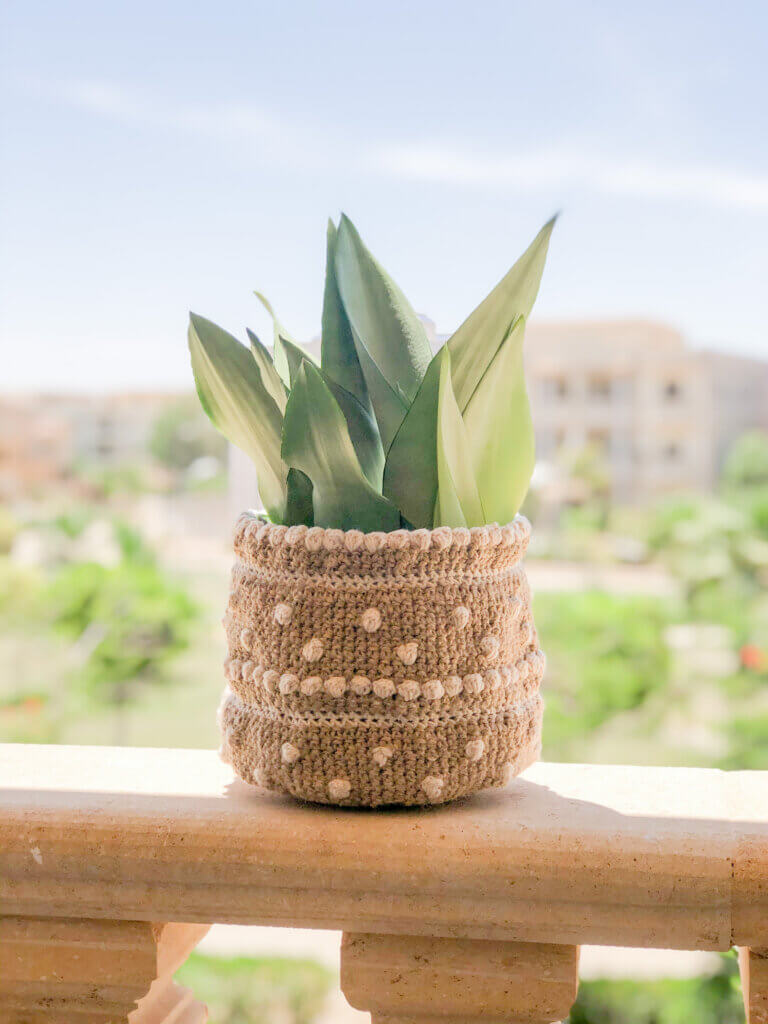
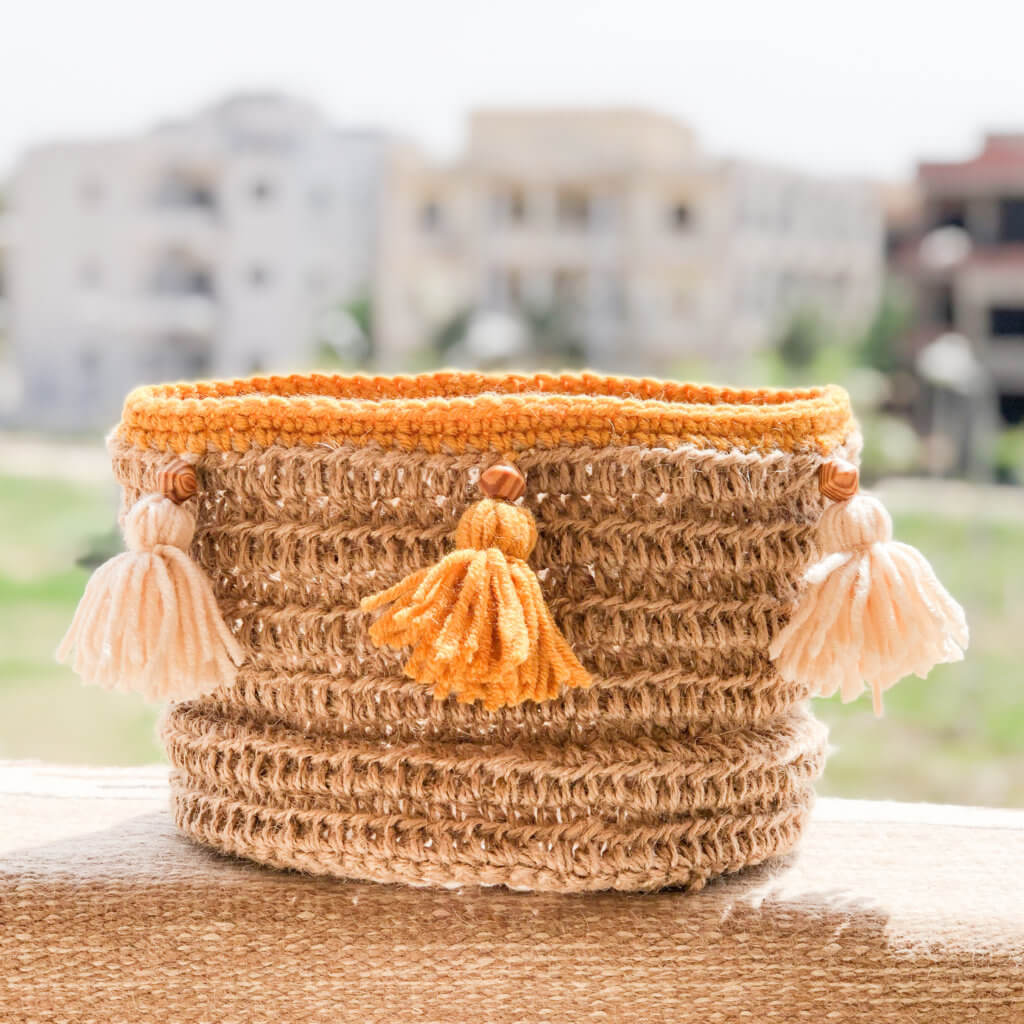
The diameter of the basket base is 19 cm and the height is 17.5 cm
Gauge:
You don’t need gauge for this project.
Skill level: Beginner
Abbreviations and Glossary (US Terms):
- ch – chain
- sc – single crochet
- ss -slip stitch
- Inc – 2 stitches in the same stitch
- bo- Bobble stitch: Yarn over, insert hook into the next stitch and pull up a loop. Yarn over, pull through two loops. as if you are doing the first part of a double crochet (DC) (2 loops on the hook); Repeat it until you have 5 HDC on your hook and 1 initial loop (total 6 loops on the hook). Yarn over and pull through all 6 loops. (1 loop on the hook – pull pretty tight, so your bobble really pops up). And sc in the next stitch.
Notes:
- The pattern is written in us terms,
- You need to put a stitch marker at the last stitch of each round to mark the end of the round. since we will be working with continuous rounds with no slip stitch at the end of each round
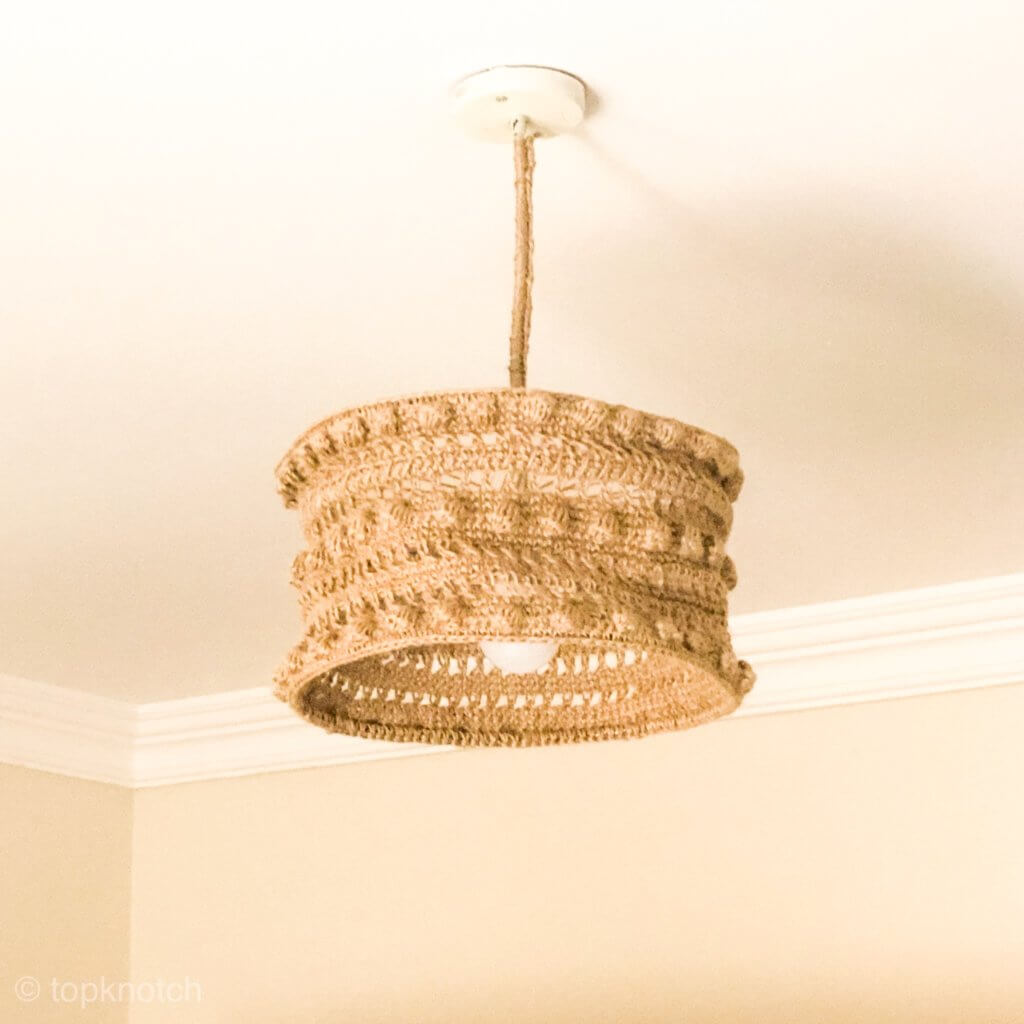
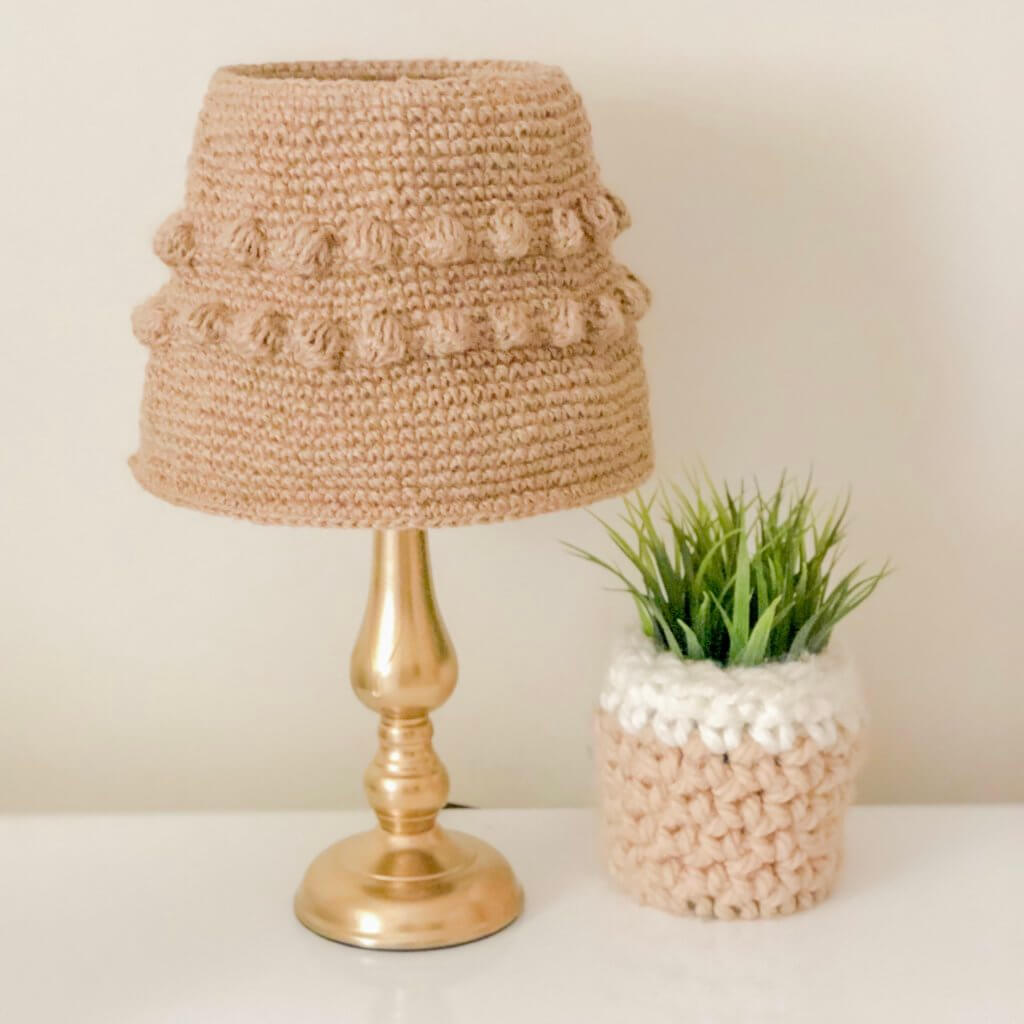
- Although I used this as a plant pot cover, there are lots of other options you can use it for.
- You can also work less or more rounds to decrease or increase it’s height.
- If you want To use this as a plant pot cover you may need to get a pot with its saucer.
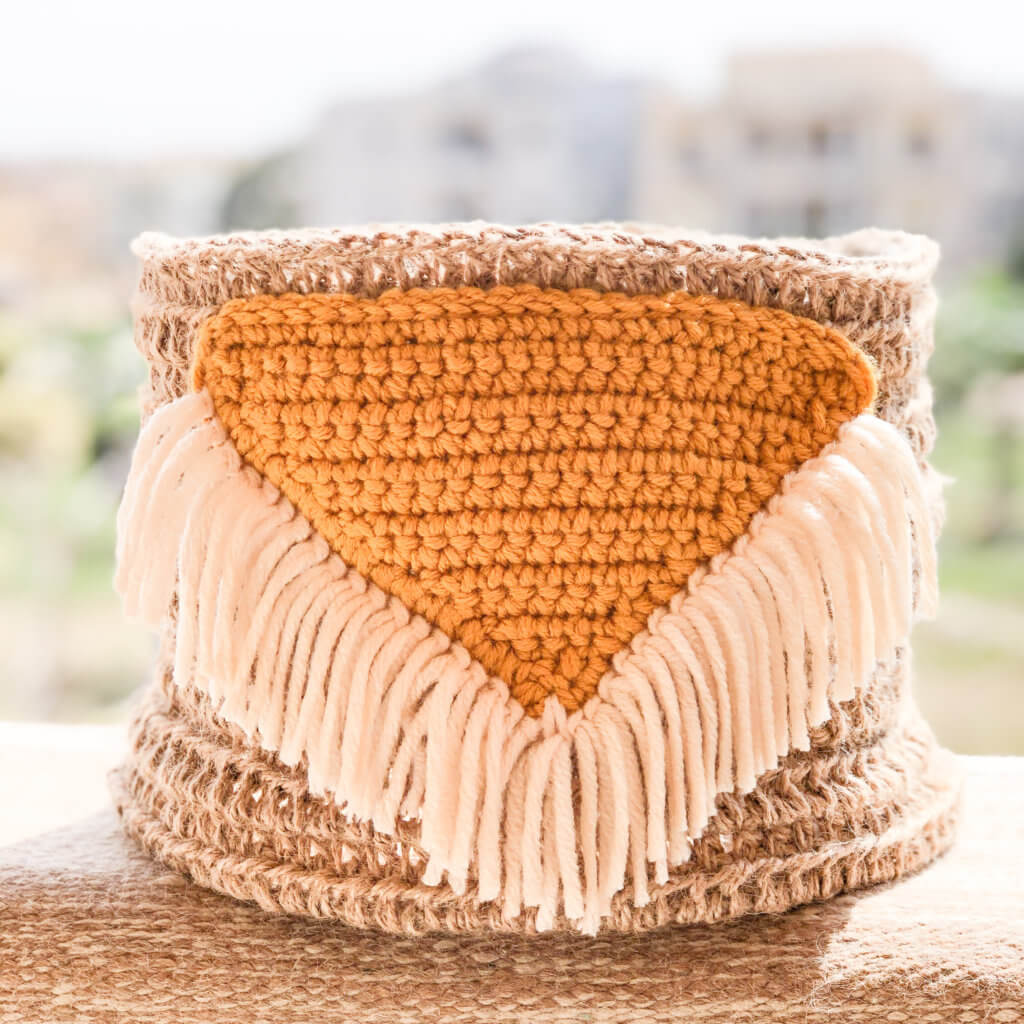
- I will be referring to Jute as color A. And the beige cotton as color B
- All bobble stitches are worked with color B, and all sc is worked with color A except for the specified sc rows that are worked with color B
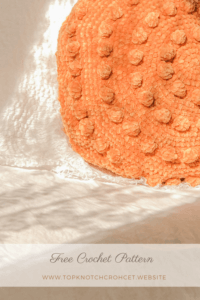
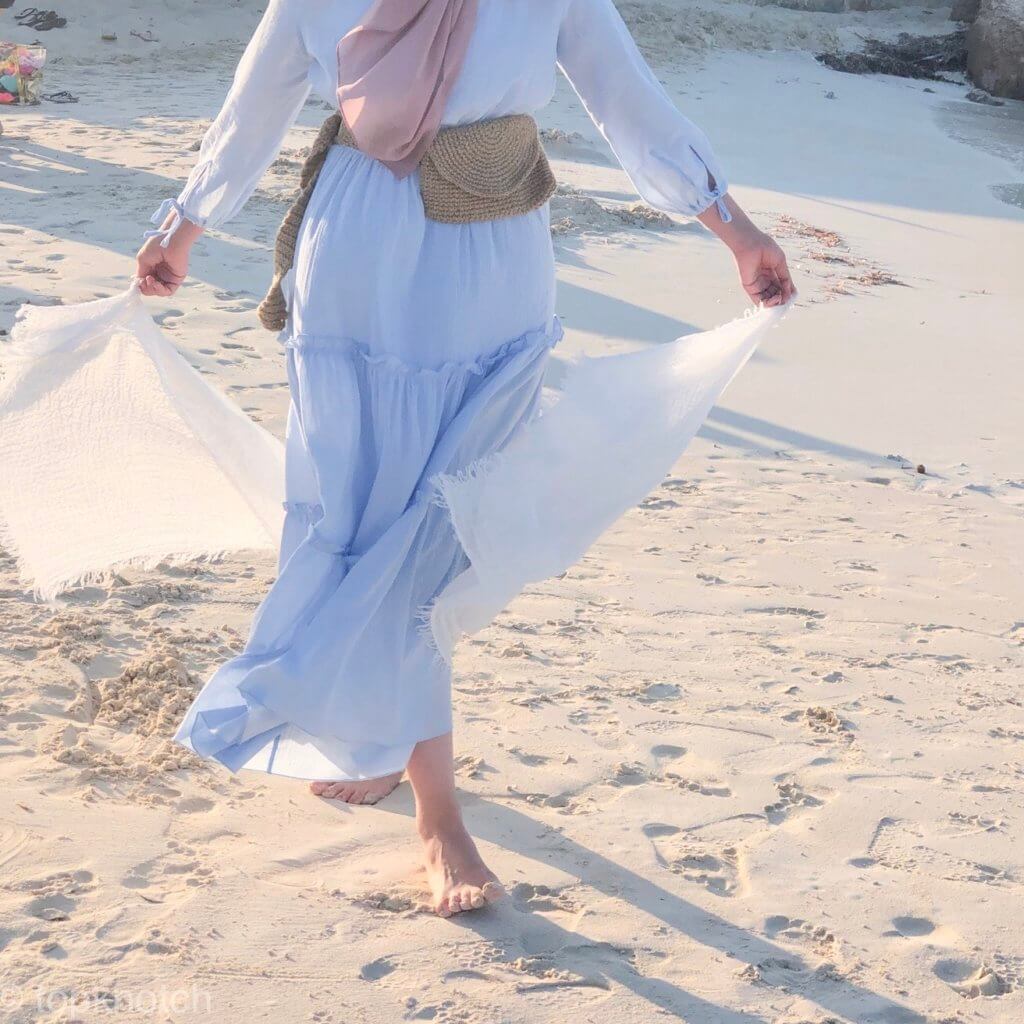
Pin It For Later:
Instructions:
Base:
With color A
Round 1. 8 sc in magic ring {8}
Round 2. Two sc in each sc from the previous round {16}.
Round 3. Sc in the first stitch. *Inc, sc in the next stitch * repeat from * to* till the end of the round {24}
Round 4. Sc in the next 2 stitches. *Inc, sc in the next 2 stitches*. Repeat from * to* till the end of the round {32}
Round 5. Sc in the next 3 stitches.*Inc, sc in the next 3 stitches*. Repeat from * to* till the end of the round {40}
Round 6. Sc in the next 4 stitches.*Inc, sc in the next 4 stitches*. Repeat from * to* till the end of the round {48}
Round 7. Sc in the next 5 stitches. *Inc, sc in the next 5 stitches*. Repeat from * to* till the end of the round {56}
Round 8. Sc in the next 6 stitches. *Inc, sc in the next 6 stitches*. Repeat from * to* till the end of the round {64}
Round 9. Sc in the next 7 stitches. *Inc, sc in the next 7 stitches*. Repeat from * to* till the end of the round {72}
Round 10. Sc in the next 8 stitches. *Inc, sc in the next 8 stitches*. Repeat from * to* till the end of the round {80}
Round 11. Sc in the next 9 stitches. *Inc, sc in the next 9 stitches*. Repeat from * to* till the end of the round {88}
Flip your work so that the wrong side of the stitches are facing you. And as you work the rest of this pattern you will be facing the inside of the plant pot/ basket.
Round 12. sc in front loops only in each stitch in the round
We will start to work on the height of the basket.
Round 13-14. Sc in each stitch in the round
Here is how to attach the second color & switch colors for the bobbles
Round 15. Attach color B at the beginning of the round as you see in the video. Sc in the first 4 stitches, *1 bo in the next stitch, sc in the next 7 stitches* repeat from * to* 9 more times, 1 bo in the next stitch, sc in the last 3 stitches (you will have total 11 bobbles)
Now you can either leave color B yarn and pick it up after two rounds (This is shown in the picture bellow). Or you can work the next two rounds over it as shown in the video
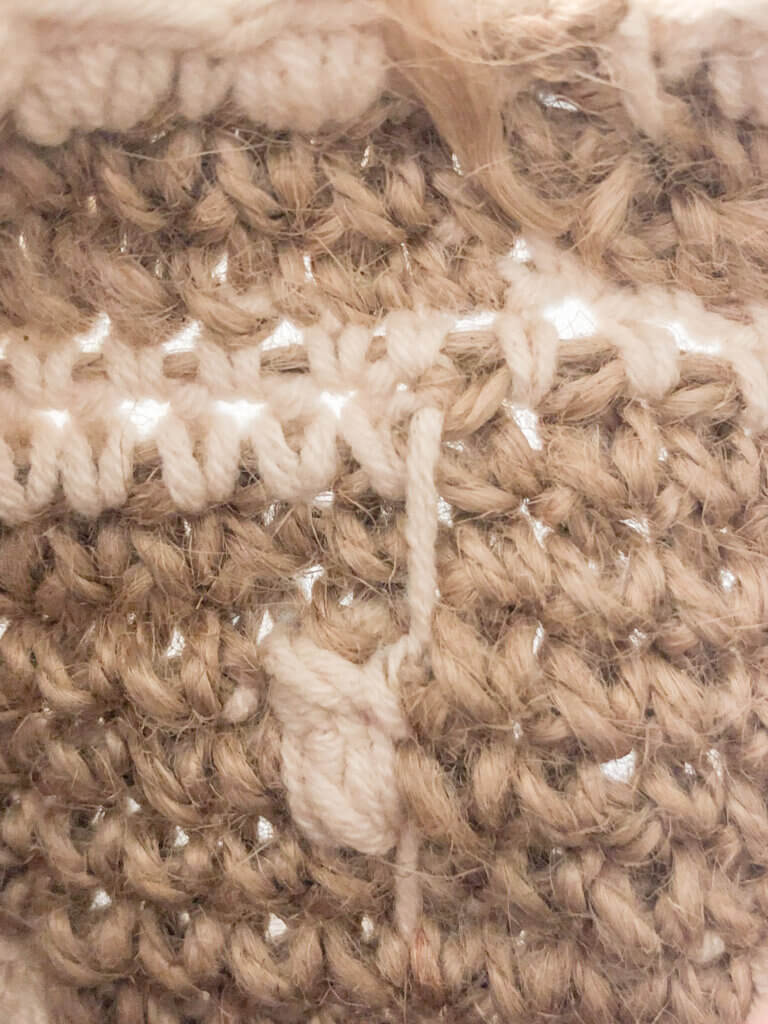
Round 16-17. With color A, Sc in each stitch in the round
Round 18. Pick up color B at the beginning of the round (if you weren’t already working your stitches above it) and work 1 bo in the very first stitch, sc in the next 7 stitches, *1 bo in the next stitch, sc in the next 7* repeat from * to* till the end of the round (again you will have total 11 bobbles)
Round 19-20. using color A Sc in each stitch in the round.
Round 21-22. Switch to Color B and work one sc in each stitch
Round 23-24. Switch back to jute and work one sc in each stitch
Round 25. Again switch to color B. *Work 1 bobble stitch in the very first stitch and 1 sc in the next* Repeat from * to * till the end of the round!
Finally repeat from round 13 to round 25 one more time
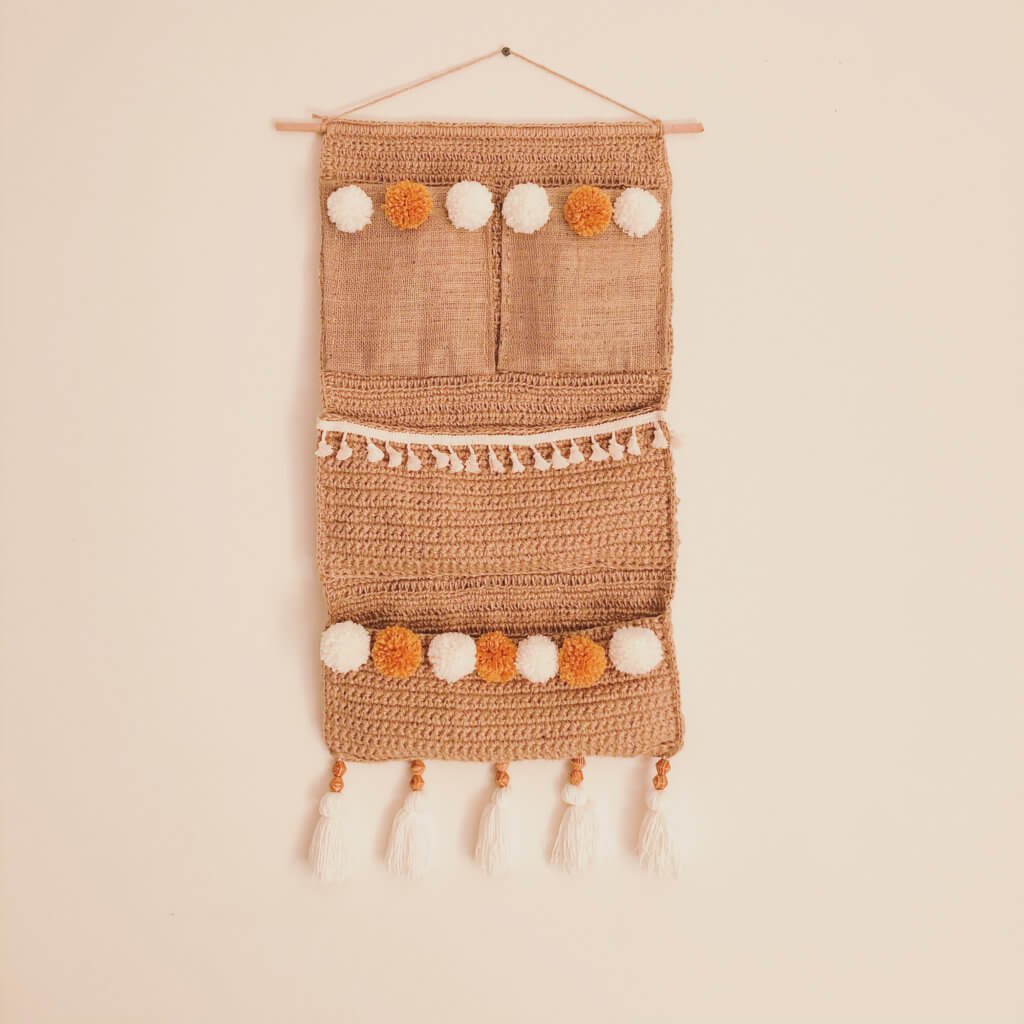
If you’re crazy about Jute yarn, you might enjoy hooking up one of these:
Pin It For Later:
I hope you liked this crochet pattern. If you made one, share it with me on Instagram. I would love to see how you adapted it and what variations and colors you used 🙂
Take care and happy crocheting!!