
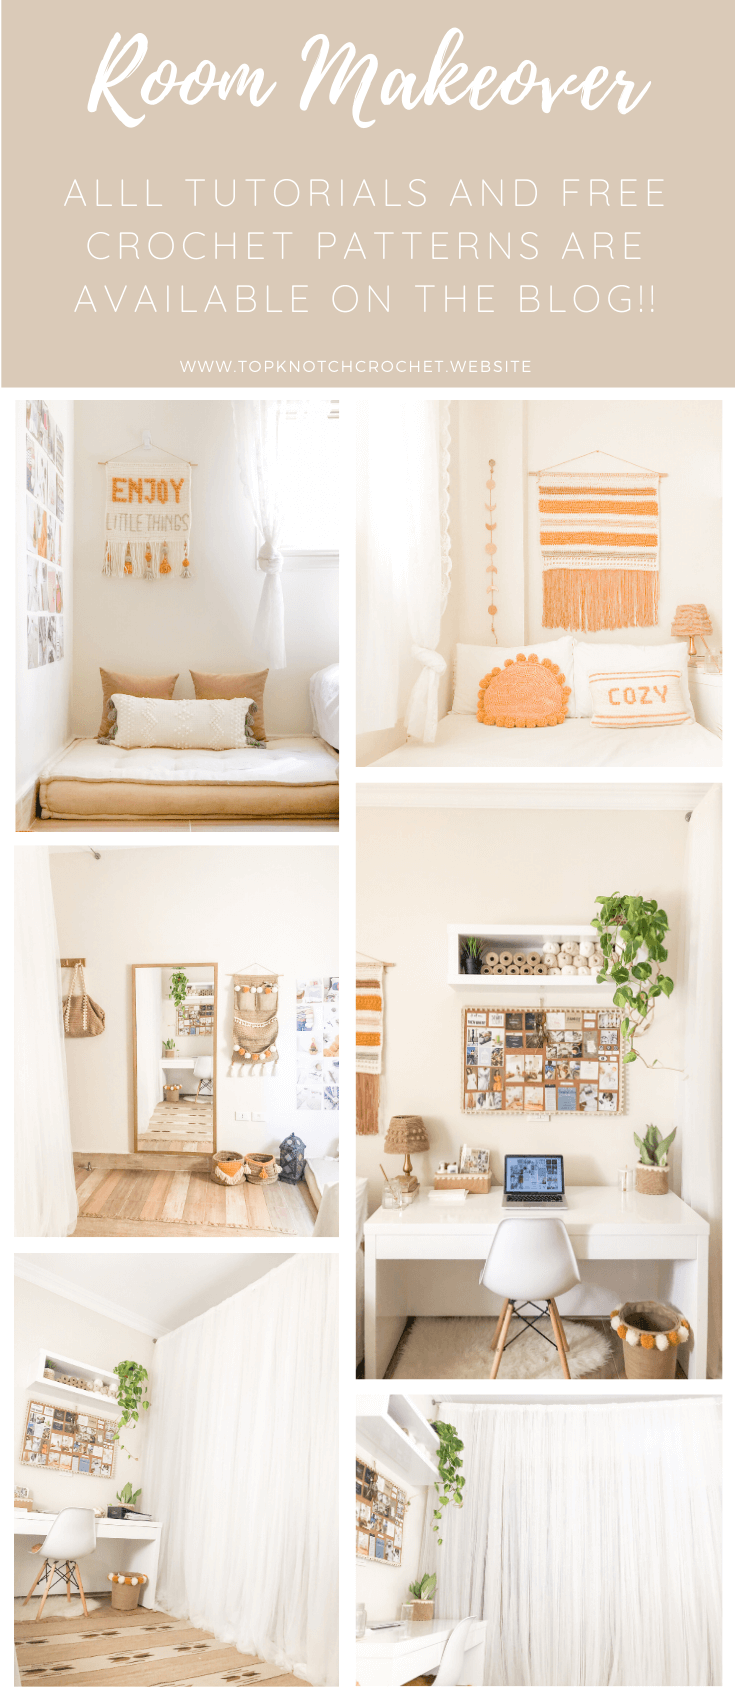
Heyyy buddies am superrr excited to share this blog post for my diy room makeover with you!!
If you have been following me for a while you may know about this room makeover and my procrastination too!
But I finally can share it with you!
A few months ago after binge watching Hermione Chantal and Alexandra Gater makeover videos on youtube. I got really excited to do my room and I thought I can do this mainly using crochet and some DIYs. First coz am all about creating home decor patterns and second to create more content for my blog and finally coz I mainly wanted to add texture to my very minimal and plain room. And what is better than crochet to do this!
The only things I had to buy for this whole room makeover was a new chair for my desk, the Ikea curtain wire and net curtains to create the room separator and hide my closet. And of course loads and lots of yarnnnn!!!
FOR EACH PART YOU WILL FIND A BEFORE, DURING, AND AFTER.
ALSO SOMETIMES YOU CAN FIND MORE THAN ONE DURING OR AFTER, COZ I LIKE TO MIX THINGS UP!!
FINALY AS WE MOVE THROUGH THE BEFORE AND AFTER PICTURES YOU WILL FIND SOME TIPS THAT I HAVE LEARNED WHILE DOING MY ROOM.
Here are all the patterns/ tutorials that are included in this room makeover series!
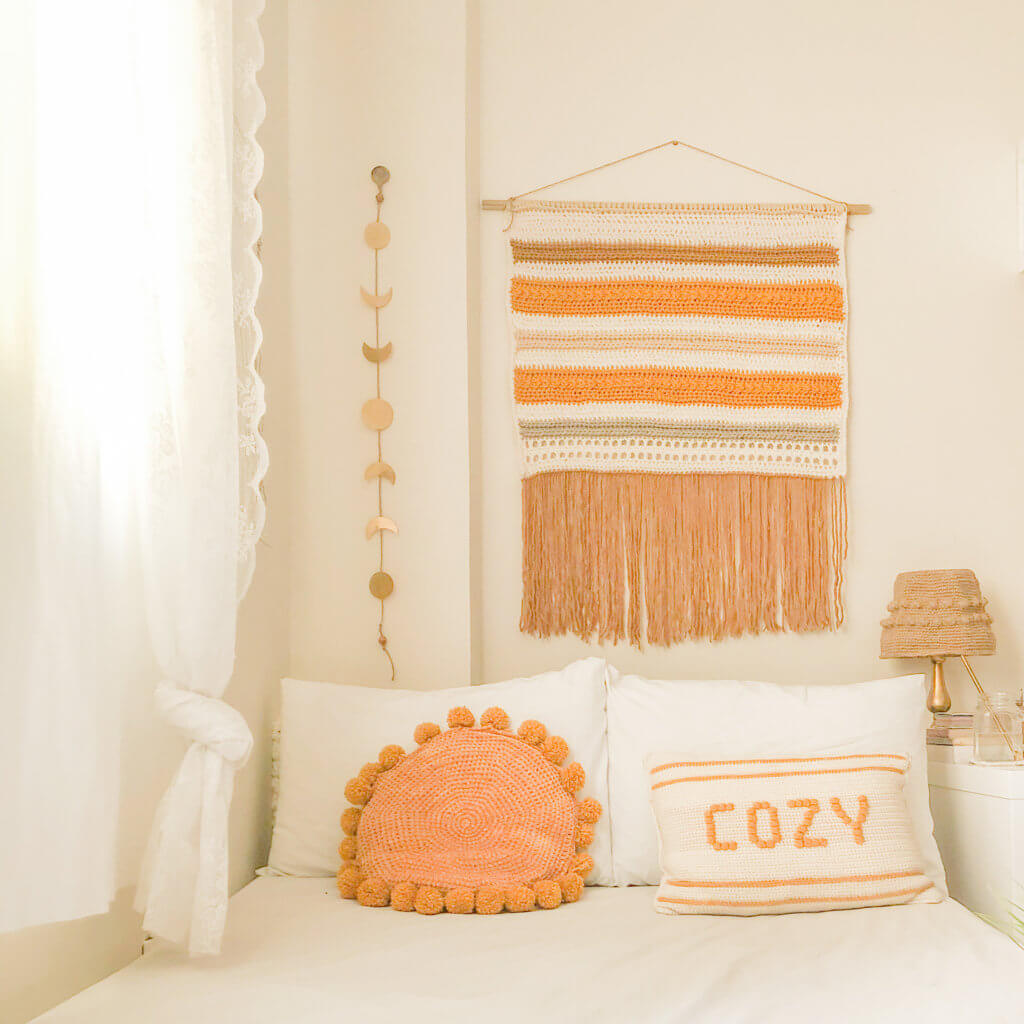
- Boho Crochet Wall Hanging-
- Yarn Stash Buster – Crochet Wall Hanging
- “Enjoy little things” wall hanging
- Wall pocket / wall organizer
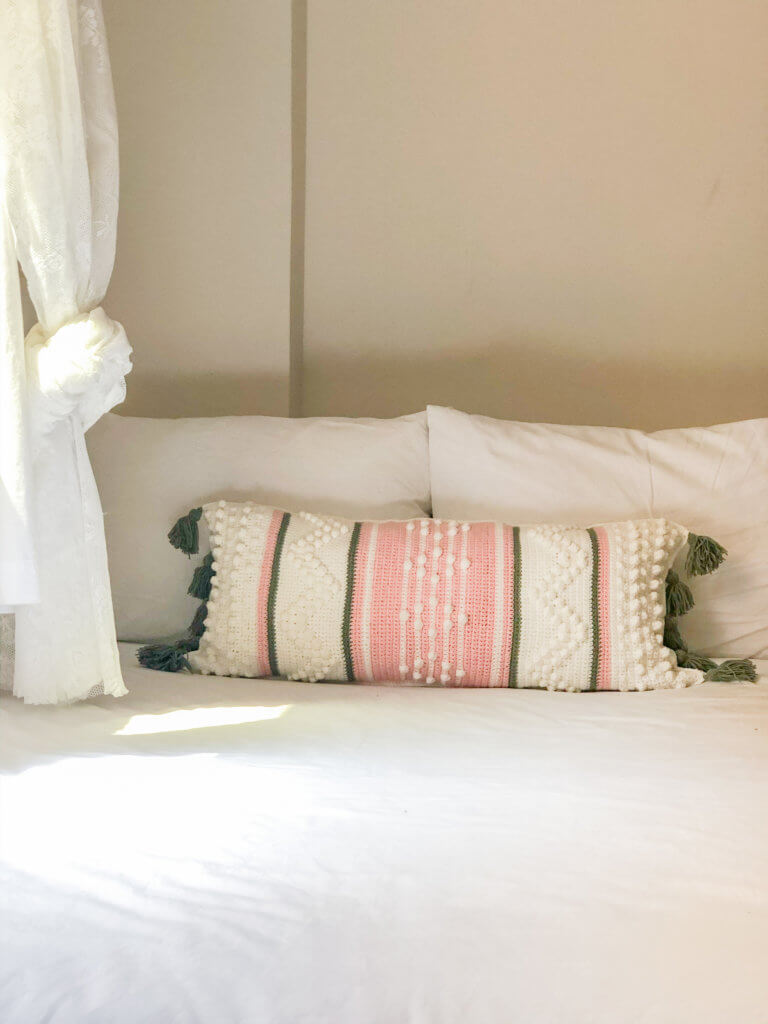
- Bobble-licious Crochet Pillow Case Free Pattern
- Crochet boho Baskets
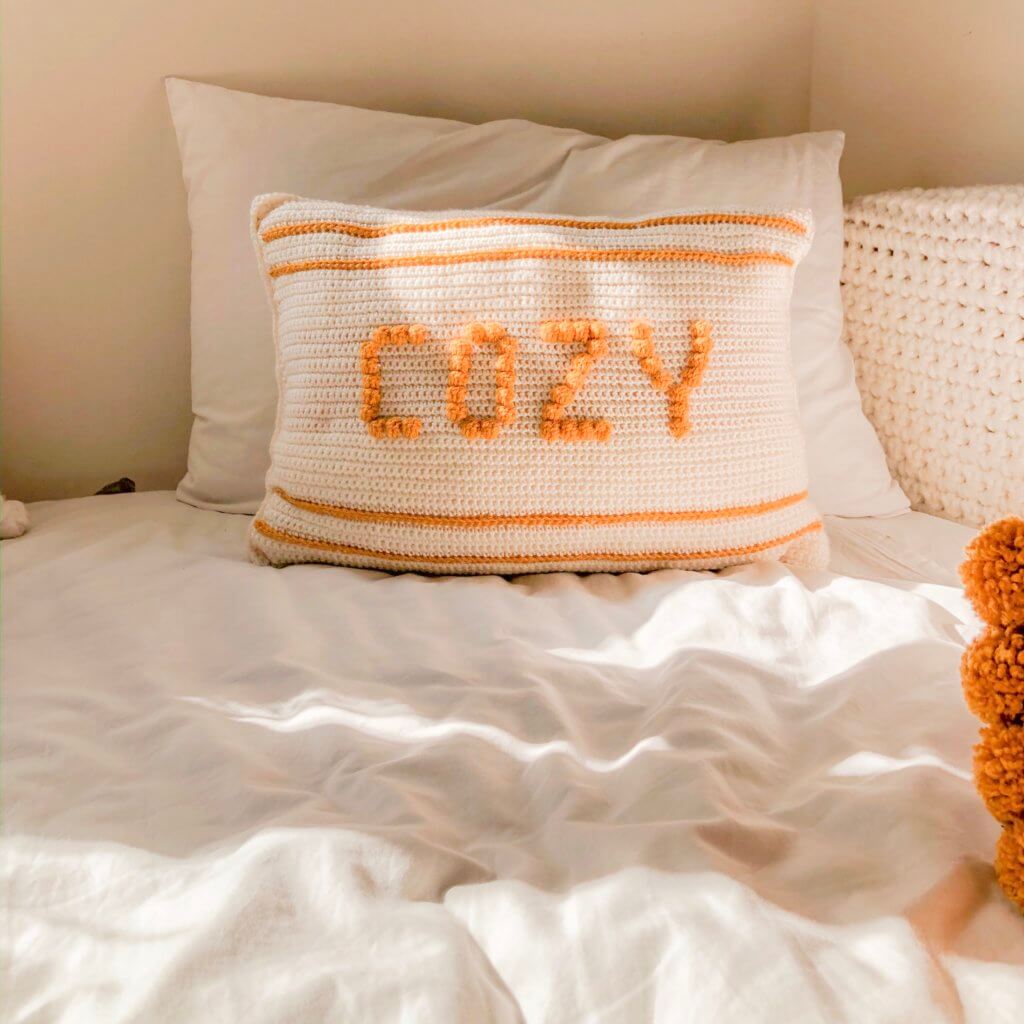
- Cozy crochet cushion
- DIY Vision board
- Wall pocket / wall organizer
- DREAM dream catcher
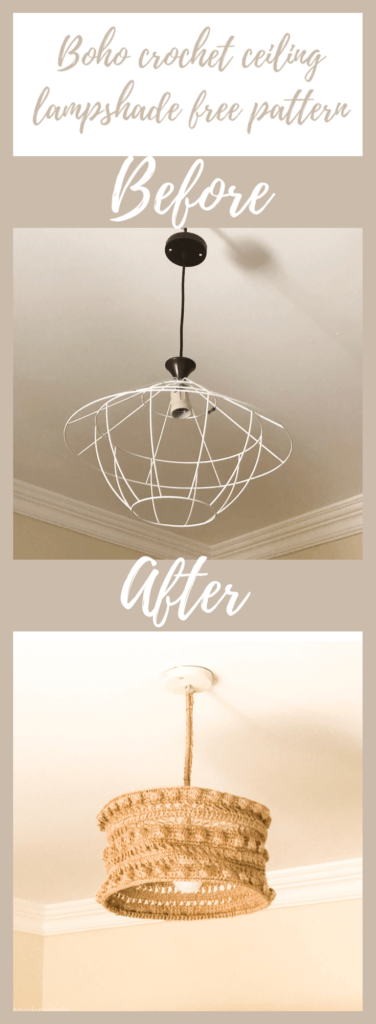
- Boho ceiling lmapshade
- Bedside Table Lampshade Free Pattern & Photo Tutorial
- Round Velvet Crochet Pillow Case
- Crochet Plant Pot Cover / Decorative Basket
- Rise and shine wall hanging
- DIY Waste Basket / Trash Can – Photo Tutorial
- Sunshine Crochet Pillow Case – Free Pattern.
Without further due lets start with the before and after pictures of each section in the room!
Tip #1
To decide on a theme for your room go on Pinterest and browse different styles boho, minimal boho, Scandinavian, shabby chick for example. See what style best suit your taste, After you decide on the main ideas and style, it’s the time for colors. Pick the colors that makes you the happiest and most relaxed. For me I love The warm sunlight colors as well as white and beige so this was my general theme.
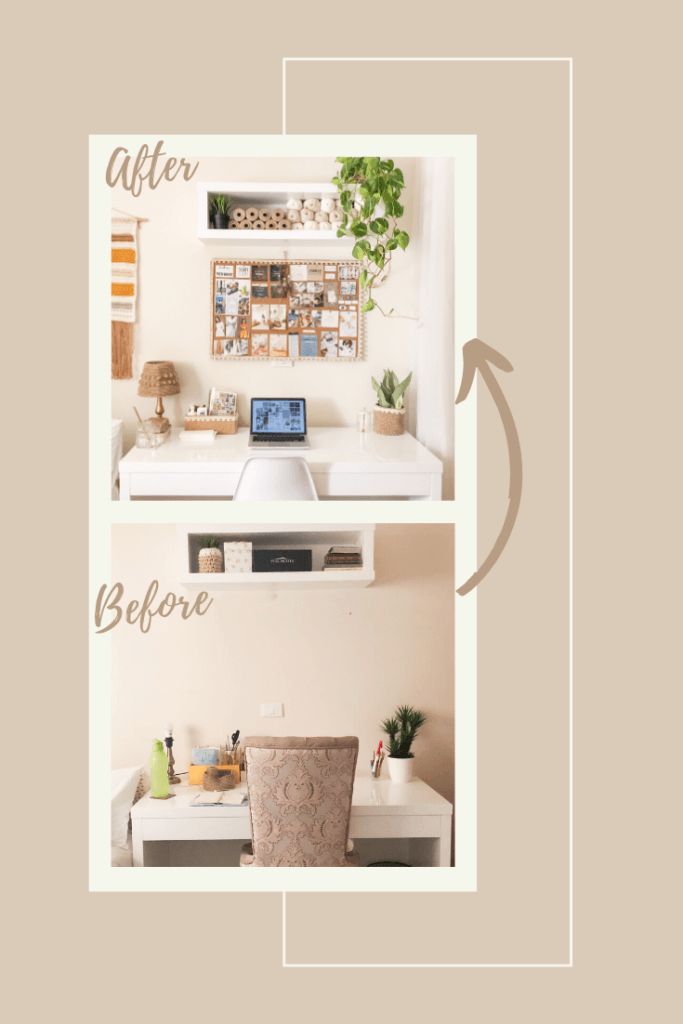
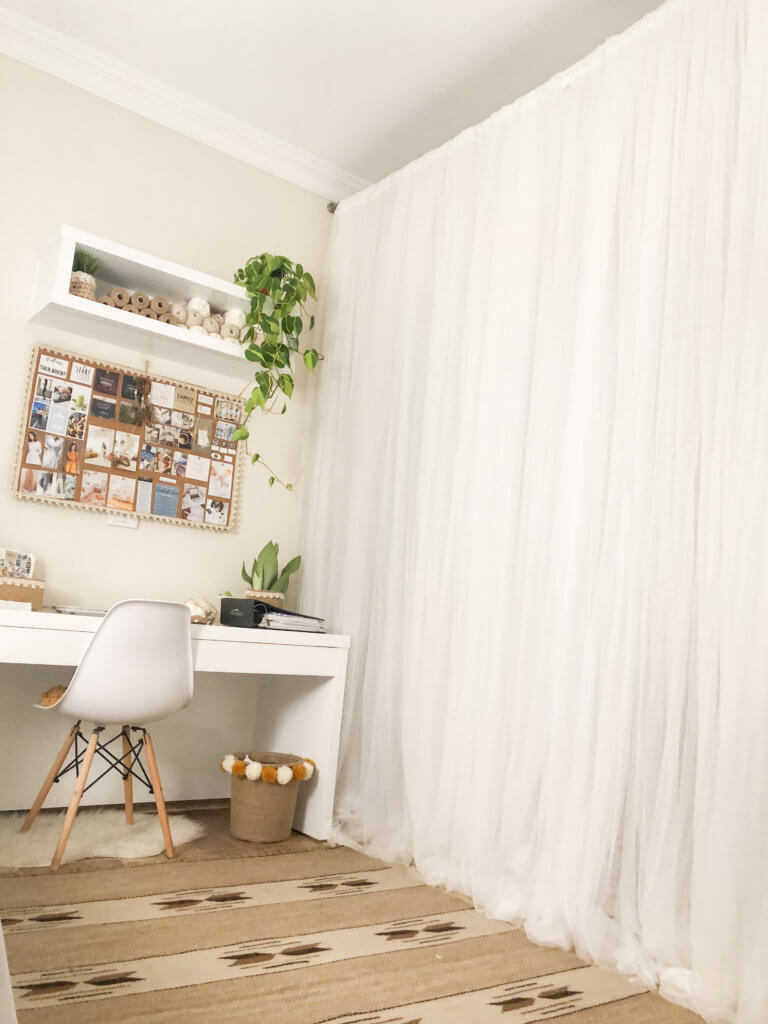
Desk – Before
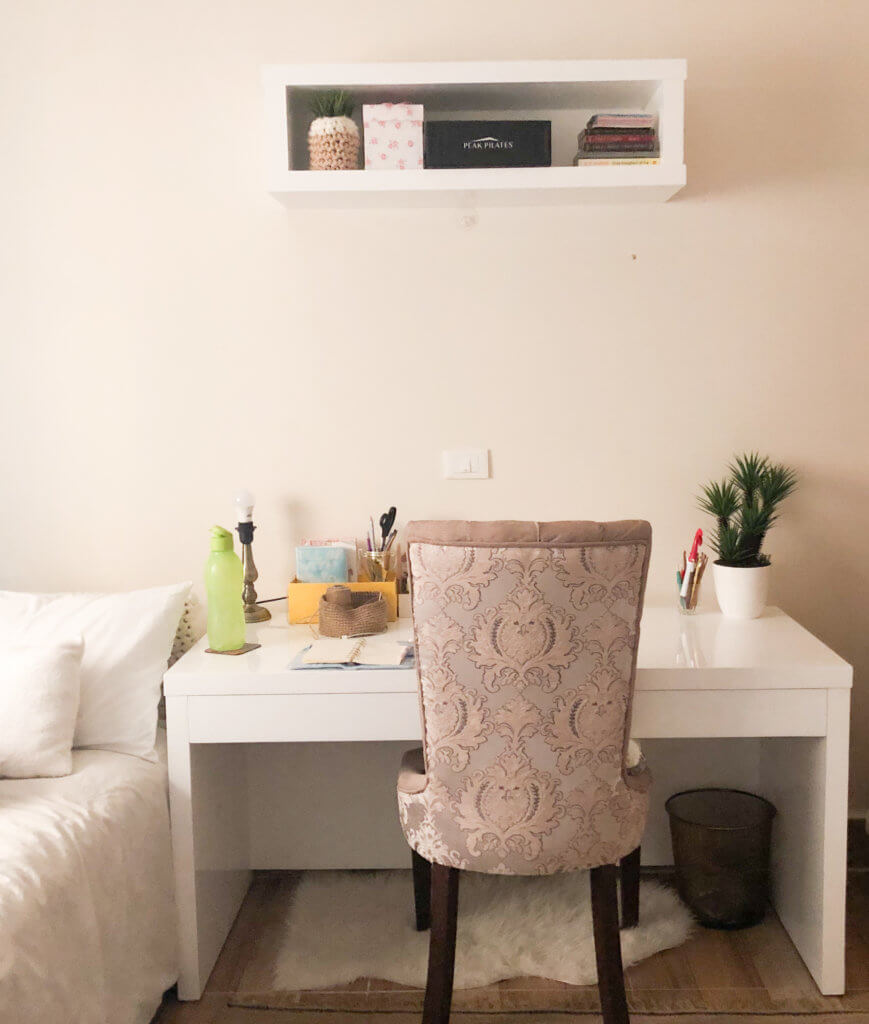
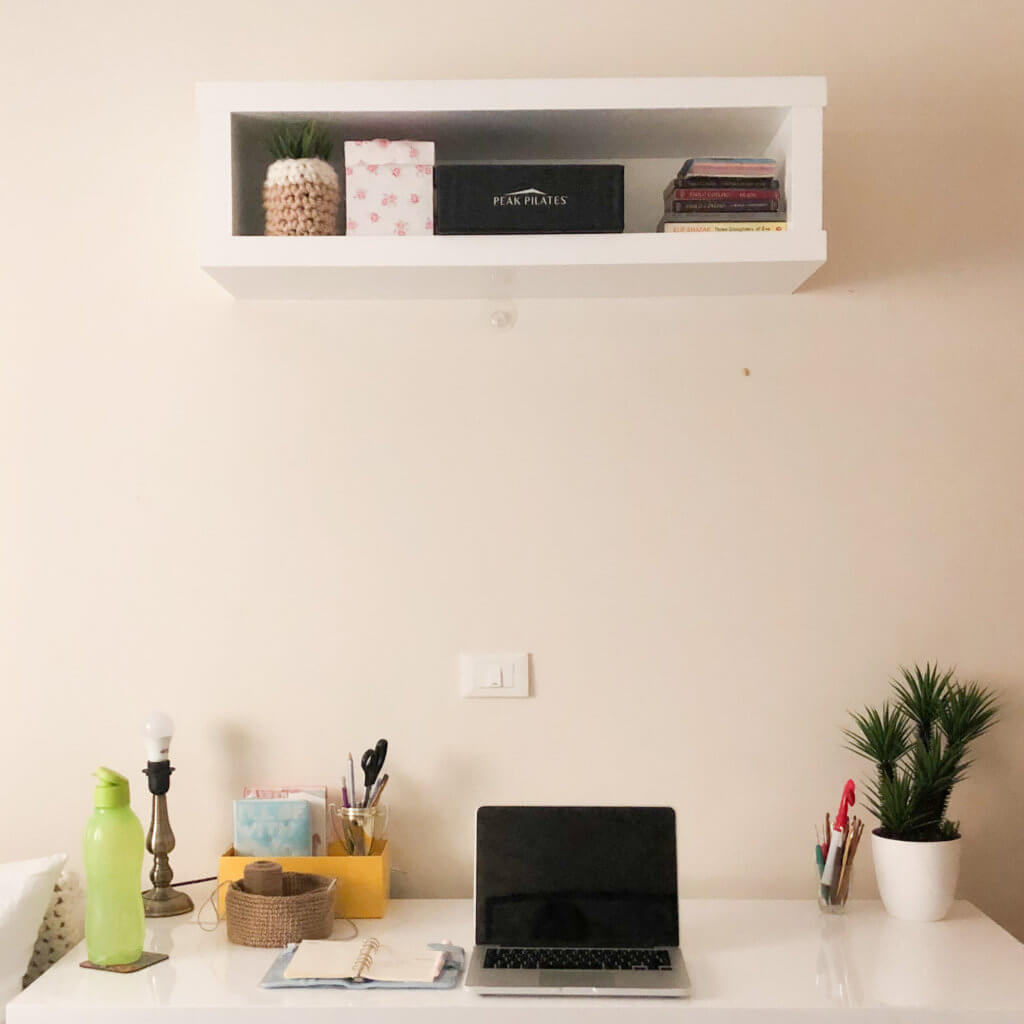
Desk – during
Tip #2
Since I am a master procrastinator and I mainly depended on crochet and DIYs. I knew that this makeover is going to take a lot of time! so I Tried to enjoy the process and make the best out of my “during” phase. And I invite you to do so!

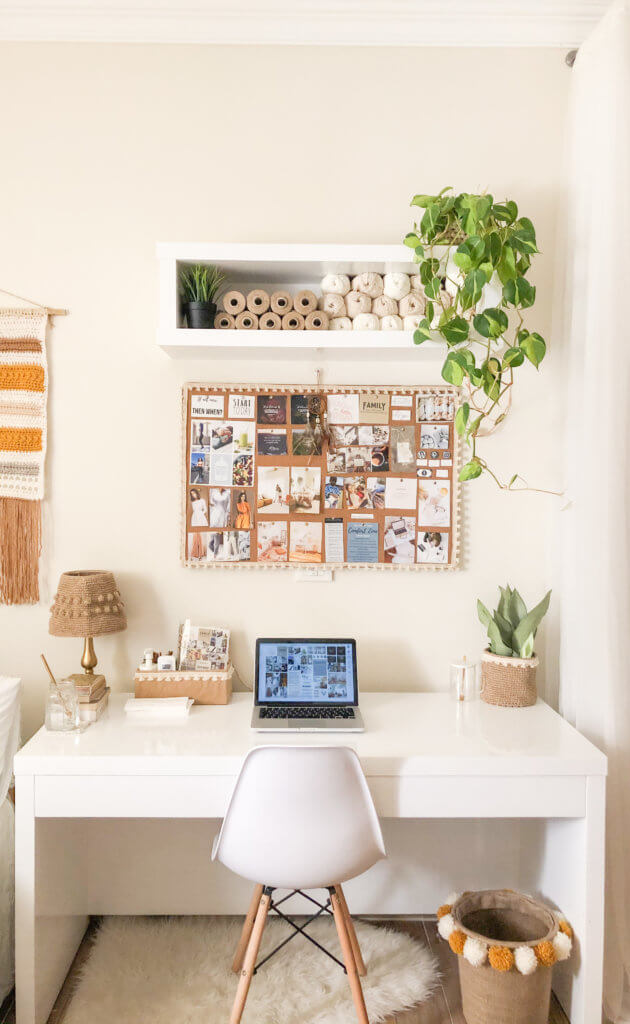
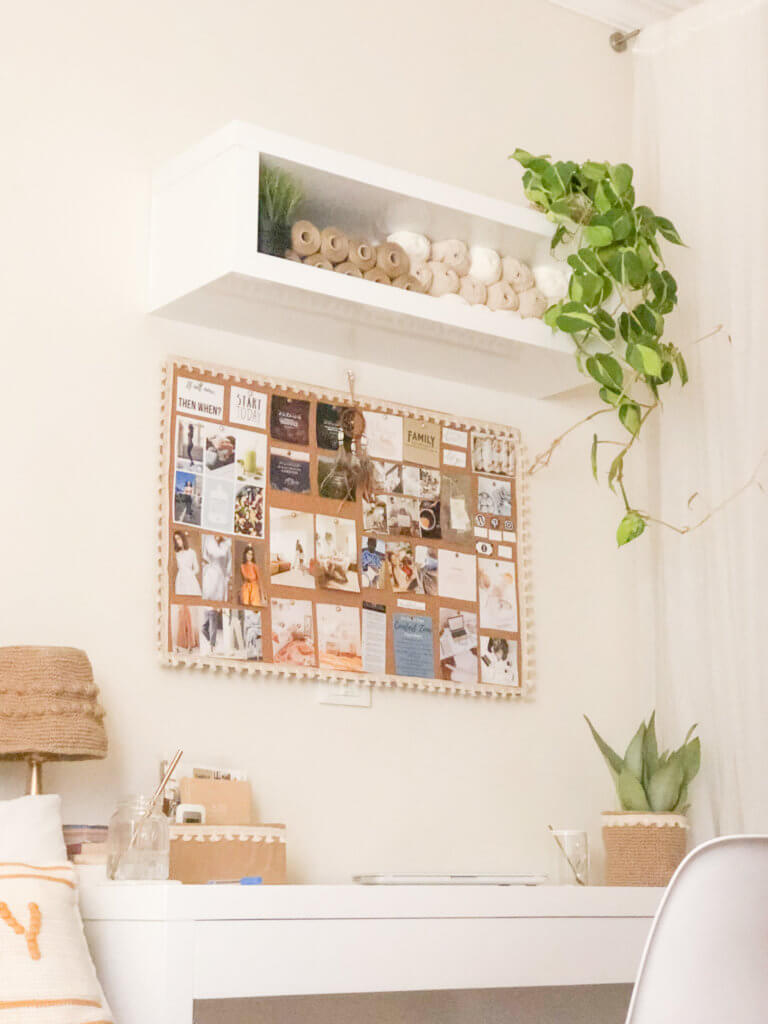
Desk – After
Tip #3
If You have A Small space and want to make the best out of it, use your pretty stuff for decoration. I displayed my yarn in the shelve as you see in the pictures. But you can use books or whatever pretty items you have to display!
Tip #4
If you Didn’t already buy some indoor plants! you have to! they add amazing positive energy to the place and you will love it when they grow new leaves. You may even develop a new very relaxing hobby which is taking care of plants and propagating them!
Pint It for later!
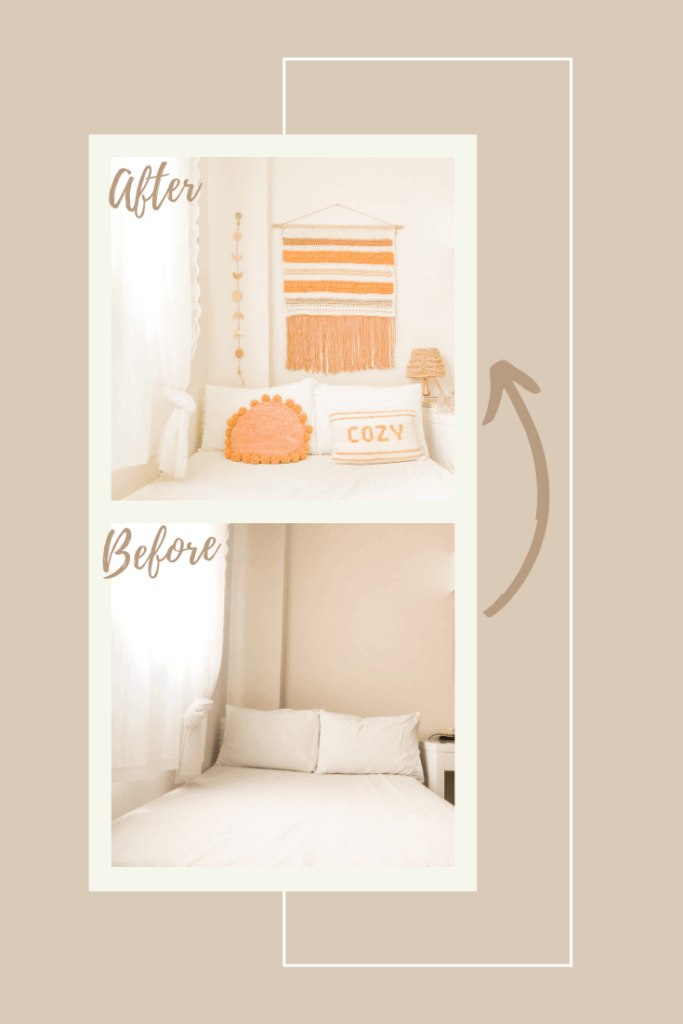
Bed – Before
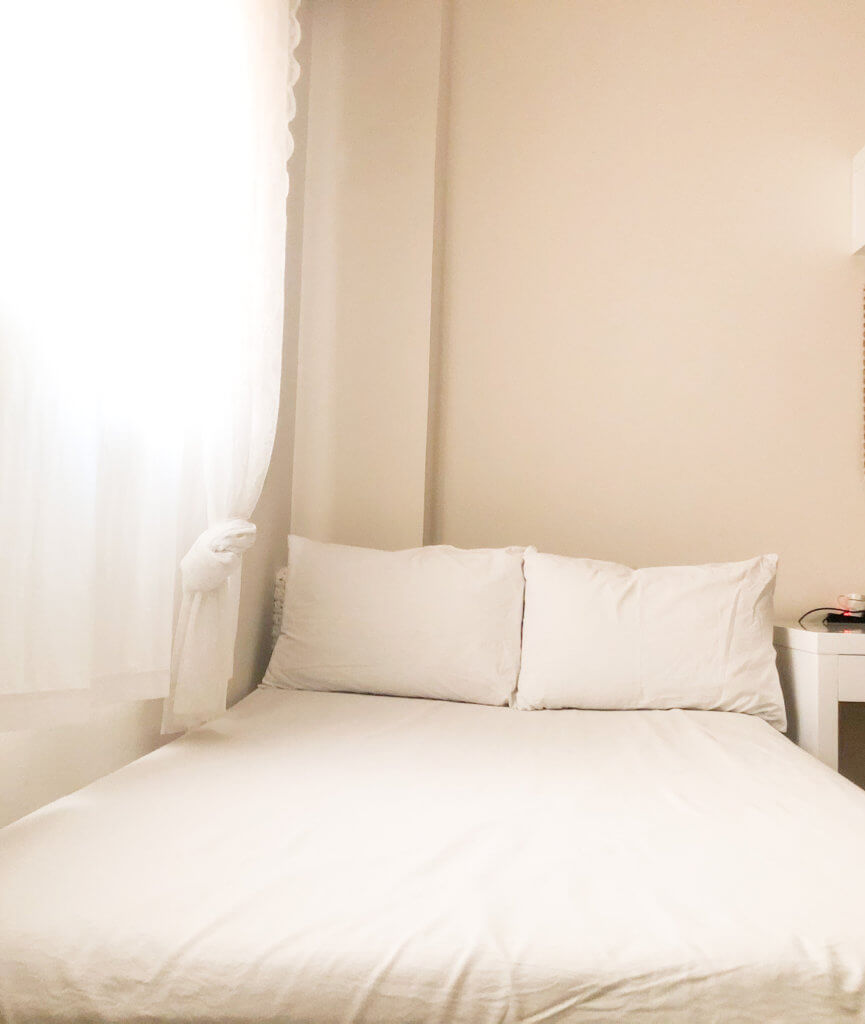
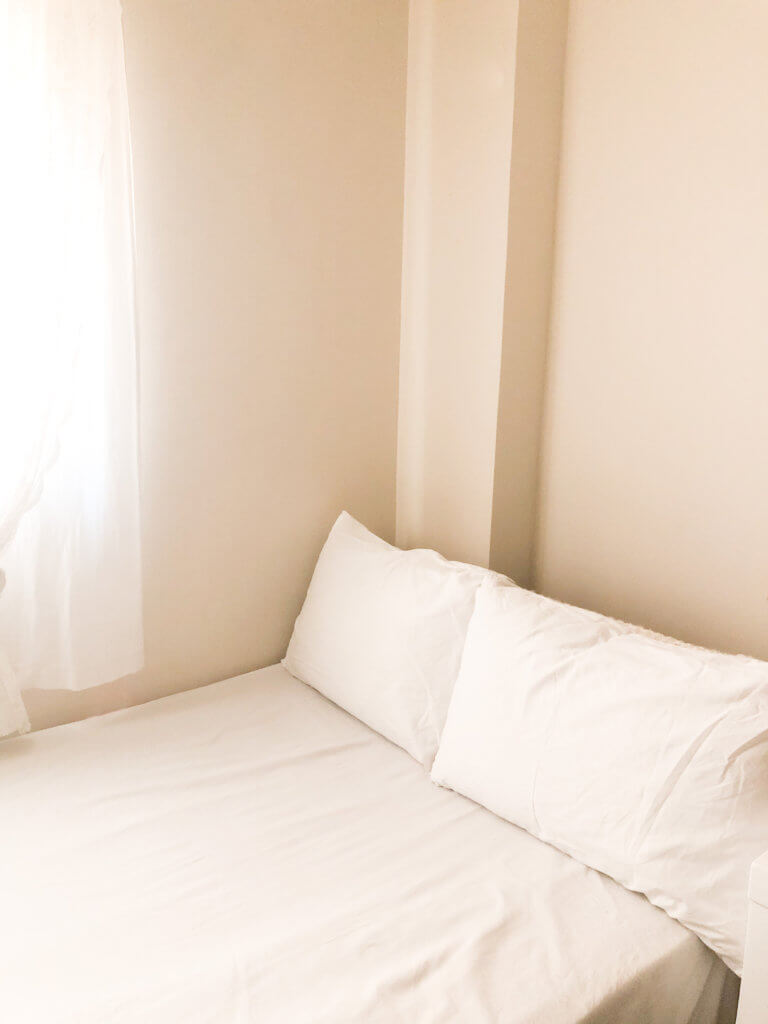
Bed – During
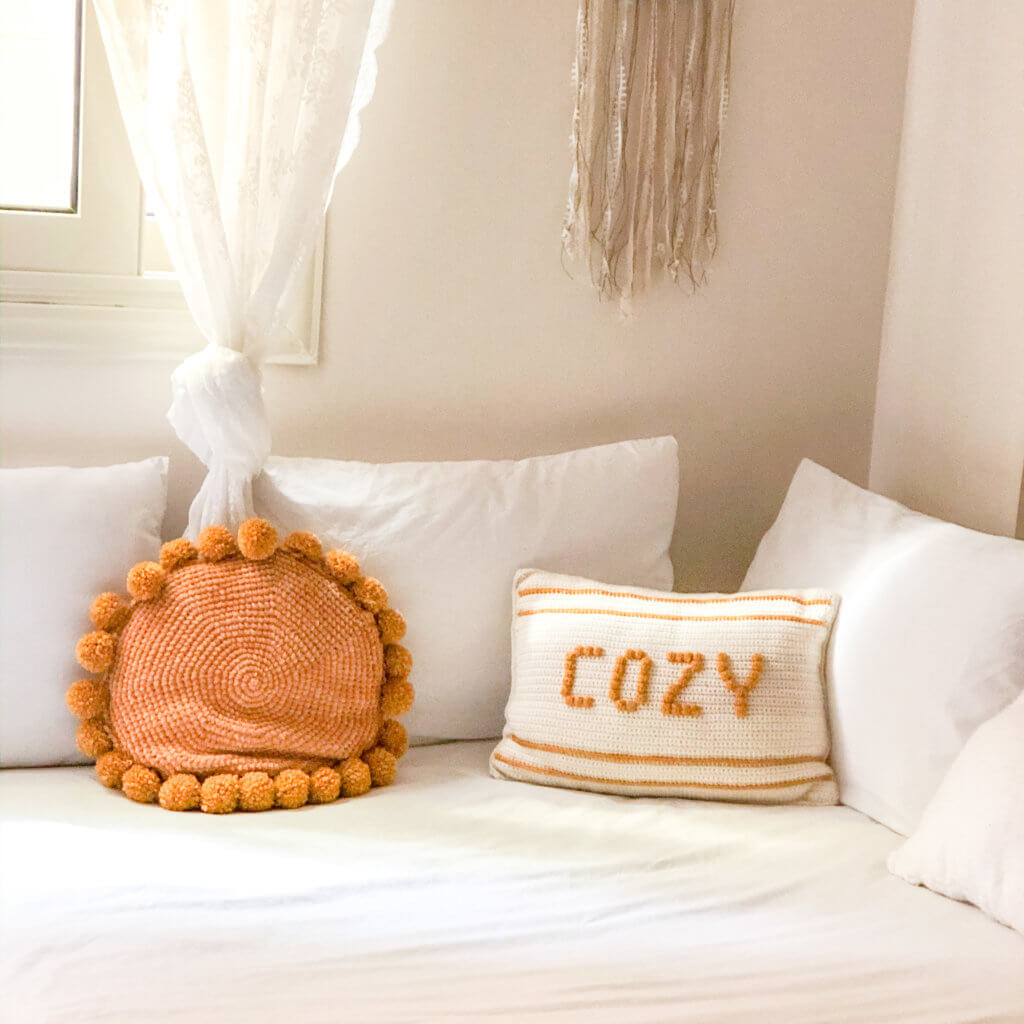
Bed – After
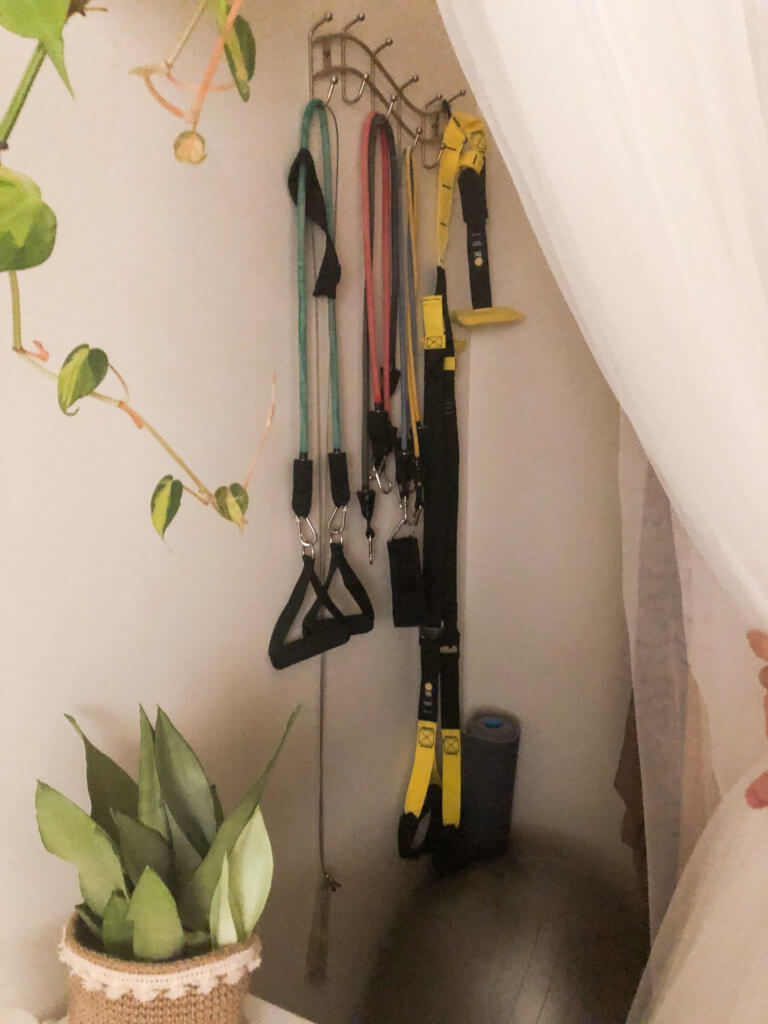
Tip #5
We all have items that are not so pretty to display, right? and many of us don’t have enough space in their closets too? to solve this problem I used the structure of my room. for example. I Have this protruding wall that prevent pushing my bed all the way to the wall. So I used this space to store some of my workout equipments and accessories! and I AGREE IT’S KIND OF MY WARM UP TO BRING IT OUT OF THERE 😀
Pint It for later!
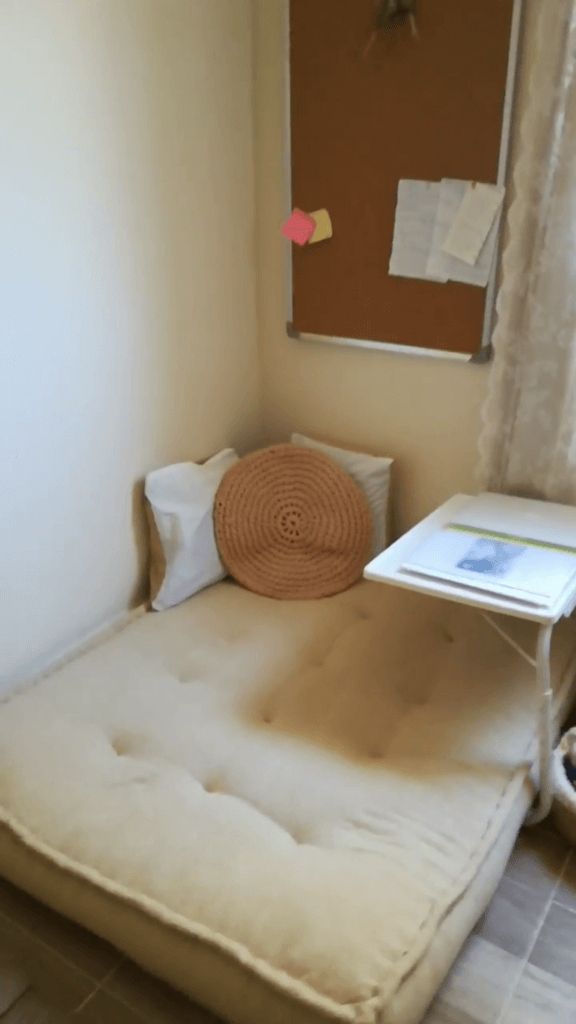
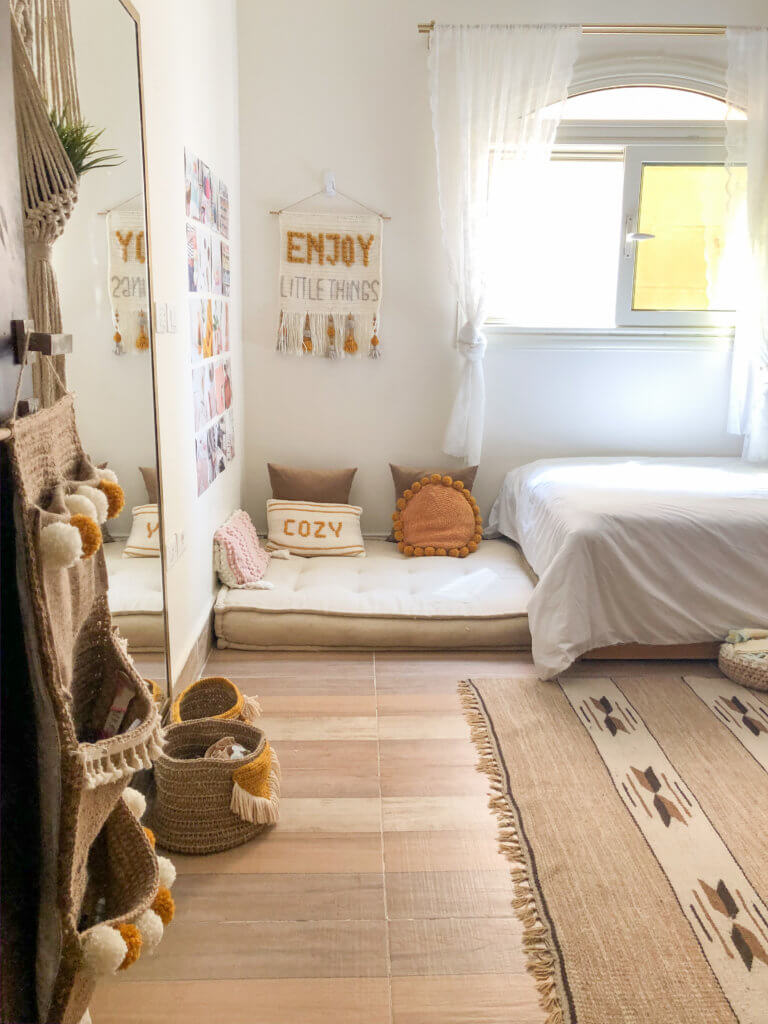
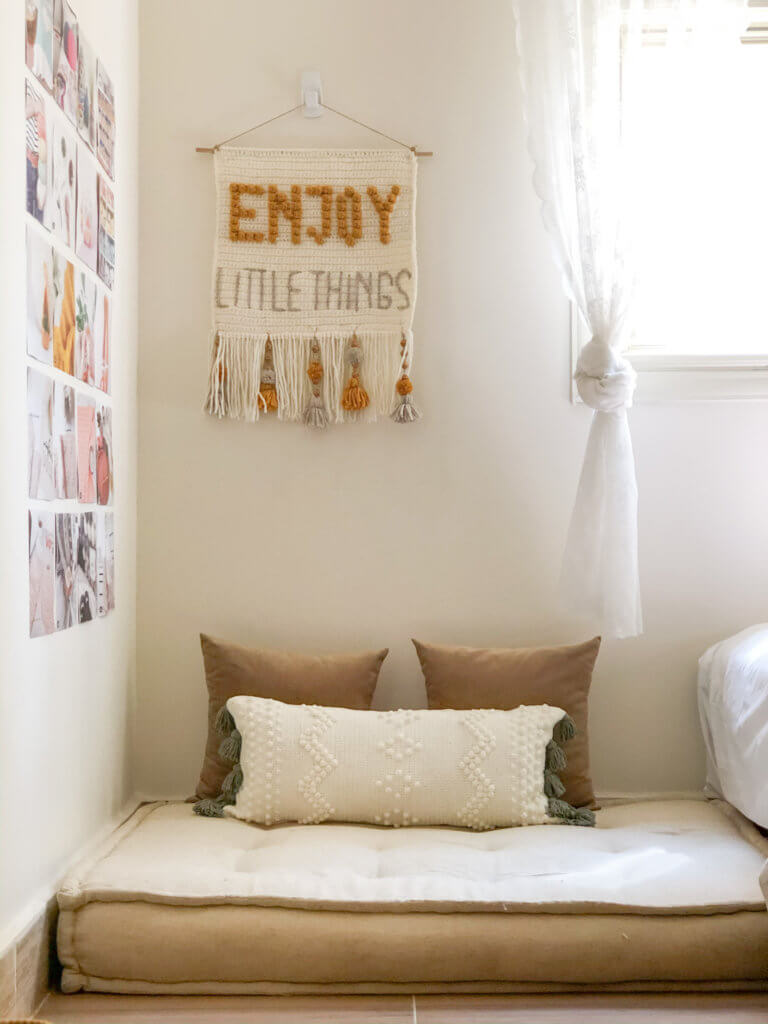
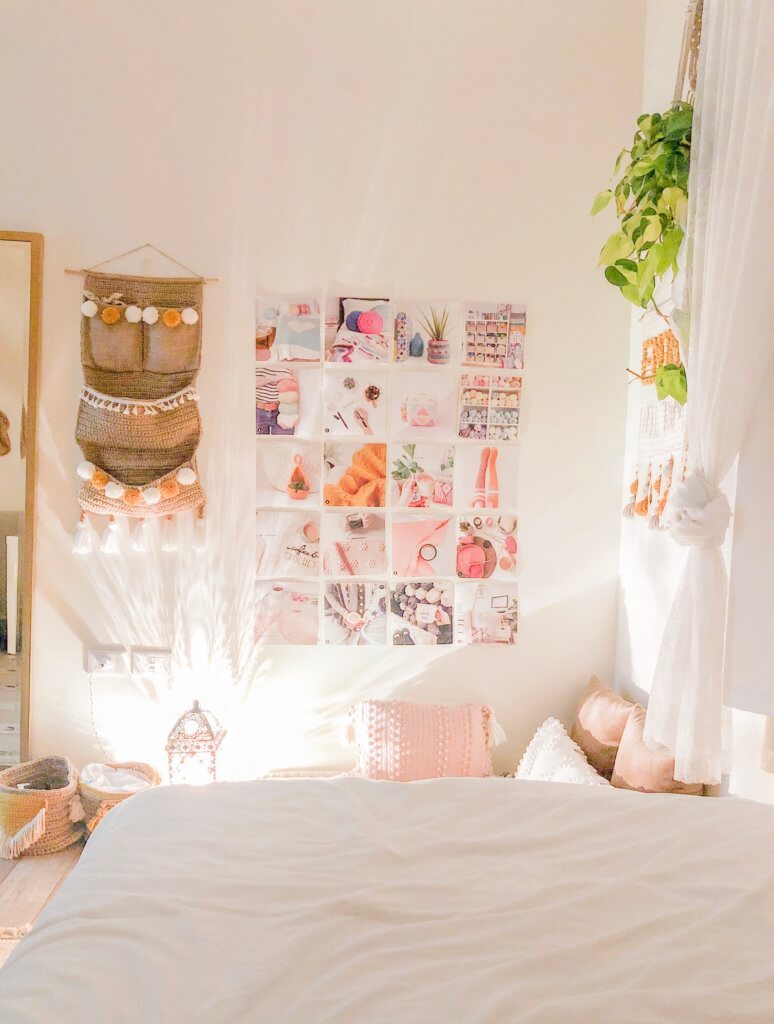
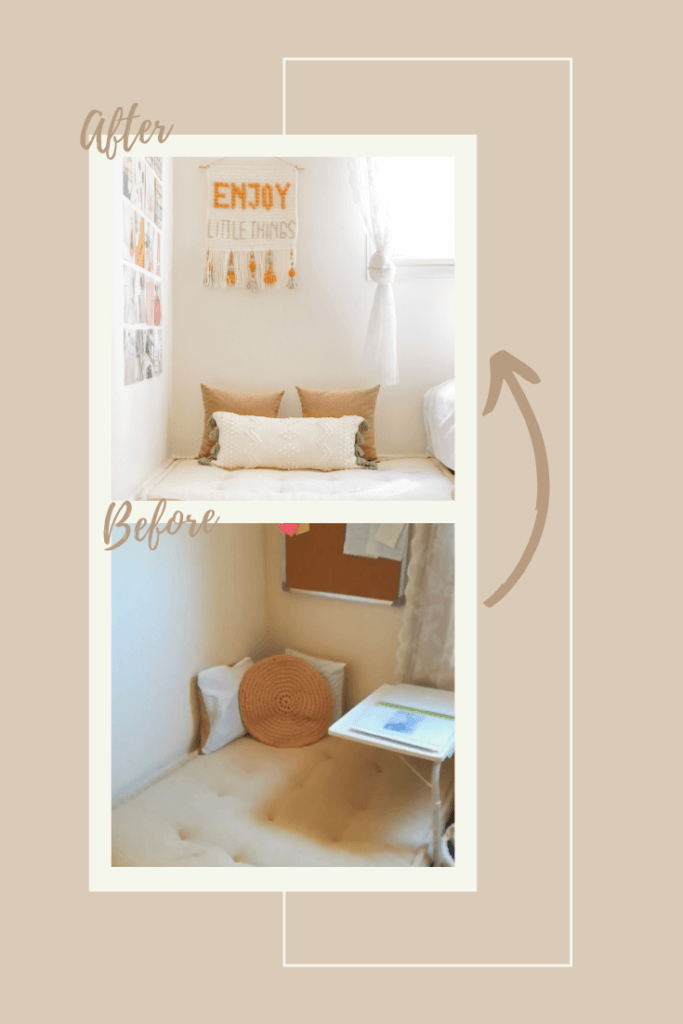
Crochet Corner – Before
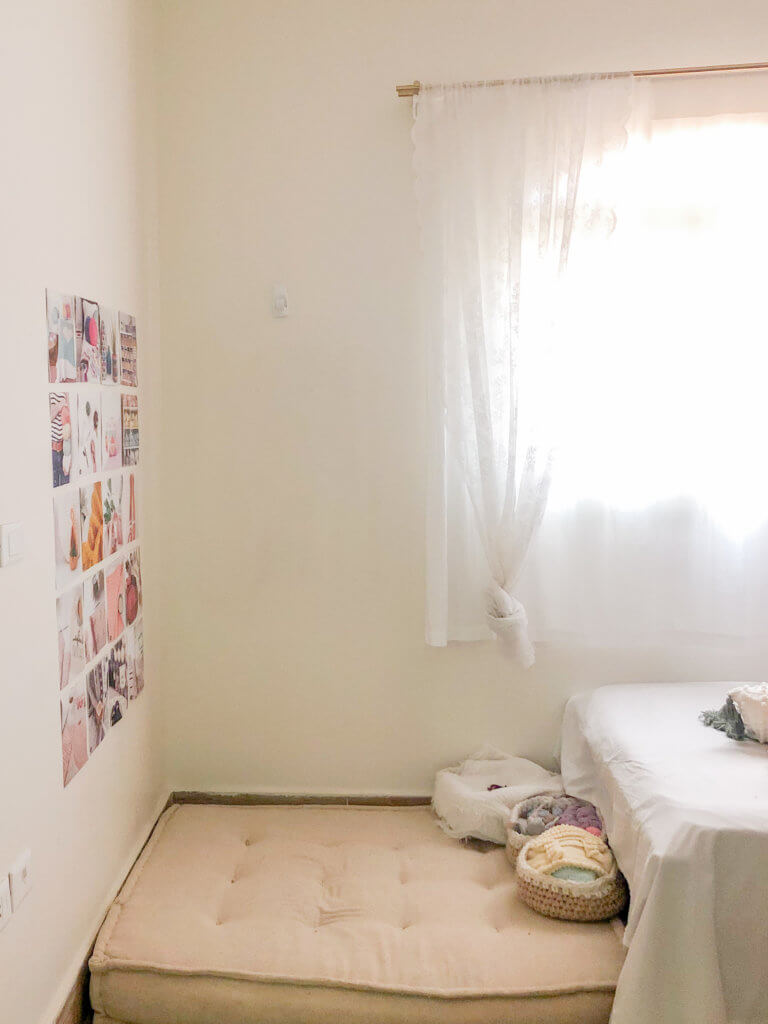
Crochet Corner – During
Crochet Corner – After
To decorate my crochet corner, In addition to all the crochet patterns that I have linked at the beginning on the blog post. To make this crochet inspiration wall. I went to my saved posts on instagram gathered some of the crochet pictures that I have saved from amazing accounts I printed them and stuck them with wall tape.

Pint It for later!
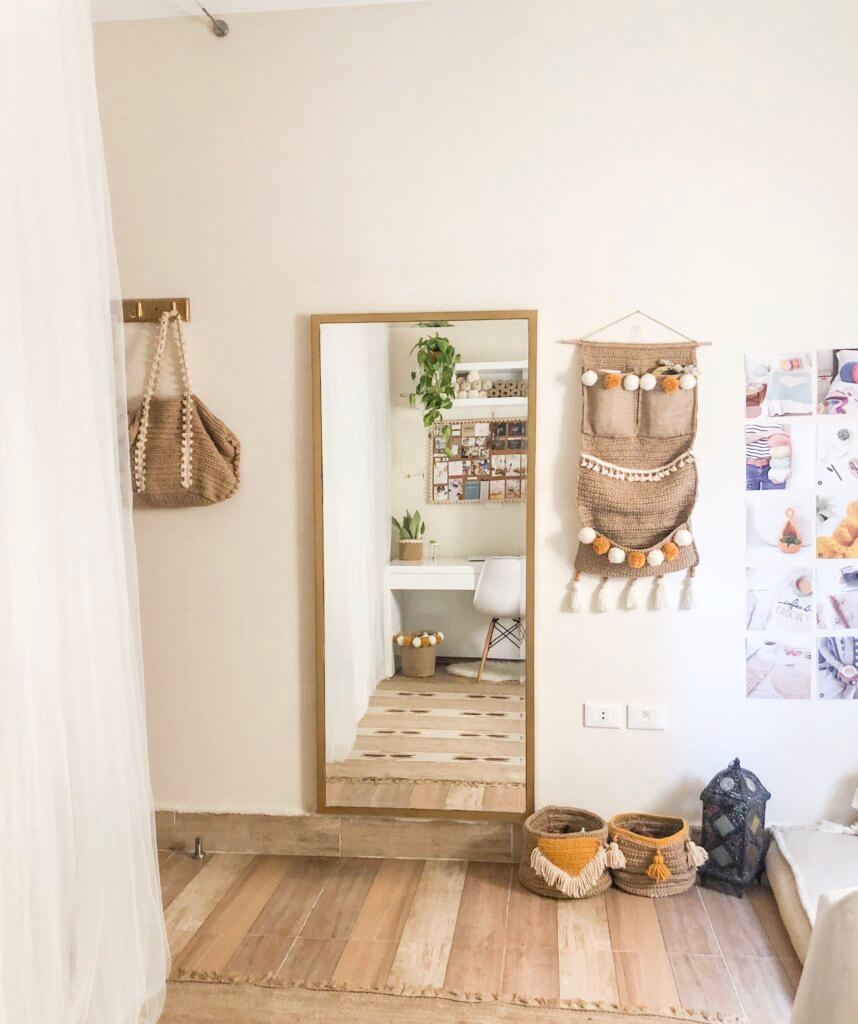
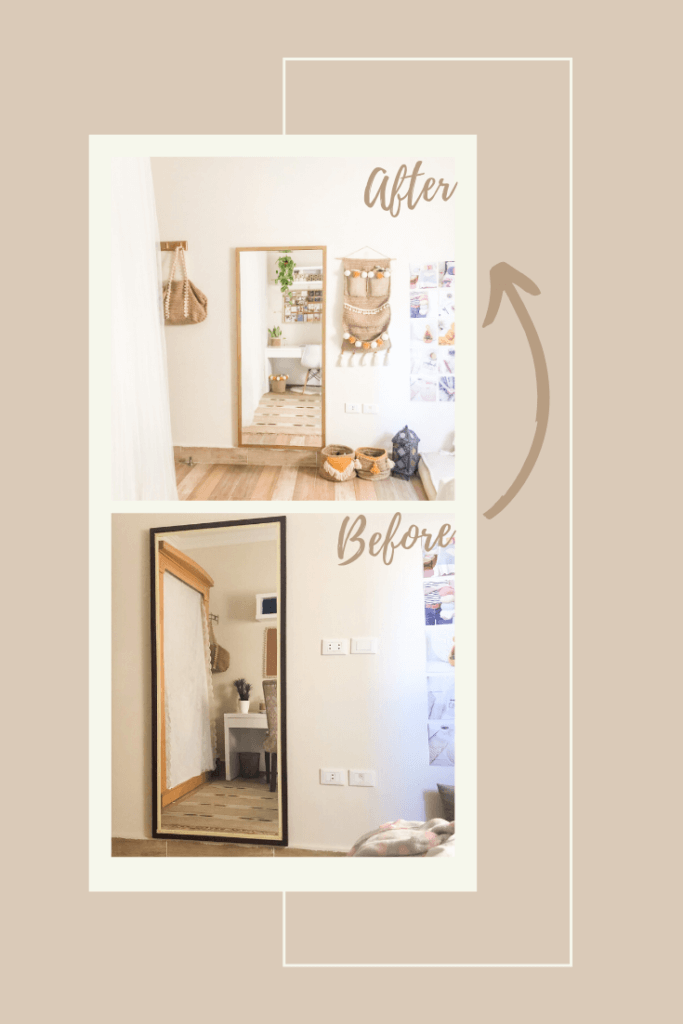
Mirror / Standing Vanity– Before
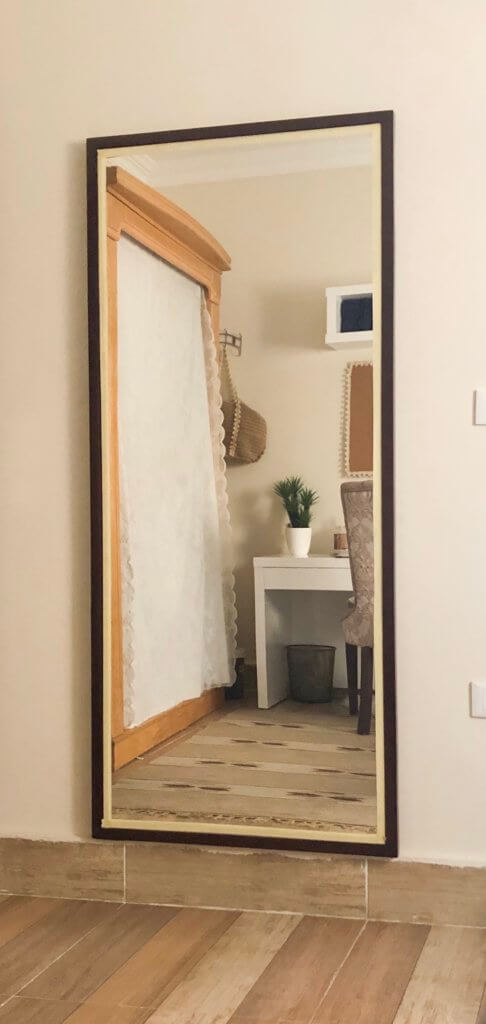
Mirror / Standing Vanity – During
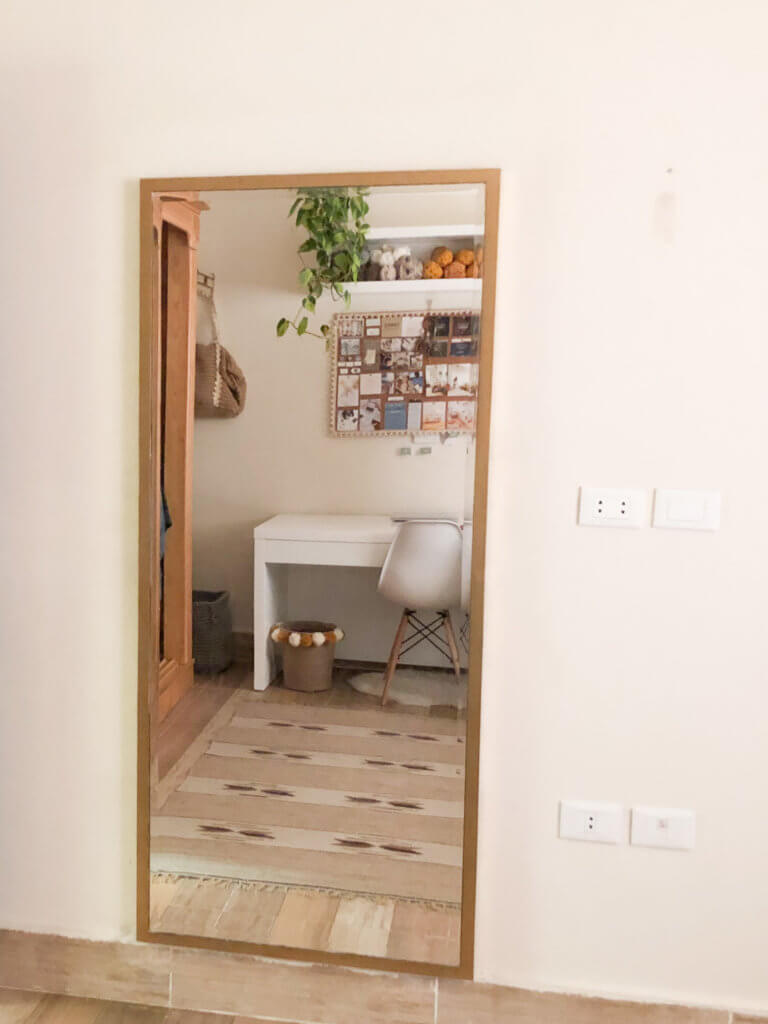
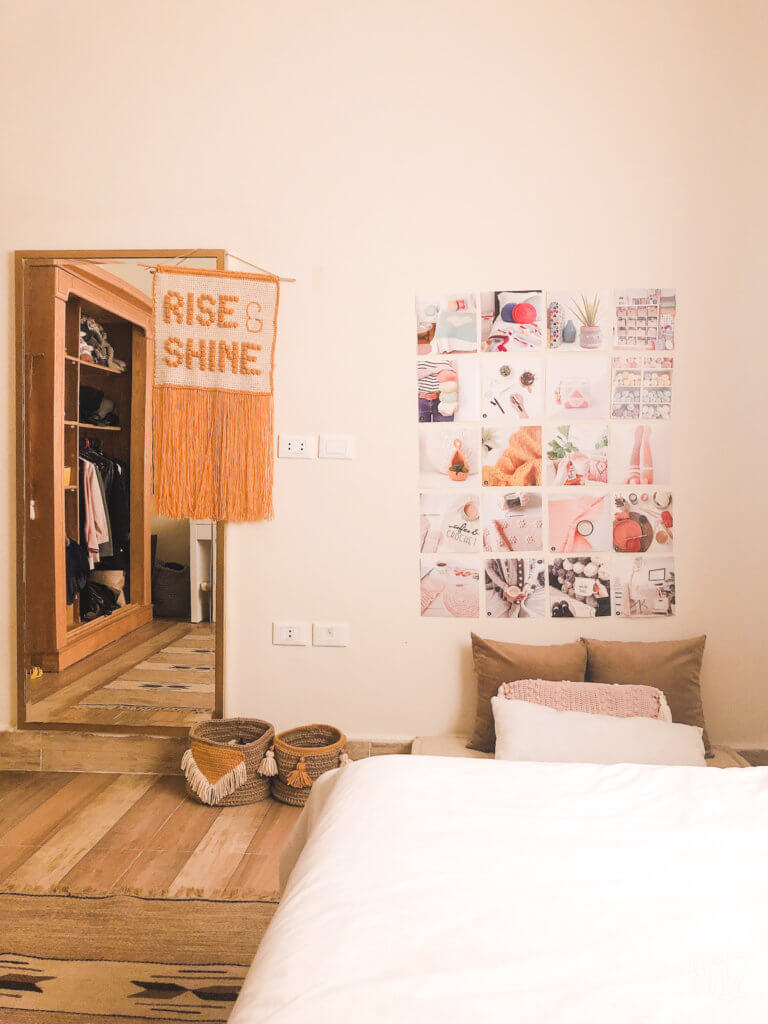
Mirror / Standing Vanity – After
Tip #6
As I said before, use your pretty items to display as decorations. You may also use pretty things to store your items and act as decorations too!
I did this with my wall pocket to store some of my hair accessories. As well as the floor baskets to store some of my skin care products and makeup!
Pint It for later!
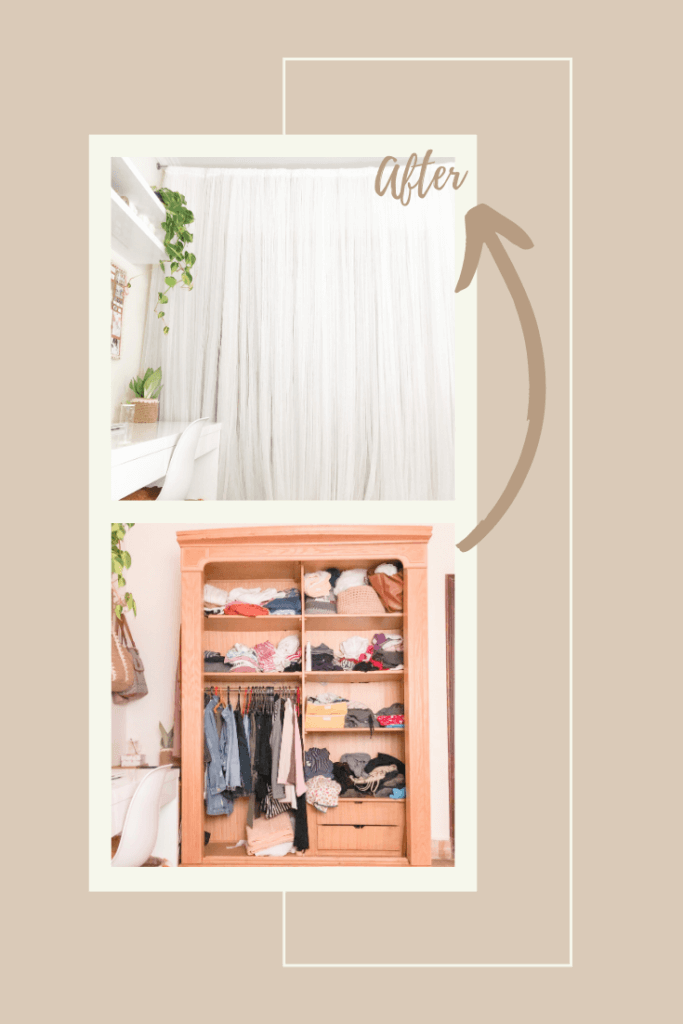
Closet – Before (and excuse my so unorganized ugly closet :D)
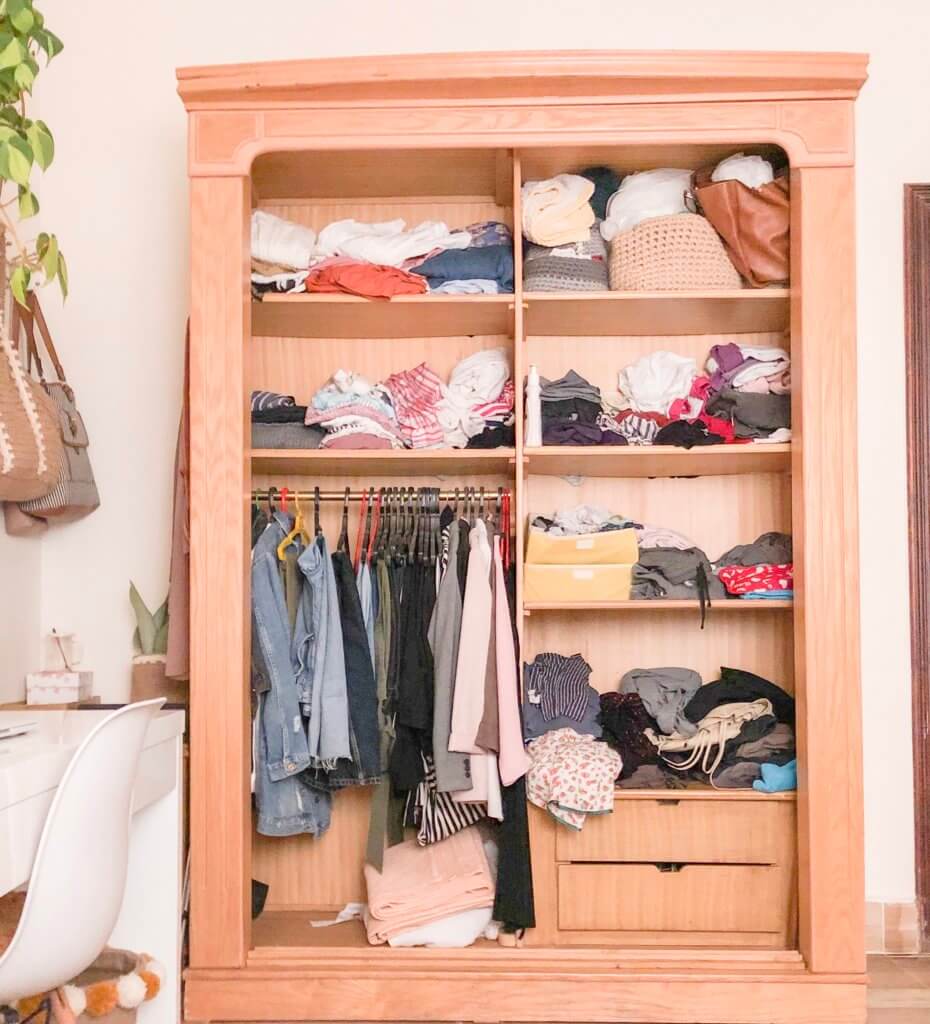
Closet – After

And here comes tip # 3 again!
Pint It for later!
Finally Here is the before & after of The Ceiling lampshade.
My last Tip
Is to try to specify a spot for each task in your room/place! It make it less boring especially if you spend a lot of time in it. For me my desk is the place when I want to work on my website/blog or study. Obviously my bed is for sleeping and relaxing. My crochet corner is for crocheting and CHILLAXING. Finally I have an empty space in-front of my mirror at the center of the room where I do my pilates, Yoga and jumping rope workouts!


Oh my gosh!! You are so talented and creative!! It’s absolutely beautiful! Love, love, love it!! Thanks for sharing your tips and ideas with us.
Ahhhh you did such a great job!! I love the lampshade and all the pillows so much