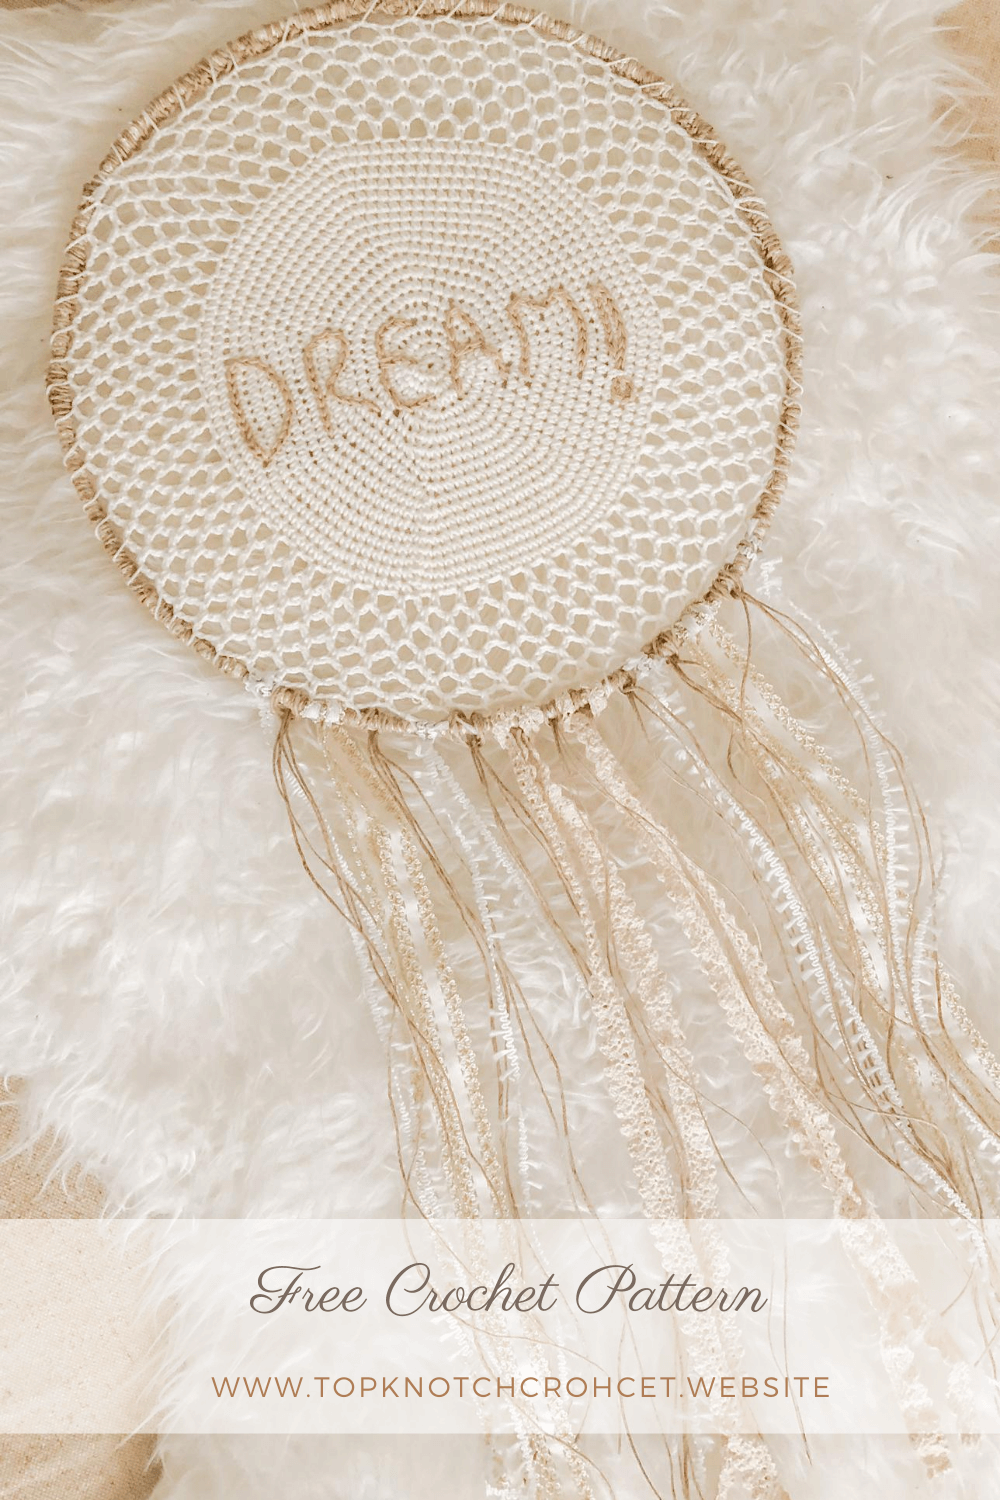
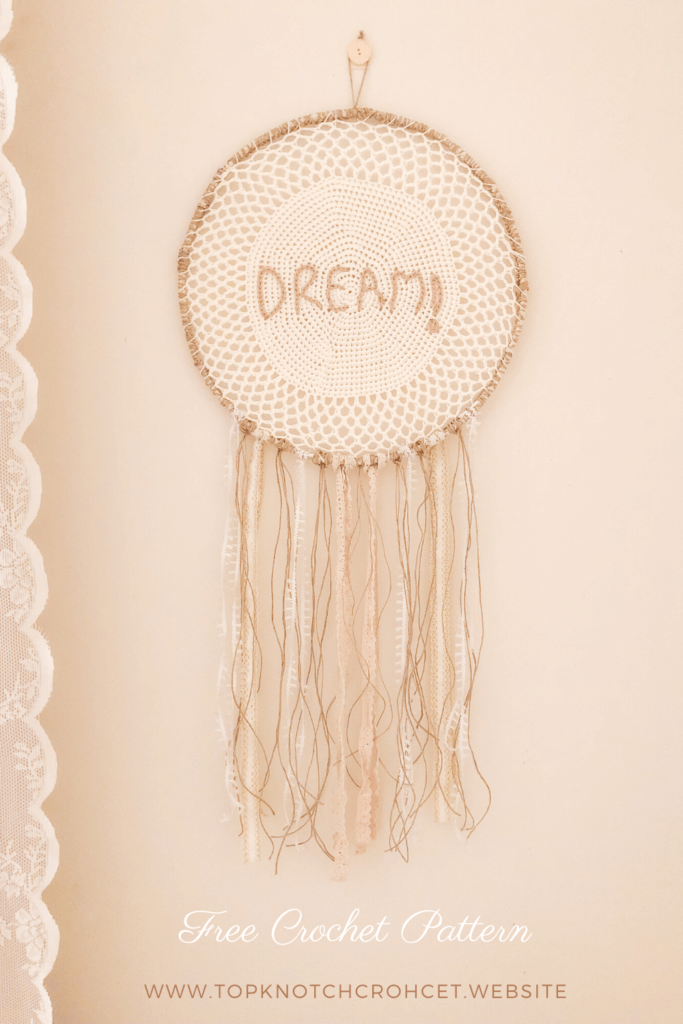
Hello everyone, Today I have another free pattern for you, I finally got over the velvet yarn, especially since its getting warmer. Today’s pattern is another home decor one. Its a crochet dream catcher pattern! I wanted to create something different. So I thought why not write the word dream on it! since I have not seen this on any pattern before. but this time I wanted to try another writing technique.
Here is a great tutorial by repeat crater me showing the surface slip stitching writing technique.
This pattern is part of a room makeover on a budget using mainly crochet and some other DIYs!! I’am a big believer that our surrounding space affect our mood and productivity levels and I find my self more productive and happy when I have a place that is organized and looks pretty.
Also my room is the space where I work on my blog, sit down and chill, study, and even workout!! so basically If I don’t have a pilates class to teach or a family commitment I’ll be in my room (coz am an extremely introverted human being and I like it) :D. Hence I always want to add new things to it, make it prettier and more functional that’s why I have created this room makeover series!!
Through out this series you will find cute decorative items as well as some functional/ storage ideas items too. So If you are interested to see the rest of the series check it here
Pin it for later:
Now lets talk a little bit about this pattern
The material you will need for this pattern are:
Disclaimer: This blog post may contain affiliate links. I may earn a small commission to fund my coffee drinking habit if you use these links to make a purchase. You will not be charged extra, and you’ll keep me supplied in caffeine. It’s a win for everyone, really.
- 1 Skein Alize Cotton golden (code 01) 55% cotton 50% acrylic. Or any sport weight cotton acrylic blend yarn.
- For writing I used the double strands of Alize bella cotton beige but you can use ny sport weight yarn
- You will also need some twine yarn
- Hook: 3.5 mm
- Metal Ring
- Stitch markers, yarn needle Here is a set with one of my favorite hooks sets along with stitch markers and needles
- Some lace trims of your choice. I got mine from my local crafts store but I will link you some that are very similar to mine Susuntas, Cotton Ribbon Vintage Lace Trims, ELLAMAMA Cotton Lace Trim
Measurements:
The diameter of the ring I used is 30 cm 11.8 inches and the total length of the dream catcher is (including the fringes)
Skill level: Beginner
Abbreviations and Glossary (US Terms):
- ch – chain
- sc – single crochet
- ss – slip stitch.
- Rnd- round
Notes:
- This pattern is written in us terms
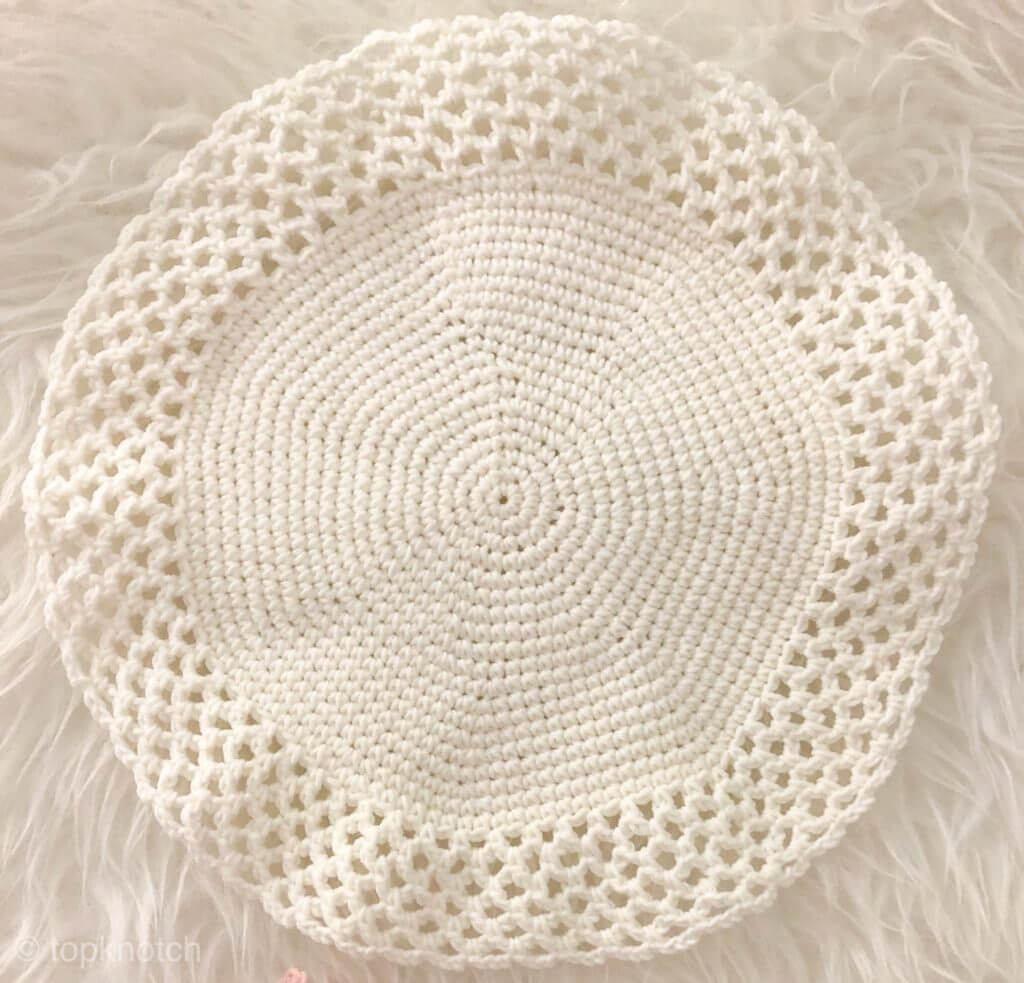
- I made the Doily smaller than my ring on purpose so that I can stretch it when I attach it to the ring.
- You can easily adjust the size of this dream catcher by adding or removing rounds from part 1 following the same crochet circle formula
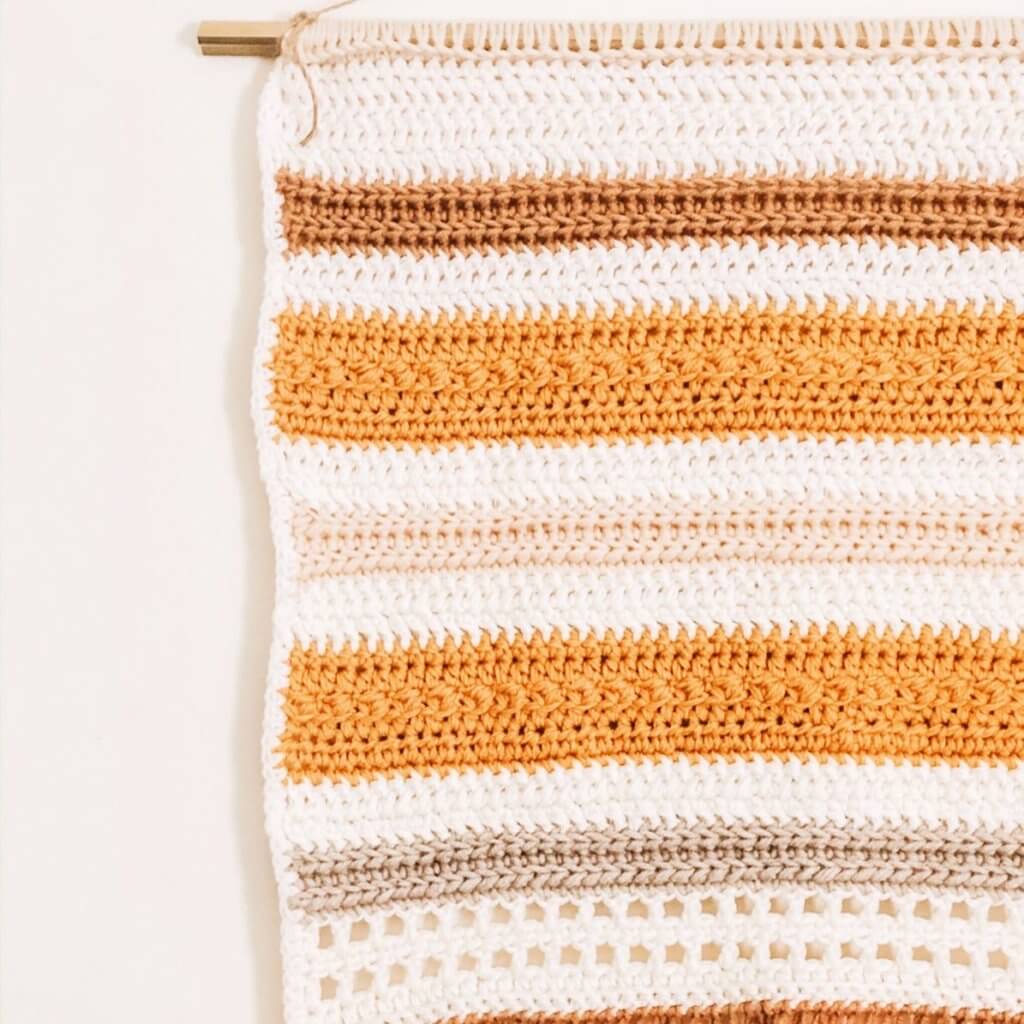
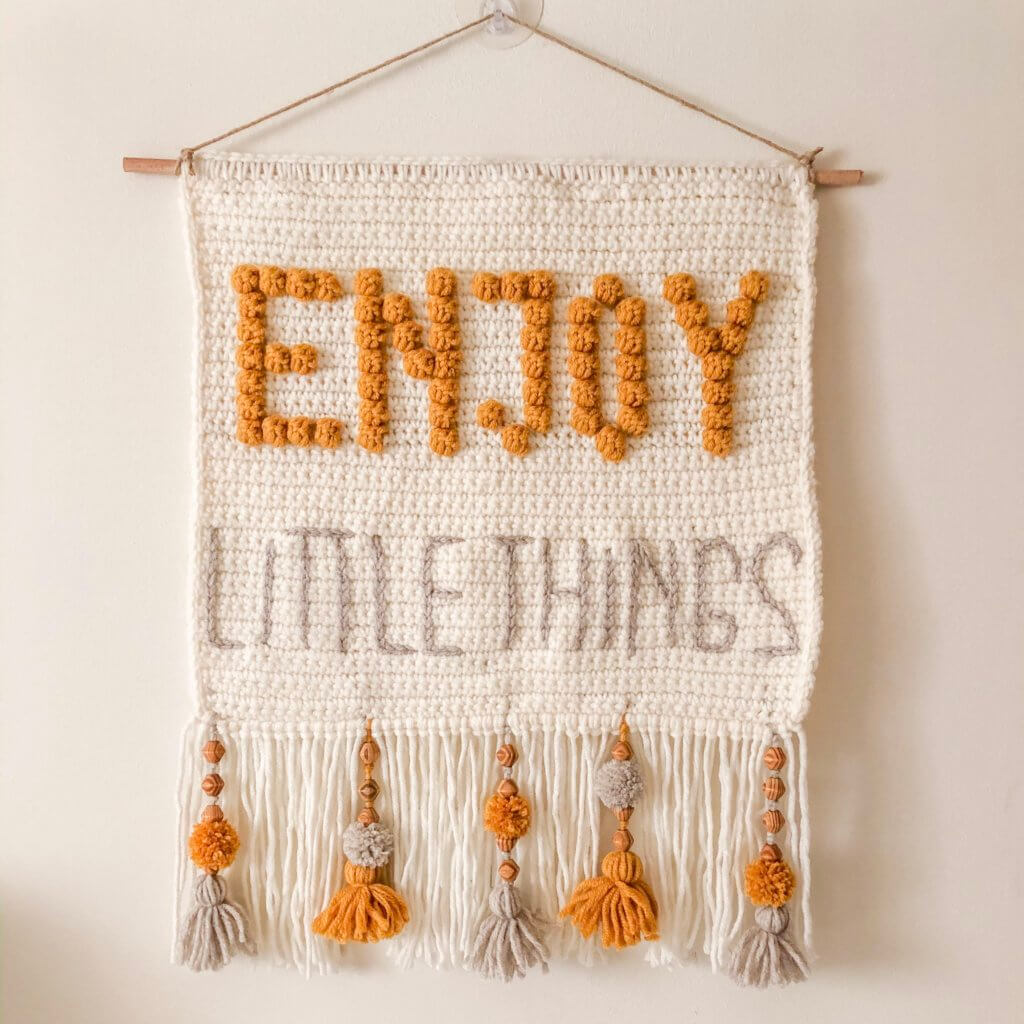
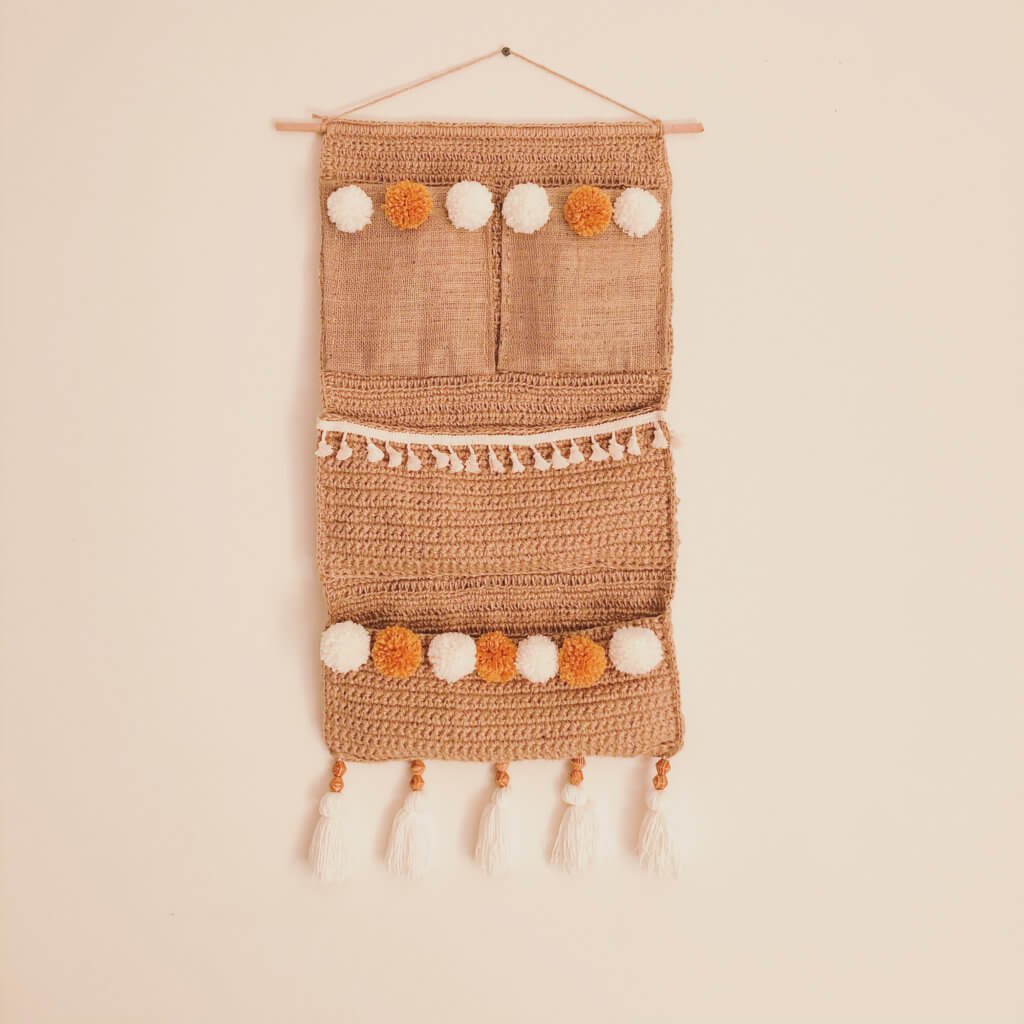
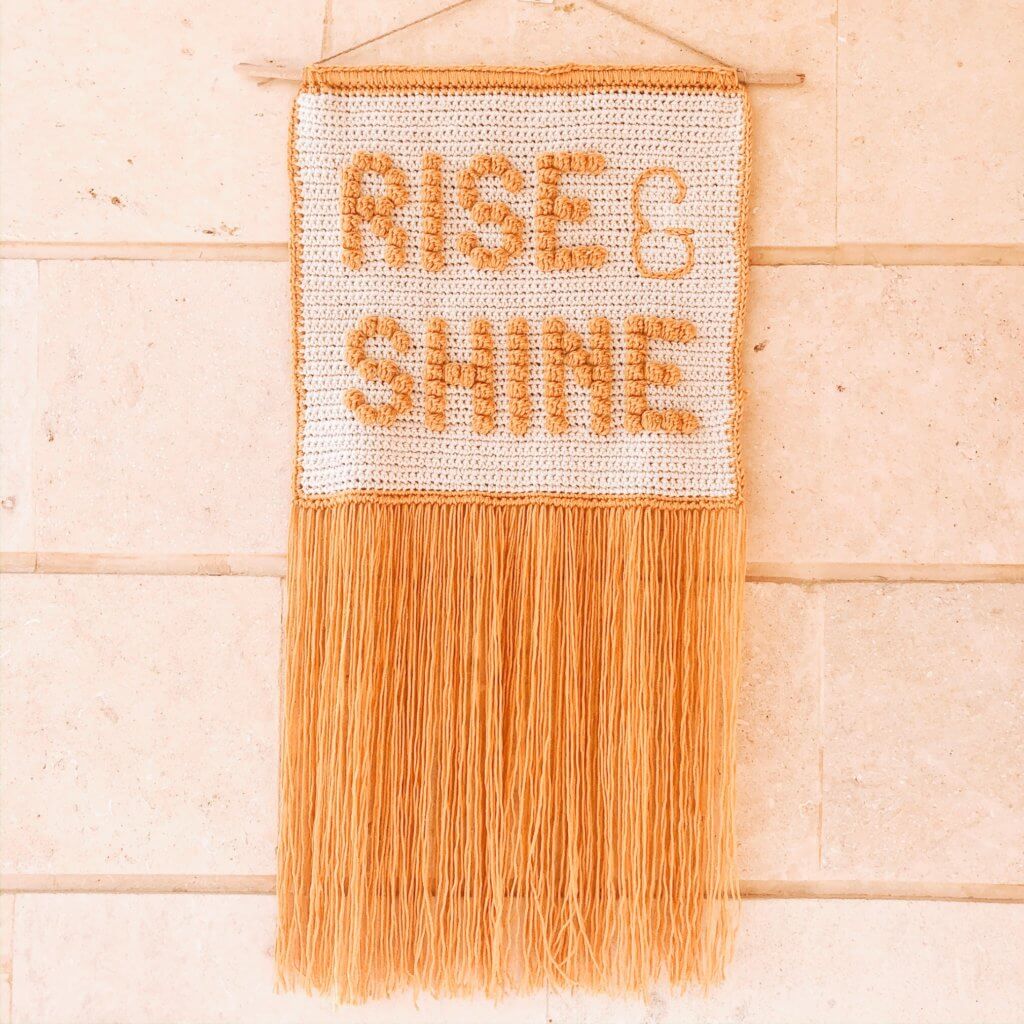
If you’re crazy about crochet wall hangings, you might enjoy hooking up one of these:
- Boho Crochet Wall Hanging- Easy Free Crochet Pattern
- Yarn Stash Buster – Crochet Wall Hanging – Free Pattern!
- “Rise & Shine” crochet wall hanging – Free Pattern
- “ENJOY LITTLE THINGS” CROCHET WALL HANGING
- Crochet Wall Organizer – Free pattern & Photo Tutorial
Pattern Instructions:
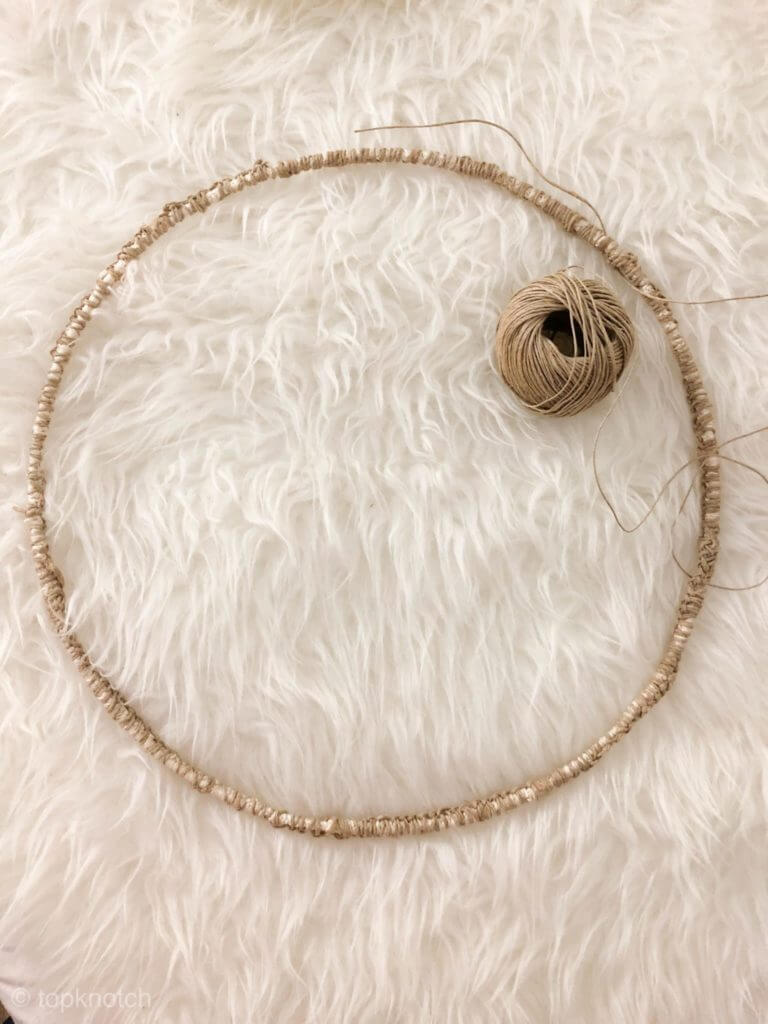
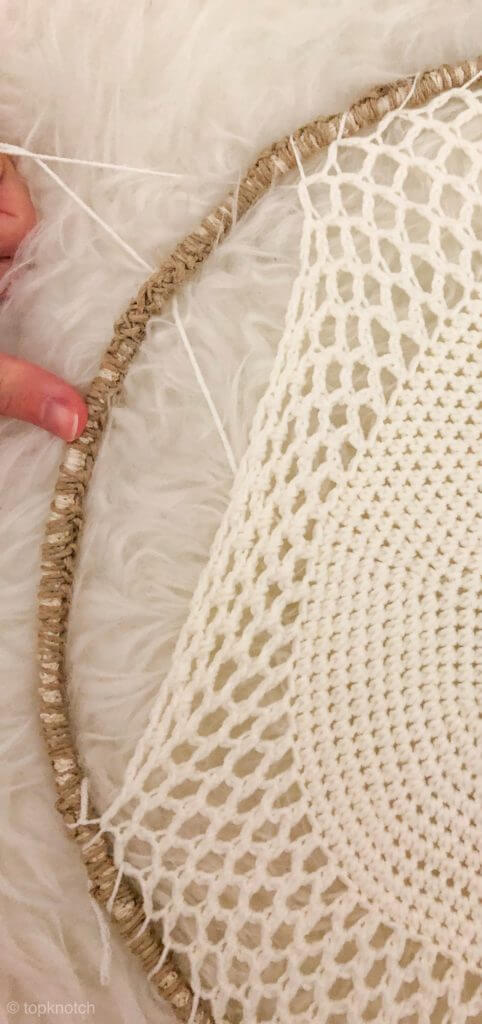
To give the pattern rustic boho look. Cover the ring with the hemp rope you can use the method used in this video or simply wrap it tightly around your ring.
Now to do the base white part:
You may choose to join rounds at the end with a slip stitch or work in a continuous spiral as it makes no difference to the formula.
Make a magic ring and work Round 1 into it.
Part 1
Rnd 1. 10 sc in ring. —10 sts
Rnd 2. 2 sc into each st around —20 sts
Rnd 3. (Sc in next st, 2 sc in next st) repeat till the end of the round
Rnd 4. (Sc in next 2 sts, 2 sc in next st) repeat till the end of the round
Rnd 5. (Sc in next 3 sts, 2 sc in next st) repeat till the end of the round
Rnd 6. (Sc in next 4 sts, 2 sc in next st) repeat till the end of the round
Rnd 7. (Sc in next 5 sts, 2 sc in next st) repeat till the end of the round
Rnd 8. (Sc in next 6 sts, 2 sc in next st) repeat till the end of the round
Rnd 9. (Sc in next 7 sts, 2 sc in next st) repeat till the end of the round
Rnd 10. (Sc in next 8 sts, 2 sc in next st) repeat till the end of the round
Rnd 11. (Sc in next 9 sts, 2 sc in next st) repeat till the end of the round
Rnd 12. (Sc in next 10 sts, 2 sc in next st) repeat till the end of the round
Rnd 13. (Sc in next 11 sts, 2 sc in next st) repeat till the end of the round
Rnd 14. (Sc in next 12 sts, 2 sc in next st) repeat till the end of the round
Rnd 15. (Sc in next 13 sts, 2 sc in next st) repeat till the end of the round
Rnd 16. (Sc in next 14 sts, 2 sc in next st) repeat till the end of the round
Rnd 17. (Sc in next 15 sts, 2 sc in next st) repeat till the end of the round
Rnd 18. (Sc in next 16 sts, 2 sc in next st) repeat till the end of the round
Rnd 19. (Sc in next 17 sts, 2 sc in next st) repeat till the end of the round
Part 2
Rnd 20. *chain 3 skip next stitch and sc in the next one* repeat from *to* till the end of the round.
Rnd 21. *chain 3, sc in the next chain 3 space from the previous round* repeat from *to* till the end of the round
Rnd 22-25. repeat round 21
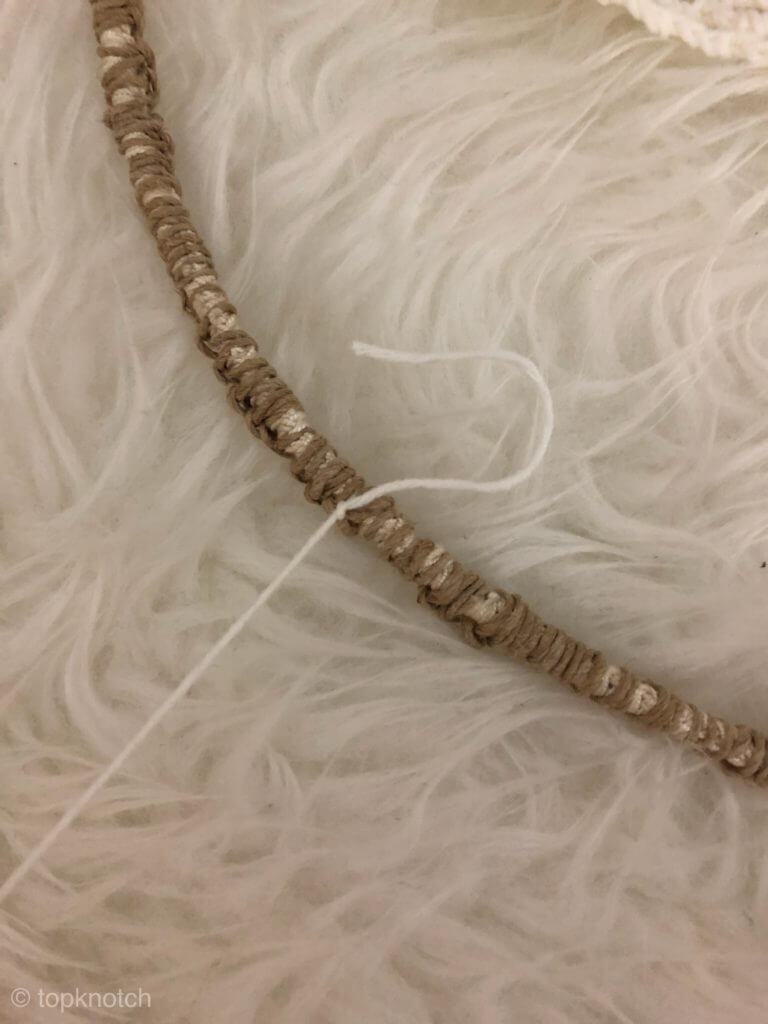
Now write the letters with the technique shown in this tutorial.
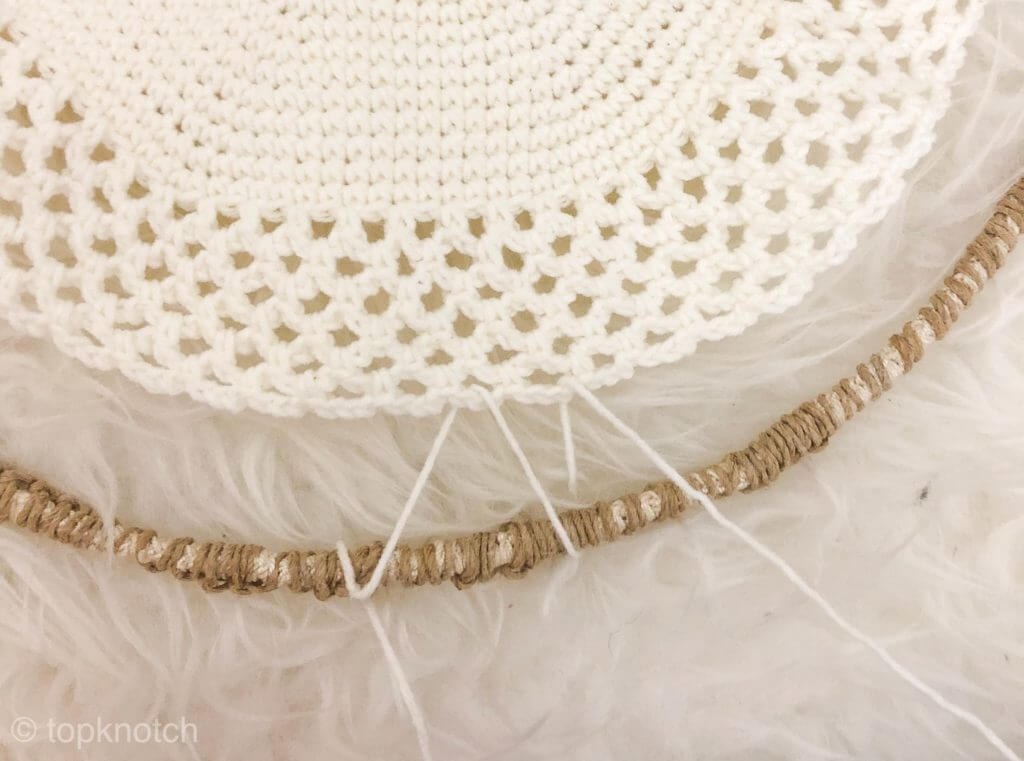
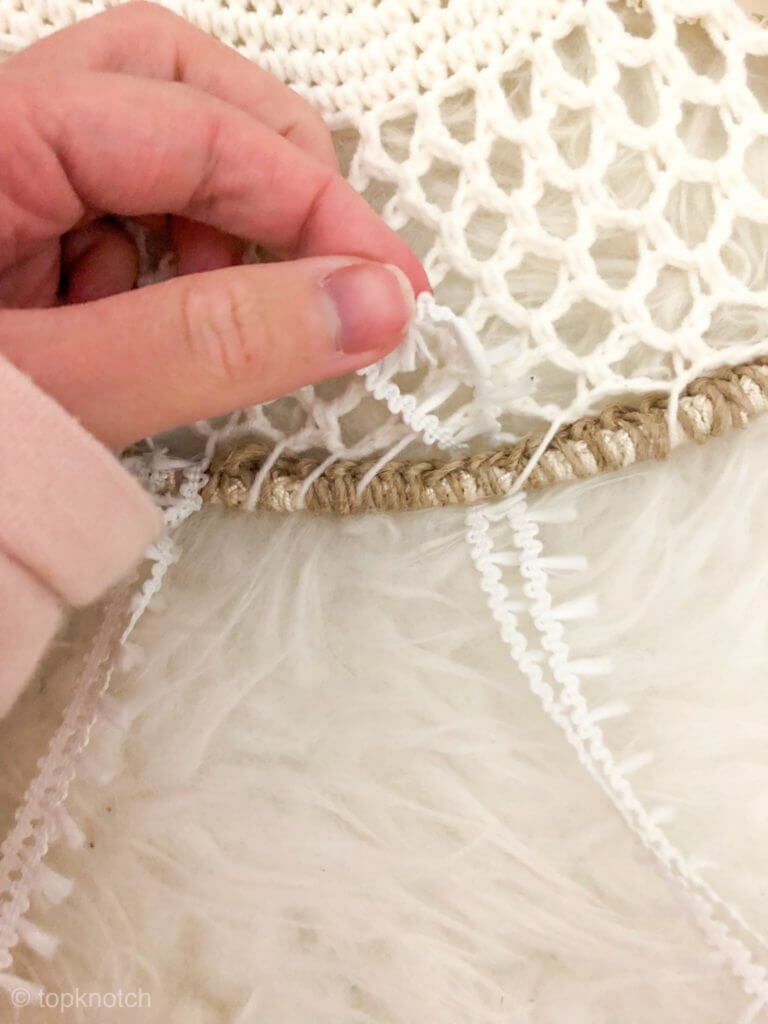
Attach the doily you have just finished to the ring as shown in the pictures.
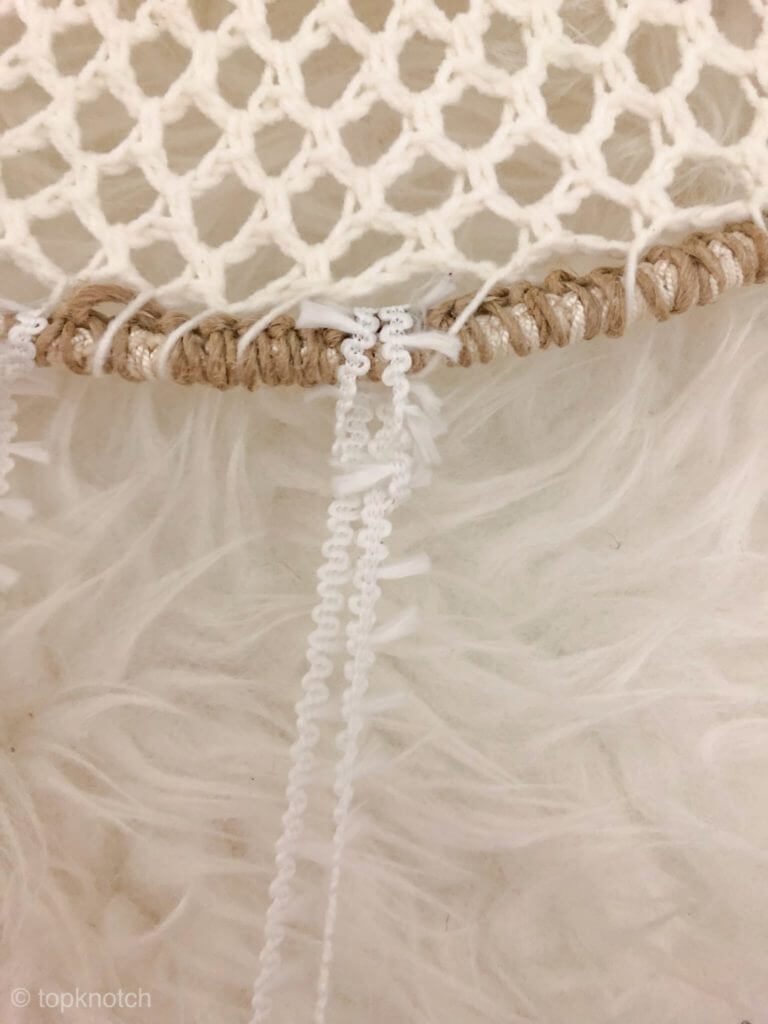
Finally tie the lace garlands and some hemp rope strands as shown in the picture.
I hope you liked this crochet pattern. If you made one, share it with me on Instagram. I would love to see how you adapted it and what variations and colors you used 🙂
Take care and happy crocheting!!