
Hiii Everyone Am really excited to share this with you!! I have been featured on the blue elephants blog as a guest blogger!! and the free pattern for this crochet wall hanging/tapestry is published there now. Go check it! on the blue elephants blog!
But let me tell you more about what inspired me to make this pattern. When I was making a vision board for 2020. (And by the way am preparing a blog post about how to DIY a vision board)
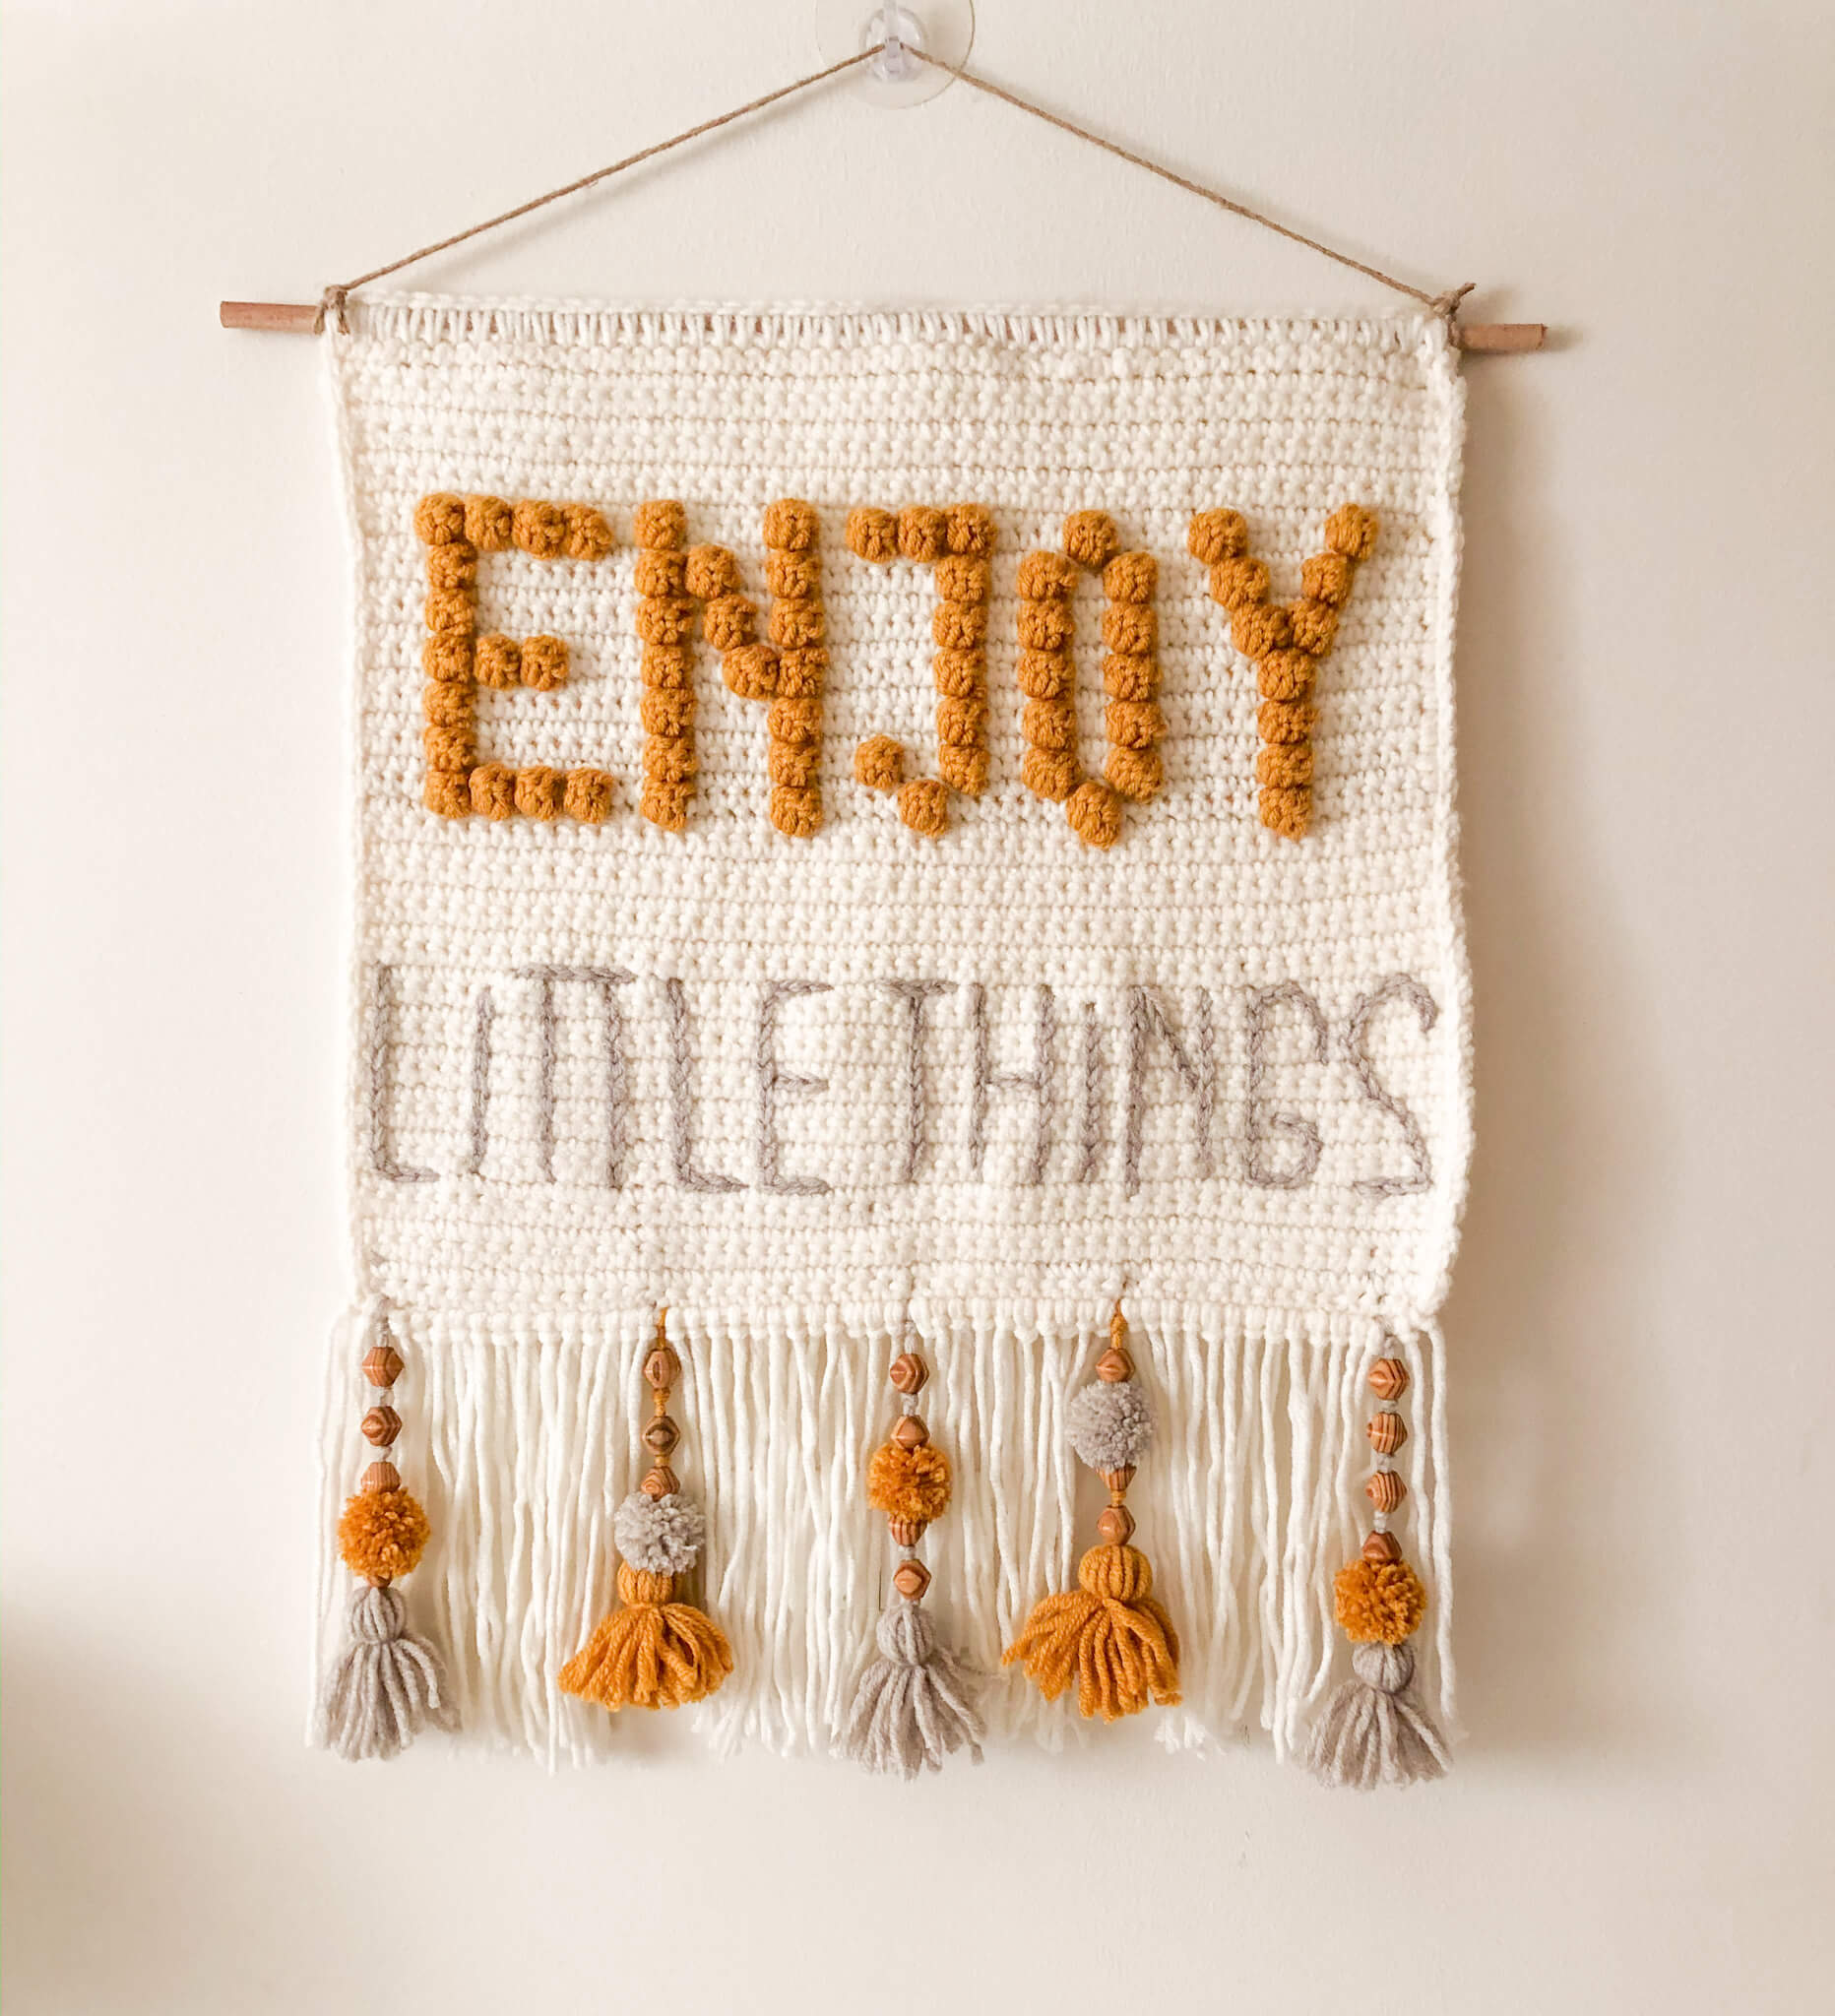
I thought of my goals, my aspirations, and I also wanted something to remind me to enjoy my time and be grateful and this quote popped in my mind “Enjoy little things” so I put it on my vision board. And as I was thinking of a pattern for my guest blog post this quote came across my eyes and I was inspired!!
Now this wall hanging is in-front of me all the time to remind me of my mantra of enjoying little things that makes me happy. Without always worrying about what I have to do next!
Those things includes drinking coffee in the morning when its all quiet and calm. hugging a hot pad and feeling warm when its cold, seeing the sun rays on my bed (this one make me so happy). A good laughter with my family or friends, as well as playing with my baby Nephew!

Before you go to check the pattern let me remind you that this crochet wall hanging pattern is part of my room makeover series!CHECK IT HERE!
You can also check all the patterns in this series (three of them are already in the picture above)
- “Enjoy little things” wall hanging
- Wall pocket / wall organizer
- Bobble-licious Crochet Pillow Case Free Pattern
- Crochet boho Baskets
- Cozy crochet cushion
- DIY Vision board
- Wall pocket / wall organizer
- DREAM dream catcher
- Boho ceiling lmapshade
- Bedside Table Lampshade Free Pattern & Photo Tutorial
- Round Velvet Crochet Pillow Case
- Crochet Plant Pot Cover / Decorative Basket
- Rise and shine wall hanging
- DIY Waste Basket / Trash Can – Photo Tutorial
- Sunshine Crochet Pillow Case – Free Pattern.
I Also have linked you everything you are going to need to make this crochet wall hanging pattern here!
Disclaimer: This blog post may contain affiliate links. I may earn a small commission to fund my coffee drinking habit if you use these links to make a purchase. You will not be charged extra, and you’ll keep me supplied in caffeine. It’s a win for everyone, really.
- Yarn: Three skeins of ALIZE SUPERLANA light cream code (code 62), one skein beige (code 152) melange, and another one saffron (code 02)
- Hook: 5 mm, (H/8 US), Stitch markers, Scissors, Measuring tape. Here is a set with one of my favorite hooks sets along with stitch markers and needles
- Wooden dowel (approximately 22″ 55 cm)
- If you are going to make the optional decorative tassels you can check all what you are going to need here
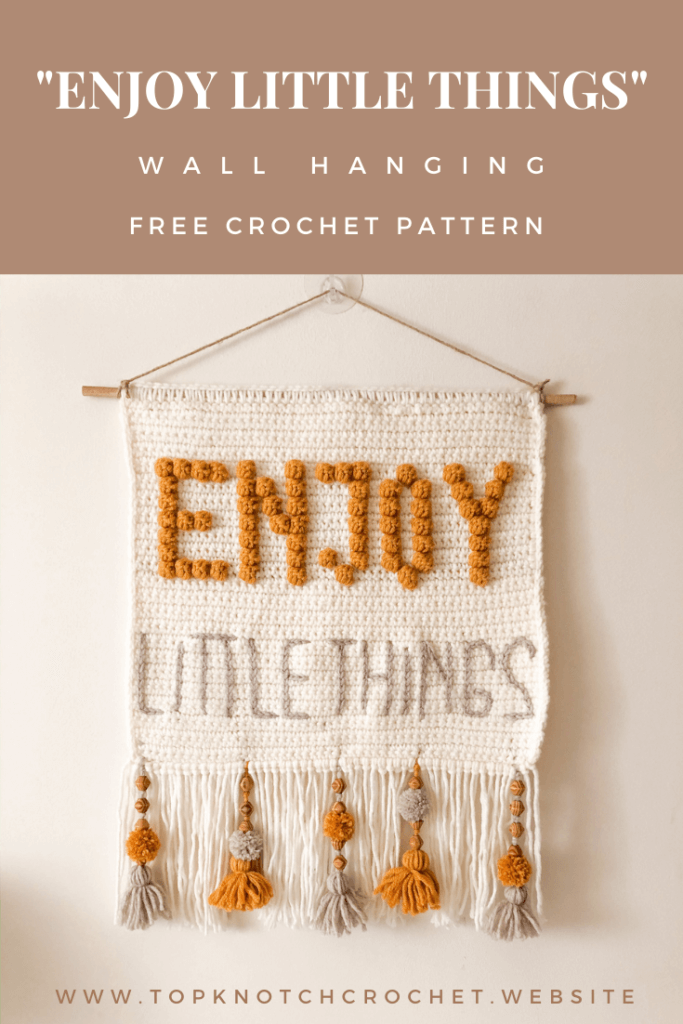
Pin it for later!
MEASUREMENTS
Approx 17″ (excluding the tassels) x 19″ [44 cm x 49 cm].
GAUGE
12 sc and 12 rows = 4″ [10 cm].
Abbreviations and Glossary (US Terms):
ch – chain
sc – single crochet
bo- bobble stitch
Special Stitches and Techniques:
Bobble stitch: Watch this tutorial for the method I used to change colors with the bobble stitches
Yarn over, insert your hook into the next stitch, pull yarn through (3 loops on the hook)
again yarn over and pull yarn through 2 loops only, as if you are doing the first part of a double crochet (DC) (2 loops on the hook);repeat it until you have 5 HDC on your hook and 1 initial loop (total 6 loops on the hook); yarn over and pull through all 6 loops (1 loop on the hook – pull pretty tight, so your bobble really pops up); and sc in the next stitch.
Surface slip stitching
Notes:
- The pattern is written in us terms.
- The pattern starts from the bottom and ends at the top
- You will work all stitches in creme except the bobble stitches.
Instructions:
Chain 52
Row 1-24. Sc in each stitch in the row (51 Stitches)
Row 25. 4 sc, (1 bo, 1sc) 4 times, 2 sc, 1 bo, 5 sc,1 bo, 5 sc, 1 bo, 7 sc, 1 bo, 8 sc,1 bo, 7sc
Row 26. sc with white in each stitch in the row.(But don’t forget to work your single crochet over the saffron/ mustard yarn)
Row 27. 4 sc, 1 bo, 9 sc,1 bo, 5 sc, 1 bp, 3 sc ,1 bo, 3 sc, 1 bo, 3sc, 1 bo, 3sc, 1 bo,6 sc,1 bo, 7sc
Row 28. sc with white in each stitch in the row.(But don’t forget to work your single crochet over the saffron/ mustard yarn)
Row 29. 4 sc, 1 bo, 9 sc,1 bo, 5 sc, 1 bo, 7sc, 1 bo, 3 sc,1 bo, 3sc, 1 bo, 6 sc, 1 bo, 7 sc.
Row 30. sc with white in each stitch in the row.(But don’t forget to work your single crochet over the saffron/ mustard yarn)
Row 31. 4 sc ,(1 bo,1sc) 3 times, 4 sc, 1 bo, 3 sc , (1 bo, 1sc) 2 times, 6 sc, 1 bo, 3 sc, 1 bo, 3 sc, 1 bo, 6 sc, 1 bo, 7sc
Row 32. sc with white in each stitch in the row.(But don’t forget to work your single crochet over the saffron/ mustard yarn)
Row 33. 4 sc, 1 bo, 9 sc ,1 bo, 2 sc ,1 bo, 2 sc, 1 bo, 7 sc, 1 bo, 3 sc, 1 bo, 3 sc, 1 bo, 5 sc, 1 bo, 1 sc, 1 bo, 6 sc
Row 34. sc with white in each stitch in the row.(But don’t forget to work your single crochet over the saffron/ mustard yarn)
Row 35. 4 sc, 1 bo, 9 sc ,1 bo, 1sc, 1 bo, 3 sc, 1 bo, 7 sc, 1 bo, 3 sc, 1 bo, 3 sc, 1 bo, 4 sc ,1 bo, 3 sc ,1 bo, 5 sc
Row 36. sc with white in each stitch in the row.(But don’t forget to work your single crochet over the saffron/ mustard yarn)
Row 37. 4 sc,(1 bo, 1sc) 4 times, 2 sc, 1 bo, 5 sc, 1 bo, 3 sc , (1 bo, 1sc) 3 times, 4 sc, 1 bo, 5 sc, 1 bo, 5 sc, 1 bo, 4 sc
Row 38. sc with white in each stitch in the row.(But don’t forget to work your single crochet over the saffron/ mustard yarn)
Row: 39-46. sc in each stitch in the row
Now before we write “little things” on the crochet wall hanging

Put a stitch marker in the middle of your wall hanging to mark the space between your two words and count 6 rows from the bottom and put a stitch marker. Now count 10 rows from the marked row then add another one. This will mark the height of your letters!
Now you will have to plan the places of your letters. For me I free handed it. However you can mark it lightly with a pencil. before you slip stitch your letters on the surface.
Finishing Touches
- Work one last row of slip stitches around the 4 edges of the wall hanging
- Attach your wall hanging to the wooden dowel as you see in this video
- Cut 51 strands of white yarn that are 21.5”(55 cm)
- And attach it to the bottom edge as you see in this video (one strand in each stitch)
- The last step which is optional is to make some Decorative Tassels and attach it to the bottom edge!
I hope I inspired you to make something beautiful as you! If you made it, share it with me on Instagram. I would love to see how you adapted it and what variations you made 🙂
Take care and happy crocheting.

has anyone made ths from your pattern, because your stitch numbers do not work.