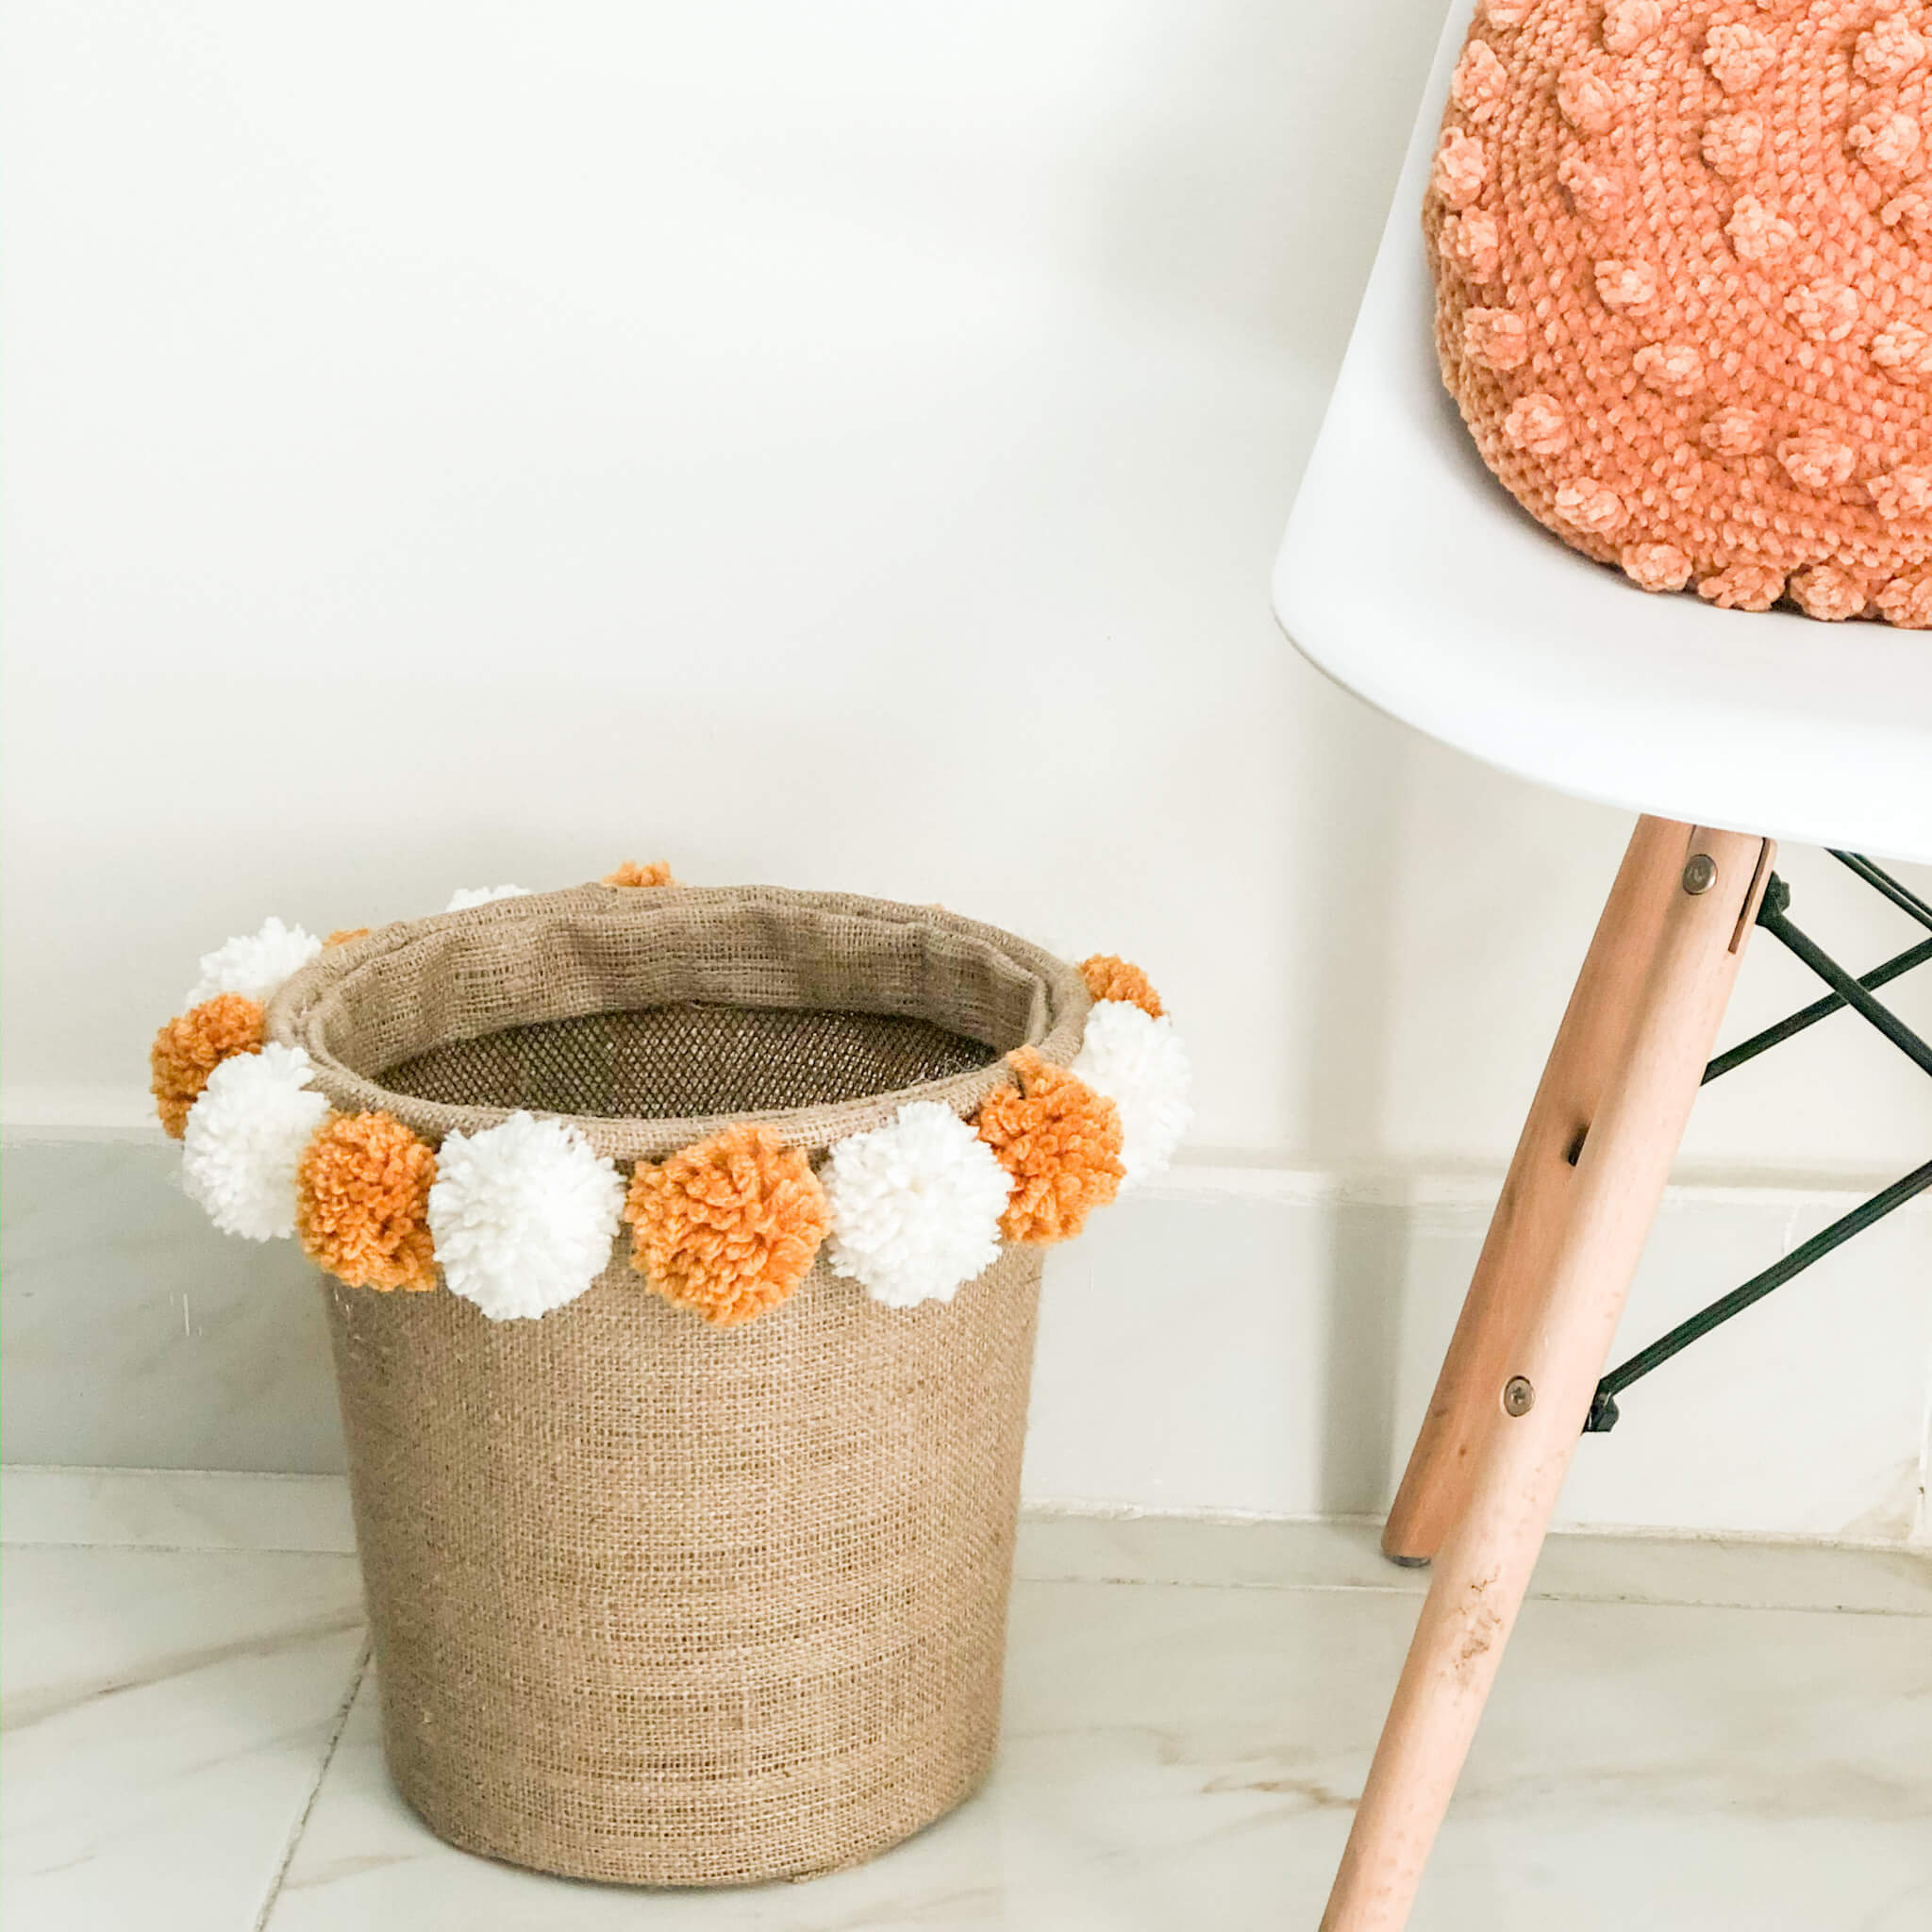
Heyy everyone! Today I have a very fun and easy DIY waste basket tutorial for you.
But before we go through it I want to ask you am I making too much pompoms 😀 am really obsessed with them!! if you didn’t see my recent Wall pocket / wall organizer pattern go see it I used lots of pompoms there too!
I made this as a waste basket. however as I was looking at it. An idea popped to my mind I might use this as a plant pot cover for a a small indoor tree!! I think this would look so cute. When I but the tree I will definitely show you!! talking indoor plants. do you have any good suggestions??
If you don’t already know let me give you some background!
This tutorial is part of bigger project that I have been preparing for a while. I am doing a room makeover on a budget using mainly crochet and some other DIYs!! I’am a big believer that our surrounding space affect our mood and productivity levels and I find my self more productive and happy when I have a place that is organized and looks pretty.
Also my room is the space where I work on my blog, sit down and chill, study, and even workout!! so basically If I don’t have a pilates class to teach or a family commitment I’ll be in my room (coz am an extremely introverted human being and I like it) :D. Hence I always want to add new things to my room, make it prettier and more functional that’s why I have created this room makeover series!!
Through out this series you will find cute decorative items as well as some functional/ storage solution items too. So If you are interested to see the rest of the series sign up here and receive all the updates, the free patterns and tutorials as well as the reveal of the before and after!!
Check the other patterns in this series that I have already released:
- Bobble-licious Crochet Pillow Case Free Pattern
- Crochet boho Baskets
- Cozy crochet cushion
- DIY Vision board
- “Enjoy little things” wall hanging
- Wall pocket / wall organizer
- DREAM dream catcher
- Boho ceiling lmapshade
- Bedside Table Lampshade Free Pattern & Photo Tutorial
- Round Velvet Crochet Pillow Case
- Crochet Plant Pot Cover / Decorative Basket
- Rise and shine wall hanging
- Crochet Wall Organizer
- Crochet Pillow Case – Free Pattern.
Things you are going to need for this
- Some yarn (1 skein of each color) of your choice I used ALIZE SUPERLANA , light cream code (62), saffron 02
- 100 CM X 100 CM( 40″ x 40″) burlap fabric
- Trash can if you don’t already have one
- A Glue gun
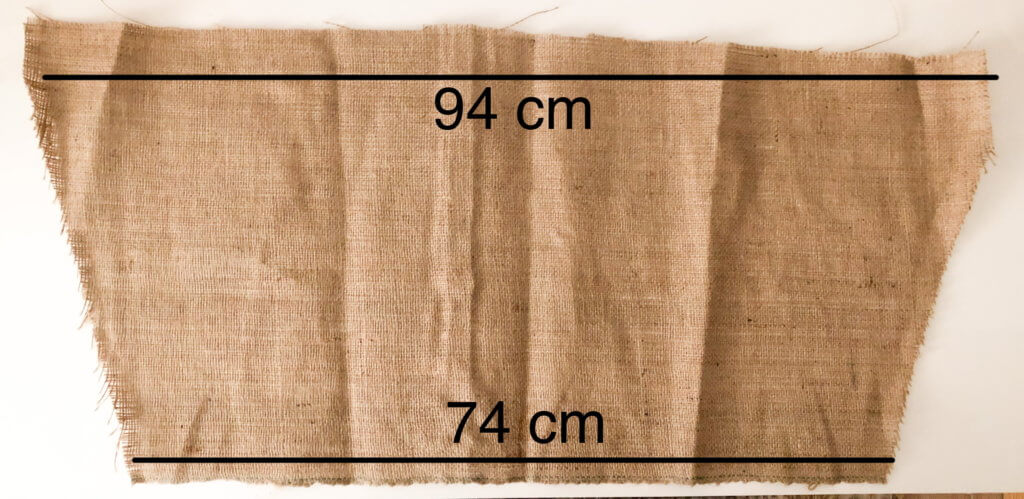
Measurements:
The first step is to take the measurements of your trash can:
The circumference of mine was approximately 90 cm(35.5″) top and 70 cm (27.5″) bottom. I added 4 cm or 1.5″ for seam allowance. regarding the height my trash can height is about 28 cm (11″) and I cut my fabric 15 cm (6 inches) longer than its measurements. To have enough fabric that allow me to fold the fabric and hot glue it to the trash can as you will see later.
To measure the circumference of your trash can just multiply its diameter by 3.14
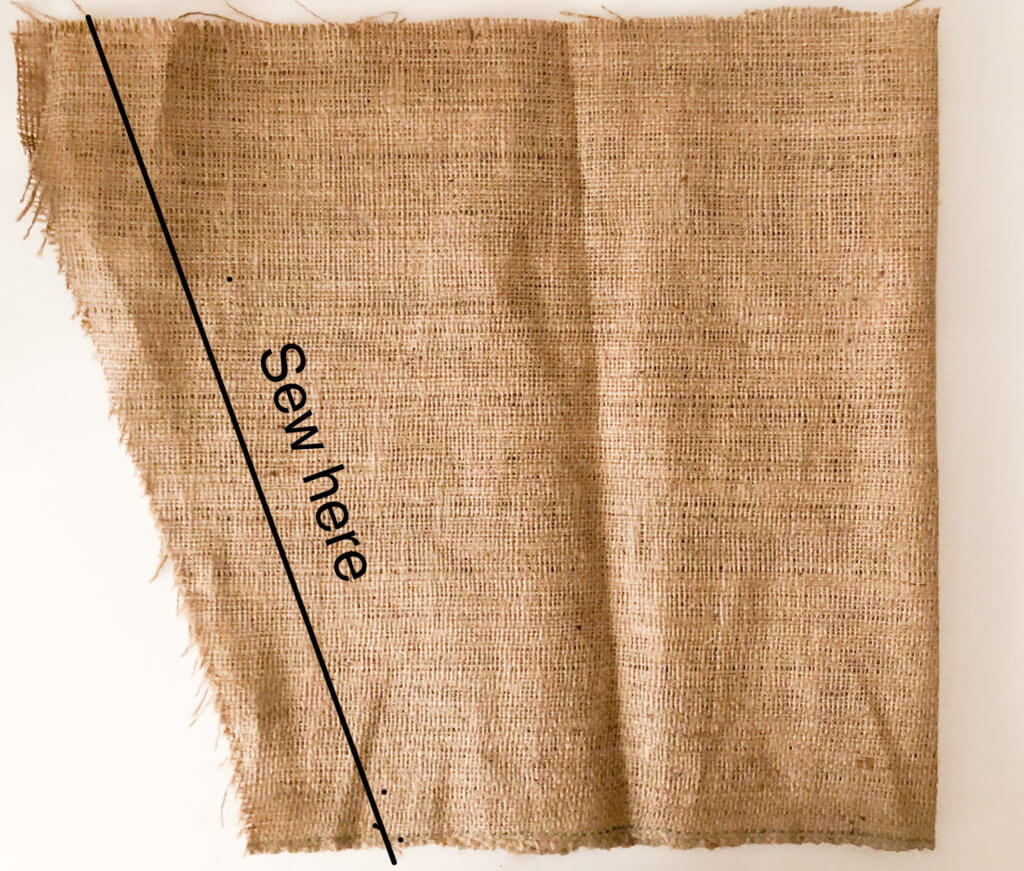
After measuring and cutting your fabric. all what you have to do is to fold your fabric and sew along the side as you see in the picture bellow.
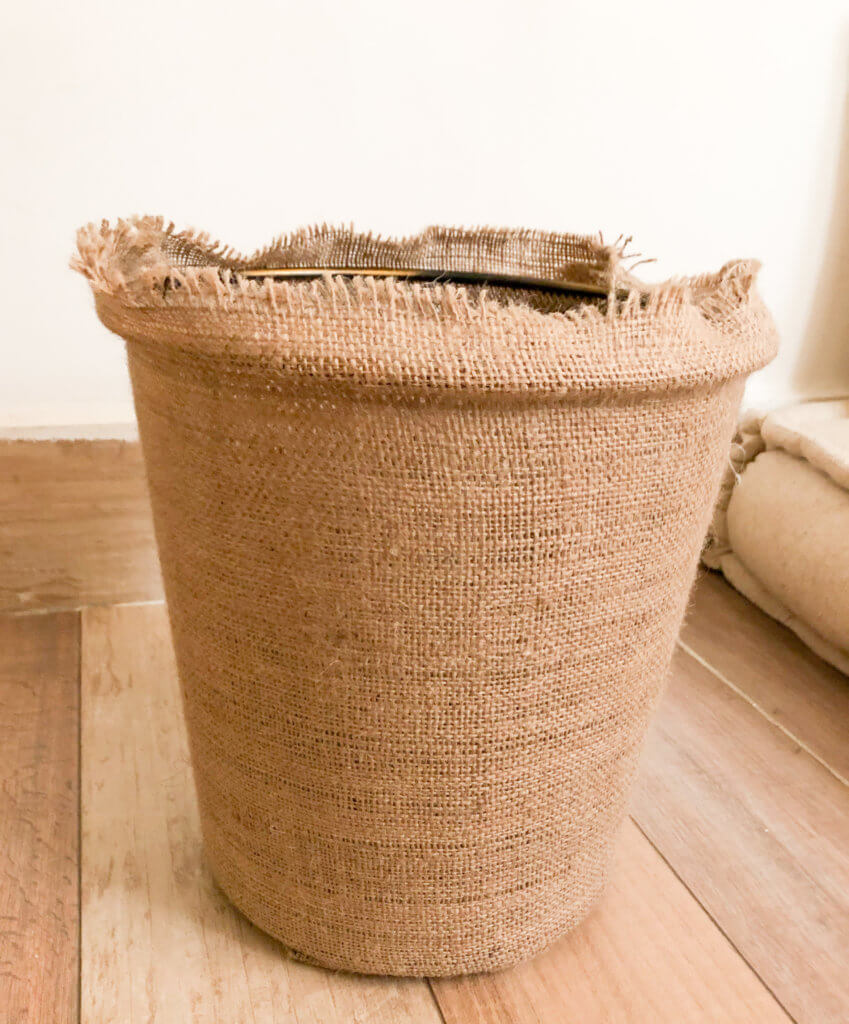
Now flip your fabric to its right side.
And insert your trash can inside it. You may have a hard time doing so if you sewed your fabric to have the exact measurements of the top and bottom circumferences. But this will give you a cleaner and neater finish!!
Now fold you fabric to the inside and start hot glueing your fabric to the trash can Along the circumference of your top.
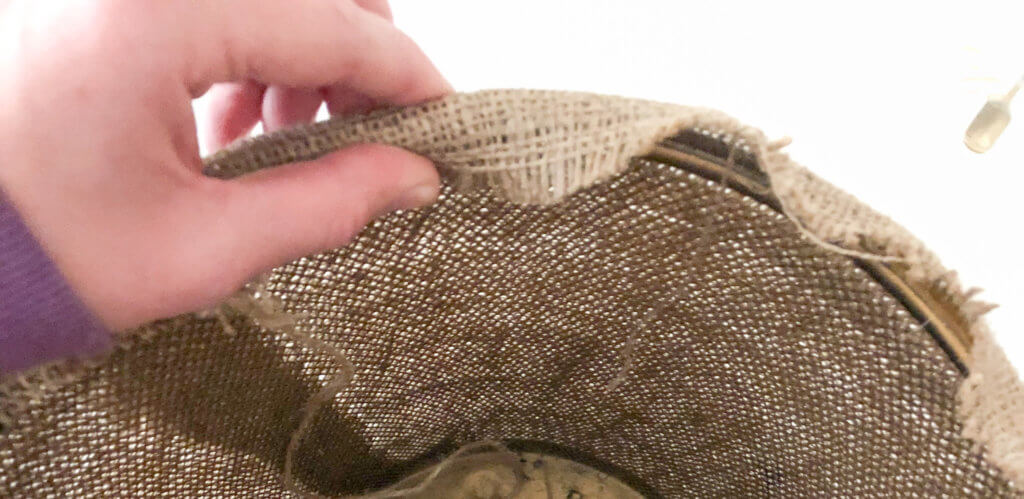
For the bottom you just have to make the folds as you see in the picture bellow. and hot glue them together then to the trash can.
Finally you will have to cut a long strand as long as your top circumference then fold it as you see in the picture. (to secure it you may iron it and hot glue the overlapping parts together)
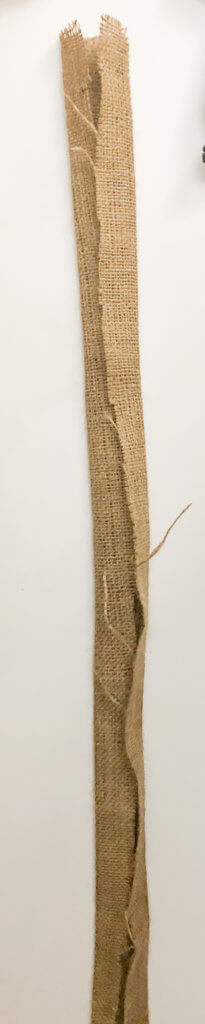
Then you will hot glue it to the inside top as you see in the picture bellow.
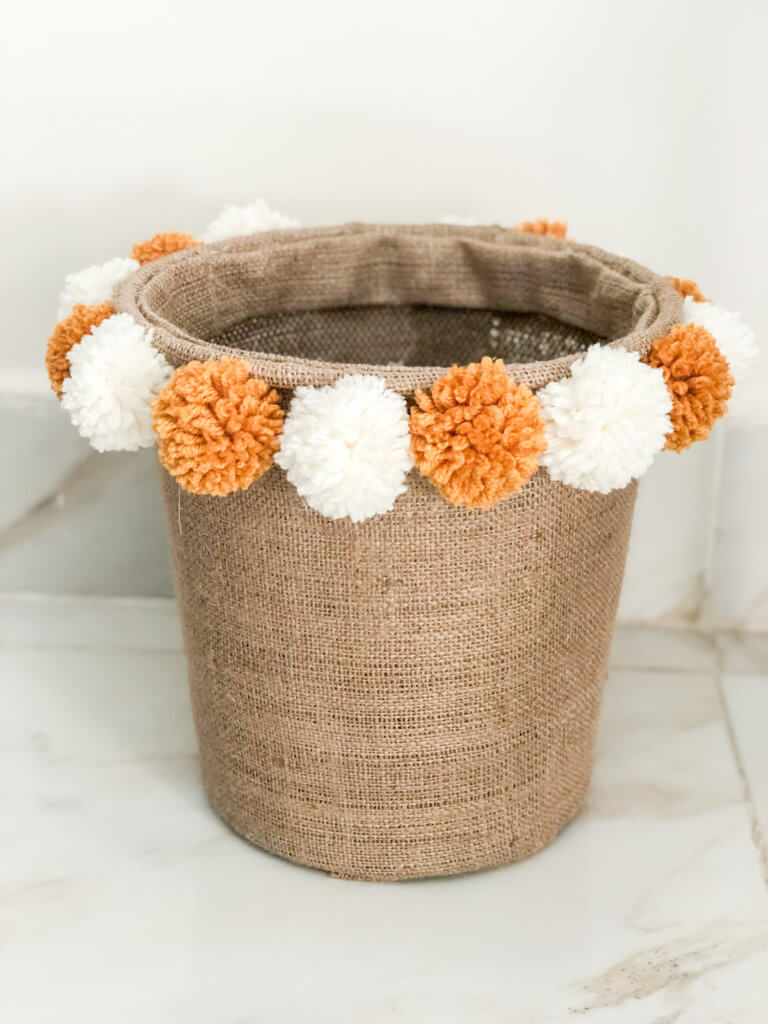
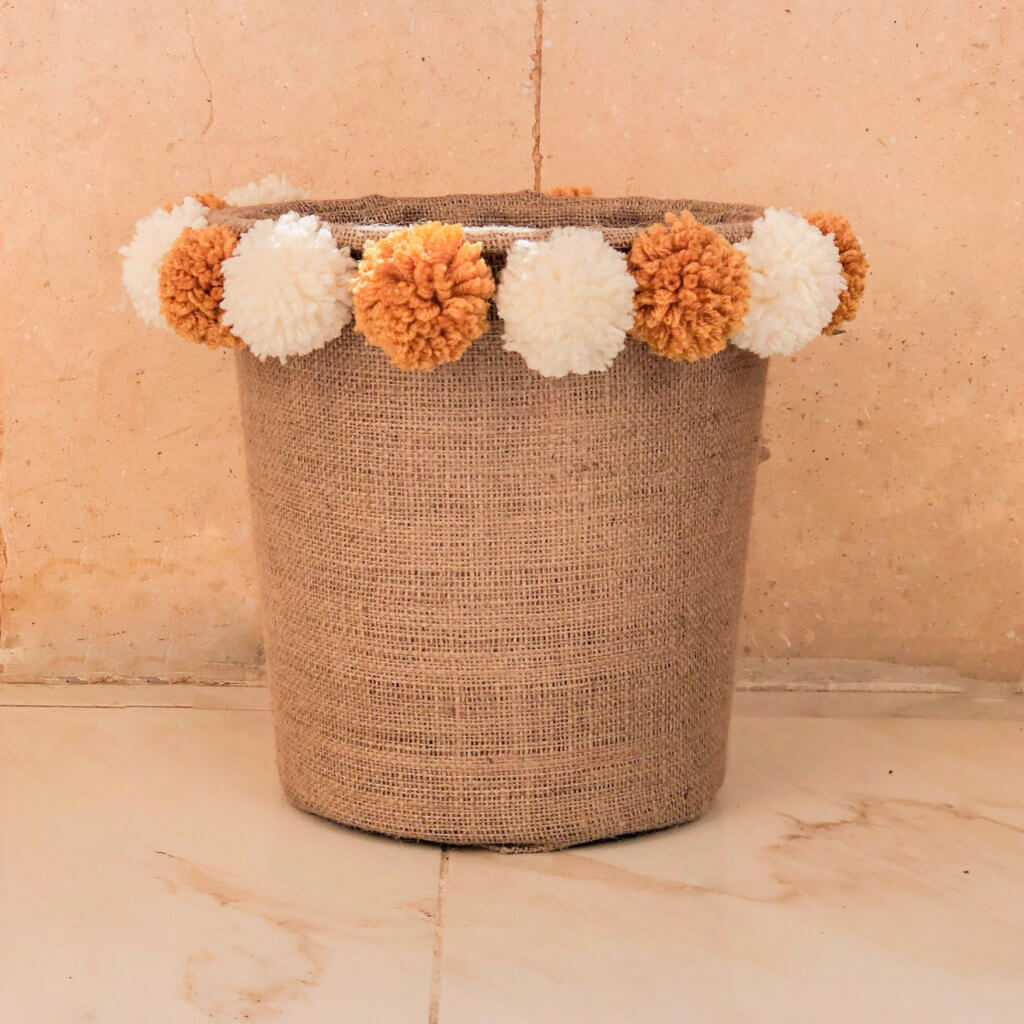
Now its the time to have some fun decorating it:
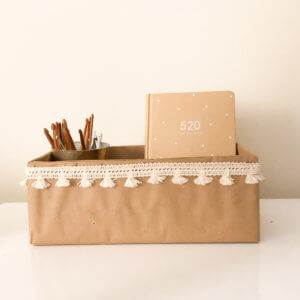
You can make pompoms as I did and hot glue it to the trash can. I attached a video for you that includes how to make pompoms. Or you can use some lace trims and hot glue it to the trash can here are some adorable options for lace trims Too!
- Hongma Cotton Fringe Tassel Lace Trim
- Susuntas 5 Yards 4cm Wide Cotton Lace Trim
- 5 Yards 100% Cotton Tassel Trim
5 Yards 100% Cotton Tassel Trim, - Dyeable Cotton Knotted Tassel Trim
- Cotton Fringe Trims, 53/64in Wide
- Here are some colorful ones that i think would look so cute too! Multi coloured tassel fringe trim, and Tassel trim, tassel net fringes.
I hope you liked this tutorial. If you made one, share it with me on Instagram. I would love to see how you adapted it and what variations you made 🙂
Take care and happy crafting!