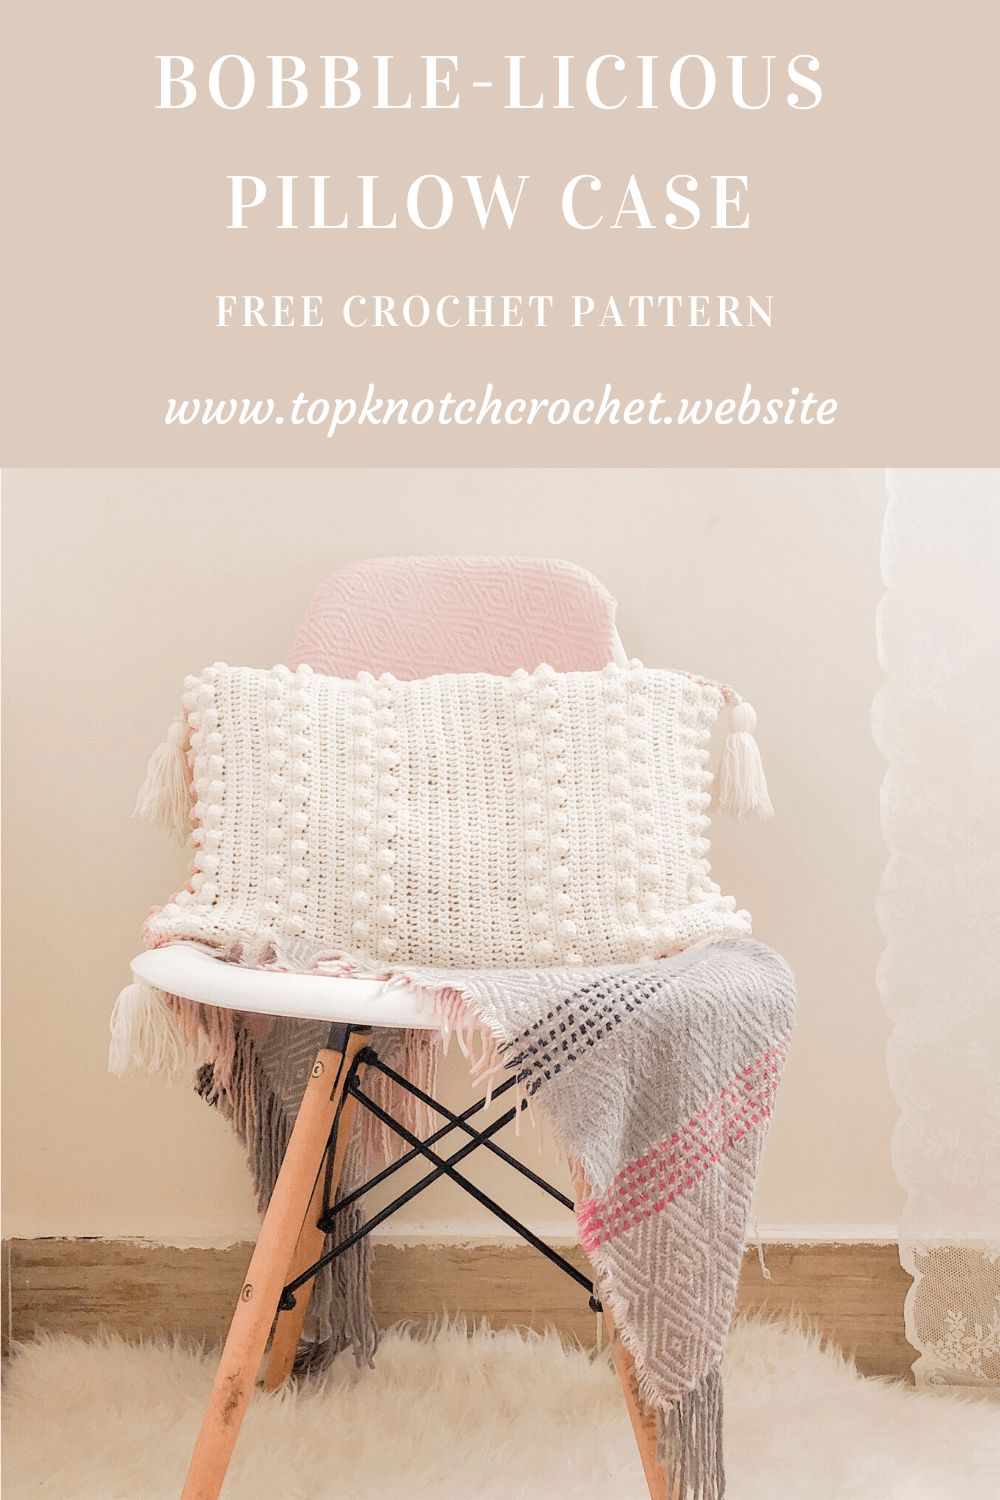
I am so excited to share with you this crochet pillow case pattern!
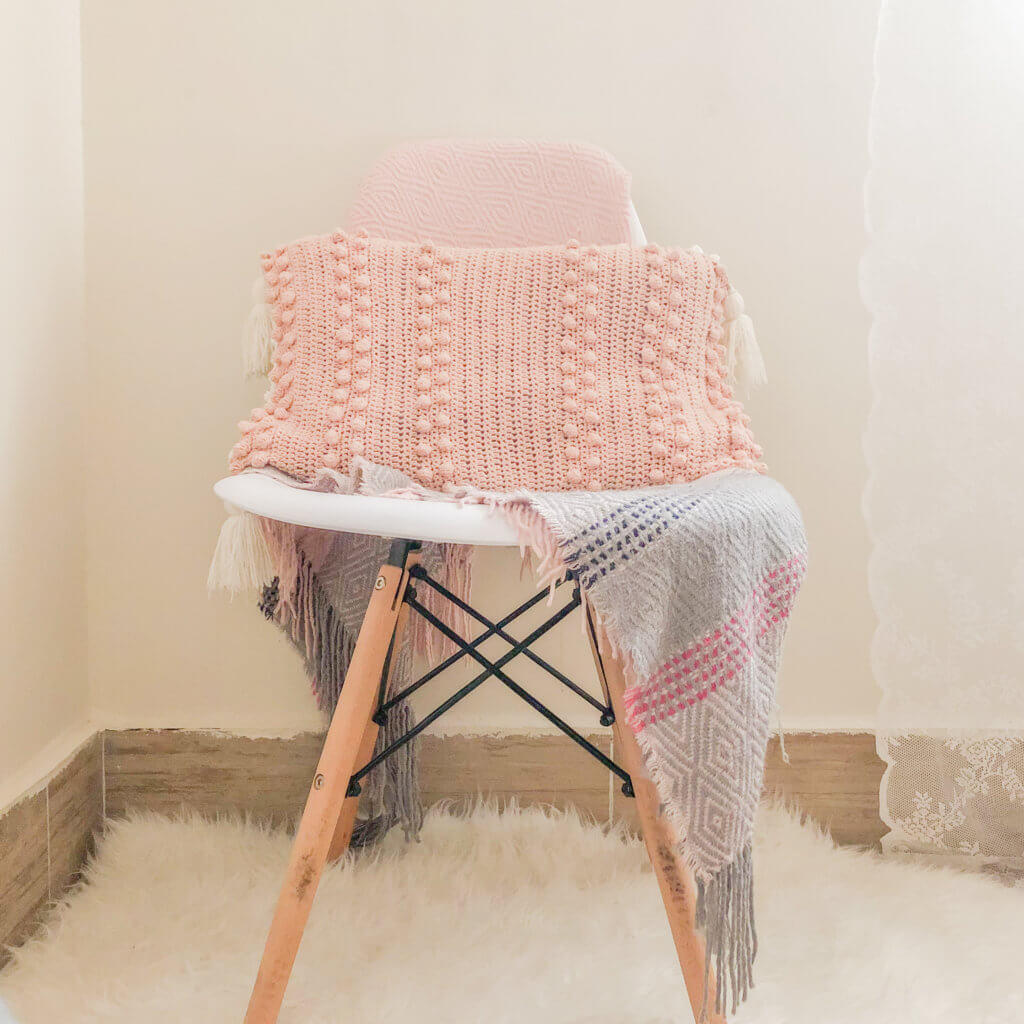
This crochet pillow case is actually one of my favorites. But surprisingly I didn’t plan to write a pattern for it. I designed it June 2019 this was even before I started my blog . At that time I had a vacation from work and It was eid and as per tradition we spend it at my grandmother and grandfather’s house. So I packed this pink skein and took it with me to make something. I started with no clue were am heading but the result was really good. A few Months after, as I was looking at my crochet corner (Where the pillow is right now). I realized how I loved it and decided to write a pattern and test the pattern to share it with you!! and I hope you like it!!
This pattern is part of bigger project that I have been preparing for a while. I am doing a room makeover on a budget using mainly crochet and some other DIYs!! I’am a big believer that our surrounding space affect our mood and productivity levels and I find my self more productive and happy when I have a place that is organized and looks pretty.
Also my room is the space where I work on my blog, sit down and chill, study, and even workout!! so basically If I don’t have a pilates class to teach or a family commitment I’ll be in my room (coz am an extremely introverted human being and I like it) :D. Hence I always want to add new things to my room, make it prettier and more functional that’s why I have created this room makeover series!!
Through out this series you will find cute decorative items as well as some functional/ storage solution items too. So If you are interested to see the rest of the series sign up here and receive all the updates, the free patterns and tutorials as well as the reveal of the before and after!!
Check the other patterns in this series that I have already released:
- Crochet boho Baskets
- Cozy crochet cushion
- DIY Vision board
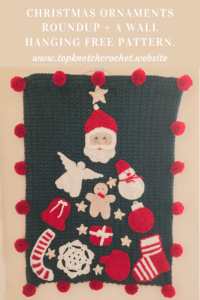
- “Enjoy little things” wall hanging
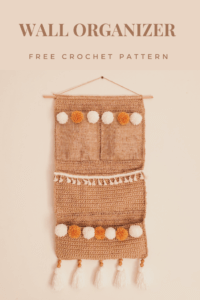
- Wall pocket / wall organizer
- DREAM dream catcher
- Boho ceiling lmapshade
- Bedside Table Lampshade Free Pattern & Photo Tutorial
- Round Velvet Crochet Pillow Case
- Crochet Plant Pot Cover / Decorative Basket
- Rise and shine wall hanging
- DIY Waste Basket / Trash Can – Photo Tutorial
- Sunshine Crochet Pillow Case – Free Pattern.
AND STAY TUNED FOR MORE!!
PIN IT FOR LATER:

The materials you will need for this Pillow Case Pattern:
Disclaimer: This blog post may contain affiliate links. I may earn a small commission to fund my coffee drinking habit if you use these links to make a purchase. You will not be charged extra, and you’ll keep me supplied in caffeine. It’s a win for everyone, really.
- Yarn: 1 skein of each color. If you are going to make both sides crochet. If you are going to make the back with fabric you are going to need only one skein of the color of your choice. I used COTTON GOLD by alize WHITE,and PINK
- Hook: 3.5 mm, Stitch markers, Scissors, Measuring tape. Here is a set with one of my favorite hooks sets along with stitch markers and needles
- • 12″ x 18″Pillow Form Insert you can get it here too
Measurements:
Approx. 12″x 18″
Gauge:
Gauge is not essential for this project.
Skill level: Beginner
Abbreviations and Glossary (US Terms):
ch – chain
sc – single crochet
hdc – half double crochet
Special Stitches:
Bobble stitch:
Yarn over, insert hook into the next stitch and pull up a loop. Yarn over, pull through two loops. as if you are doing the first part of a double crochet (DC) (2 loops on the hook);
repeat it until you have 5 HDC on your hook and 1 initial loop (total 6 loops on the hook);
yarn over and pull through all 6 loops (1 loop on the hook – pull pretty tight, so your bobble really pops up); and sc in the next stitch.
Notes:
- The pattern is written in us terms.
- Watch this tutorial and apply it through out the pattern to help you achieve straight edges
- To create a smaller or larger pillow, add or remove multiples of 4 ch from the starting chain to increase or decrease pillow height.
- If you want to make it longer you will have to add rows at the middle part where you alternate only between hdc and sc.
- Make sure to keep the count of 52 stitches per row through out this pattern
Instructions:
PILLOW FRONT PATTERN
With a 3.5 mm hook, Chain 53
Row 1. Do one sc in the second chain form the hook and all remaining stitches. so you have 52 sc, chain 1 and turn
Row 2. sc in each stitch in the row. chain 1 and turn
Row 3. Bobble stitch in the very first stitch sc in the next stitch 3 stitches, * bobble stitch in the next stitch, 1 sc in each of the next 3 stitches* repeat from * to * till the end of the row (you will have 14 bobbles). chain 1 and turn
Row 4-6. Sc in each stitch in the row, chain 1 and turn
Row 7. Sc in the first 2 stitches, *Bobble stitch in next stitch, sc in the next stitch 3 stitches* repeat from * to * till the end of the row (you will have 13 bobbles)
Row 8-9. Sc in each stitch in the row, chain 1 and turn
Row 10. hdc in each stitch in the row, chain 1 and turn
Row 11. Sc in each stitch in the row, chain 1 and turn
Row 12-13. Repeat 10 – 11, 1 more time
Row 14. hdc in each stitch in the row, chain 1 and turn
Row 15. Bobble stitch in the very first stitch sc in the next stitch 3 stitches, * bobble stitch in the next stitch 1 sc in each of the next 3 stitches* repeat from * to * till the end of the row (you will have 14 bobbles)
Row 16-17. sc in each stitch in the row, chain 1 and turn
Row 18. Sc in the first 2 stitches, *Bobble stitch in next stitch, sc in the next stitch 3 stitches* repeat from * to * till the end of the row (you will have 13 bobbles)
Row 19-20. Sc in each stitch in the row, chain 1 and turn
Row 21. hdc in each stitch in the row, chain 1 and turn
Row 22. Sc in each stitch in the row, chain 1 and turn
Row 23-24. Repeat 21 – 22, 1 more time
Row 25. 1 hdc in each stitch in the row, chain 1 and turn
Row 26. Bobble stitch in the very first stitch sc in the next stitch 3 stitches, *bobble stitch in the next stitch 1 sc in each of the next 3 stitches* repeat from * to * till the end of the row (you will have 14 bobbles)
Row 27-28. Sc in each stitch in the row, chain 1 and turn
Row 29. Sc in the first 2 stitches, * Bobble stitch in next stitch, sc in the next stitch 3 stitches* repeat from * to * till the end of the row (you will have 13 bobbles)
Row 30-31. Sc in each stitch in the row, chain 1 and turn
Row 32. hdc in each stitch in the row, chain 1 and turn
Row 33. Sc in each stitch in the row, chain 1 and turn
Row 34-45. Repeat 32 – 33, 5 more times
Row 46. 1 hdc in each stitch in the row, chain 1 and turn
Repeat from Row 3 – Row 31 once more
Finally finish by making one sc row around the pillow
Pillow back
There are plenty of ways to add a backing to a pillow but since am a terrible sewer and I don’t have a sewing machine I chose to make another front but to even make it more interesting, functional and add variety I made it with a different color to mix things up!! this will give you more room to change things up. So that you are able to move your pillow from a place to another or a room to another. This would also be great if you get bored easily.
You may also make it a plain crochet back using sc back and forth till you reach the desired measurements (the same as the front piece).
I also used a zipper to be able to take it off and wash it if I want.
If you want to cut your crochet time in half!! you can use fabric and and sew it to your crochet front.
Or you can create an envelope opening using fabric or crocheted pieces.
If you want to use fabric to create and envelope back. You can follow this tutorial and you will find a list of the fabric measurements you need for each pillow form size ) in the description of the video (you will only take the second two measurements. the only change you are going to make is to sew it to a crochet front instead of the fabric front.
Now to assemble the two parts
You are going to lay down your pieces right sides facing each other. Now if you have two crochet pieces use a crochet hook and the method used in this video. If you have a fabric back just use a needle and matching thread.
Sew around 3 sides and turn the pillow case on its right side. Now if you are going to add a zipper use this tutorial. If not just insert your pillow form and continue either sewing or single crochet joining the two pieces together with a crochet hook
Tassels
And finally to make the tassels I used this tutorial .
To attach it to the scarf you are just going to leave a long tail at the top of the tassel tie it tightly to the bottom corners of the pockets/scarf and weave in ends.
Here is another video tutorial for how to make tassels and attach them
I hope you liked this crochet pillow pattern. If you made one, share it with me on Instagram. I would love to see how you adapted it and what variations you made 🙂
Take care and happy crocheting.
As I said at the beginning the post, This pattern is a part of a room makeover using mainly crochet and some other DIYs. If you are interested to see the rest of the series sign up here and receive all the updates, the free patterns and tutorials as well as the big reveal of the before and after!!