
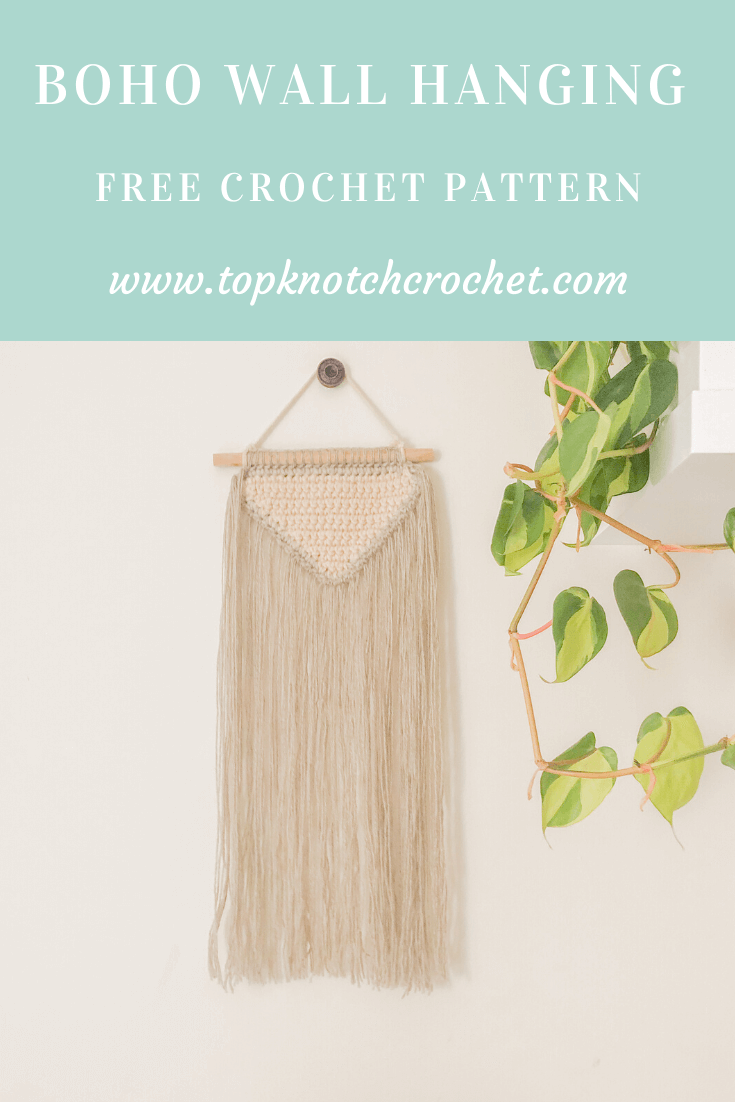
Hey Crochet buddies! Today I have a super easy and quick pattern for you. A boho crochet wall hanging, That require very minimum amount of yarn and time! so it can be a yarn stash buster too! If you didn’t see my previous yarn stash buster wall hanging check it here!
If you don’t know about my room makeover patterns series. Let me give you some background!
This pattern is part of a bigger project that I have been preparing for a while. I am doing a room makeover on a budget using mainly crochet and some other DIYs!! I am a big believer that our surrounding space affects our mood and productivity levels and I find my self more productive and happy when I have a place that is organized and looks pretty.
Throughout this series, you will find cute decorative items as well as some functional/ storage solution items too. So If you are interested to see the rest of the series sign up here and receive all the updates, the free patterns, and tutorials as well as the reveal of the before and after!!
Check the other patterns and tutorials that I have already released:
- Rise and shine wall hanging
- “Enjoy little things” wall hanging
- Wall pocket / wall organizer
- Bobble-licious Crochet Pillow Case Free Pattern
- Crochet boho Baskets
- Cozy crochet cushion
- DIY Vision board
- Wall pocket / wall organizer
- DREAM dream catcher
- Boho ceiling lmapshade
- Bedside Table Lampshade Free Pattern & Photo Tutorial
- Round Velvet Crochet Pillow Case
- Crochet Plant Pot Cover / Decorative Basket
- DIY Waste Basket / Trash Can – Photo Tutorial
- Sunshine Crochet Pillow Case – Free Pattern.
- Yarn Stash Buster – Crochet Wall Hanging – Free Pattern!
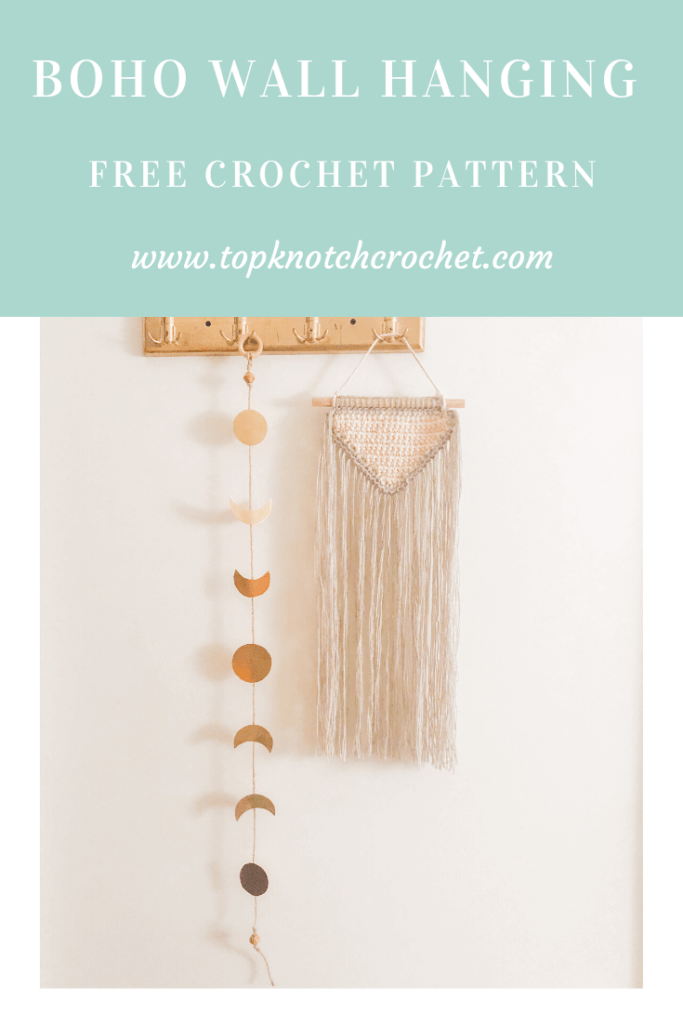
Pin it for later!!
Disclaimer: This blog post may contain affiliate links. I may earn a small commission to fund my coffee drinking habit if you use these links to make a purchase. You will not be charged extra, and you’ll keep me supplied in caffeine. It’s a win for everyone, really.
Now let’s take you directly to this crochet wall hanging pattern
The materials you will need for this crochet wall hanging are:
- Yarn: Just use any yarn you have!!
- But just for reference here is the yarn I used for the triangle. I used Alize superlana maxi (Super bulky yarn no.6), honey ( Code 310). beige melange(Code 152) For the triangle border. and to be honest with you I dont even know the yarn I used for the fringes I had a small ball in my yarn stash so I used it! but for reference its a fine (no.2) wool acrylic blend yarn. and I suggest you use fine yarn too for the fringes to get the same look!
- 5 mm hook, Stitch markers, Scissors, Measuring tape. Here is a set with one of my favorite hooks sets along with stitch markers and needles
- Wooden dowel (approximately 9.5″ 24 cm) you can also use a long barbecue stick!
Measurements:
- Sizing: Approx 7.8″ wide x 21.6″ long (with fringes) [20 cm x 55 cm].
Guage:
- You don’t need gauge for this project.
Skill level: Beginner
Abbreviations and Glossary (US Terms):
- ch – chain
- sc – single crochet
- ss – slip stitch
Instructions:
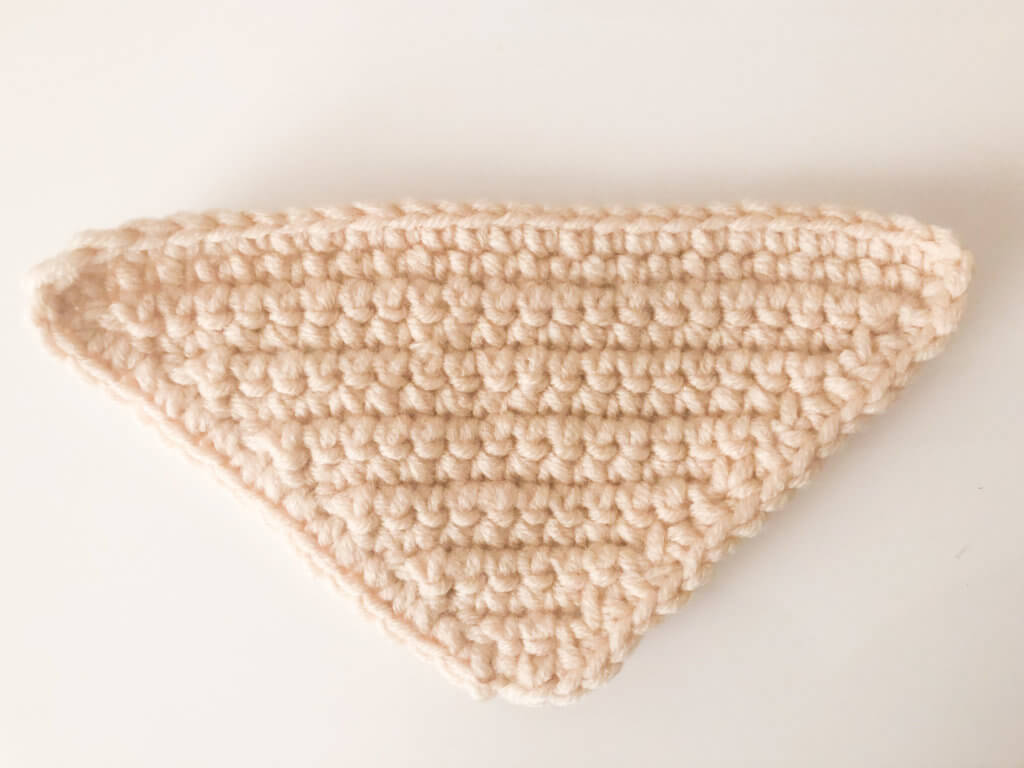
Ch 26
Row 1. Sc in the second chain from the hook and each chain you will have 25 stitches
Row 2. ch1 (which will be considered as a stitch through out this triangle pattern so you are going to sc in the second stitch from the hook and in the next 22 stitches sc the last two stitches together.
Row 3. ch1, sc in the next 20 stitches. Sc the last sc and the ch one from the previous round together.
Row 4. ch1, sc the next 18 stitches. Sc the last sc and the ch one from the previous round together.
Row 5. ch1, sc in the next 16 stitches. Sc the last sc and the ch one from the previous round together.
Row 6. ch, sc the next 14 stitches. Sc the last sc and the ch one from the previous round together.
Row 7. ch1, sc in the next 12 stitches. Sc the last sc and the ch one from the previous round together.
Row 8. ch1, sc in the next 10 stitches. Sc the last sc and the ch one from the previous round together.
Row 9. ch1, sc in the next 8 stitches. Sc the last sc and the ch one from the previous round together.
Row 10. ch1, sc in the next 6 stitches. Sc the last sc and the ch one from the previous round together.
Row11. ch1, sc the next 4 stitches. Sc the last sc and the ch one from the previous round together.
Row 12. ch1, sc in the next 2 stitches. Sc the last sc and the ch one from the previous round together.
Row15. Ch1 Single crochet the two stitches together.
Work one last sc finishing row around the three edges of the triangle ( working one sc in each row from the sides and in each chain space from you starting chain on the top edge.
Finishing:
- Work one last row of sc stitches around the whole triangle.
- Attach your wall hanging to the wooden dowel (or whatever you have on hand) as you see in this video (I uses the same yarn I used to do the fringes but you can use whatever yarn you want!)
- Using double strands of your fine yarn cut 36 strands (or enough to cover the triangle sides) the length of my strands is 47 inches (120 cm)
- And attach it to the bottom edge as you see in this video (one strand in each stitch) and two at the tip of your triangle.
- Hang the the wall hanging and trim the ends of the fringes if needed.
I hope you liked this crochet pattern. If you made one, share it with me on Instagram. I would love to see how you adapted it and what variations and colors you used 🙂
Take care, stay safe and happy crocheting!!
I like your crochet projects. I think my granddaughter would like your wall hangings, so I’m going to try and make it! Thank you ????